QUINOA CHILI VERDE

QUINOA CHILI VERDE

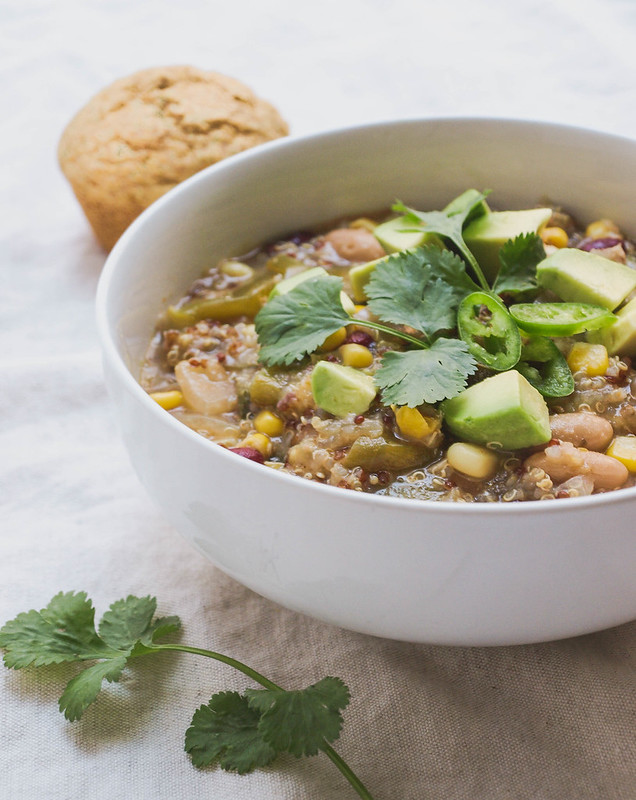
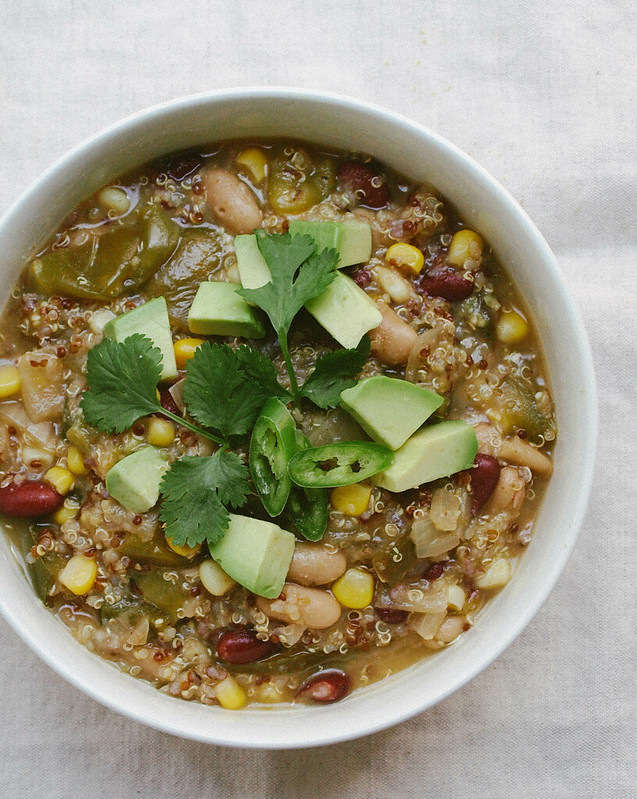
Here I am again with another recipe for the Soups, Stews & Chilis collection (I just can't help myself!). This recipe has been in the works since December and I'm finally getting around to adding it to the collection. The poblanos and tomatillos have been sitting in my refrigerator for long enough (not since December though lol). So without further ado, I share with you my recipe for Quinoa Chili Verde. It's a hearty and brightly flavored chili. The tomatillos are what brighten this chili with their citrus notes. I've added just enough herbs and spices to be noticed, I didn't want to overpower it, but you can add more if you like. I used a flavorful vegetable broth so if using water you'll most likely want to up the amounts to suit your taste. My first attempt at this I added tempeh but for this recipe I've left it out. It wouldn't hurt to add a package when combining everything while crumbling it between your fingers. Tempeh will make it that much heartier (and its an excellent soy product for most!). I also added some corn which adds color and a nice sweetness. For the beans, you can use any mix. I would stick with any mix of cannellini, kidney, pinto or black. This chili is a one pot wonder and will be ready in under an hour from start to finish. You can be sure this green quinoa chili is going to be a nice departure from the usual chili routine. Round up your ingredients and give it a try!  
QUINOA CHILI VERDE

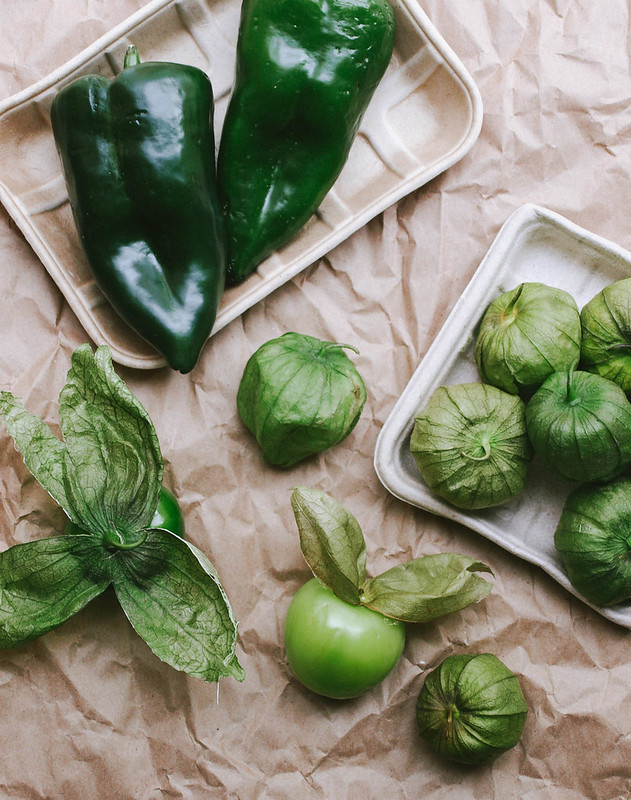
I know tomatillos and poblanos are in season and abundant during the summer months, but here in California we have them year round tempting me every time I see them to take them home and make something wonderful. Corn is the only ingredient in the recipe that isn't fresh year round so I used 1 cup frozen. Hopefully you can find all the produce in the winter months with ease or you'll have to wait for the warmer season.
QUINOA CHILI VERDE

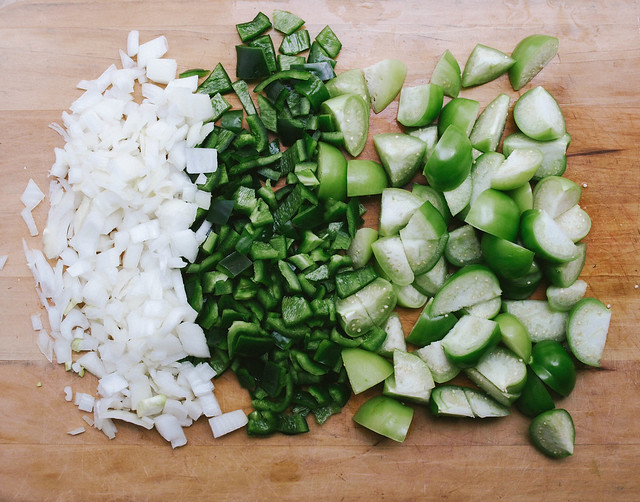
The only thing you have to chop and dice are the onion, peppers and tomatillos. I left my tomatillos on the chunky side, they will soften and fall apart, but you can dice them up as small as you like. 

Get ready, gather your ingredients and start cooking!
QUINOA CHILI VERDE

QUINOA CHILI VERDE

Ingredients
  • 1 tablespoon olive oil or 3 tablespoons water 
  • 1 onion, diced
  • 1 teaspoon garlic powder
  • 1 heaping teaspoon dried oregano
  • 1 teaspoon cumin
  • 1 teaspoon chili powder
  • 12 oz tomatillos, diced or quartered or 1 can (15oz) crushed
  • 2 poblano or Anaheim peppers, de-seeded and diced
  • 1 corn off the cob or 1 cup frozen or canned sweet corn
  • 1 can (15 oz) cannellini beans or pinto beans, drained and rinsed
  • 1 can (15 oz) kidney beans, drained and rinsed
  • 1 cup dry quinoa
  • 4 cups vegetable broth
  • salt to taste

optional garnish

In a large pot or dutch oven, heat oil/water over medium heat and sautee onions until softened, about 5 minutes. Add garlic powder, oregano, cumin and chili powder, cook for 1 minute more stirring frequently, or just until spices and herbs become fragrant. Add tomatillos, poblanos, corn, beans, quinoa and vegetable broth, bring to a boil, cover, reduce heat to low and simmer for 30 minutes. Remove from heat, uncover and let rest about 10 minutes before serving.

Serve in individual bowls topped with garnish of choice. Pairs well with corn bread too, either on the side or broken up in your chili!

Serves 4 - 6.

Notes:

Add in a package of organic tempeh for added hardiness. This Three Grain Tempeh is my favorite flavorwise.

You can rinse your quinoa if you like. I honestly usually skip this step but if you prefer you can run the quinoa under cool running water using a fine mesh seive.

Adjust the spices to your taste. If using broth you may like it as is, if using water you may like to add more.

This can also be made in the crock pot/slow cooker, add all the ingredients, cover with the vegetable broth and cook on medium or medium-low for 4 hours.
RUSTIC CABBAGE, POTATO & WHITE BEAN SOUP

RUSTIC CABBAGE, POTATO & WHITE BEAN SOUP

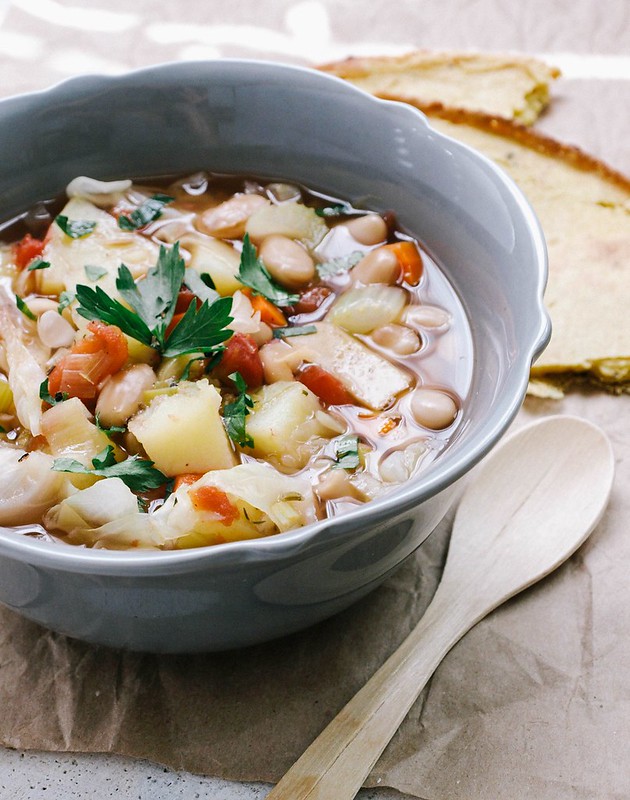
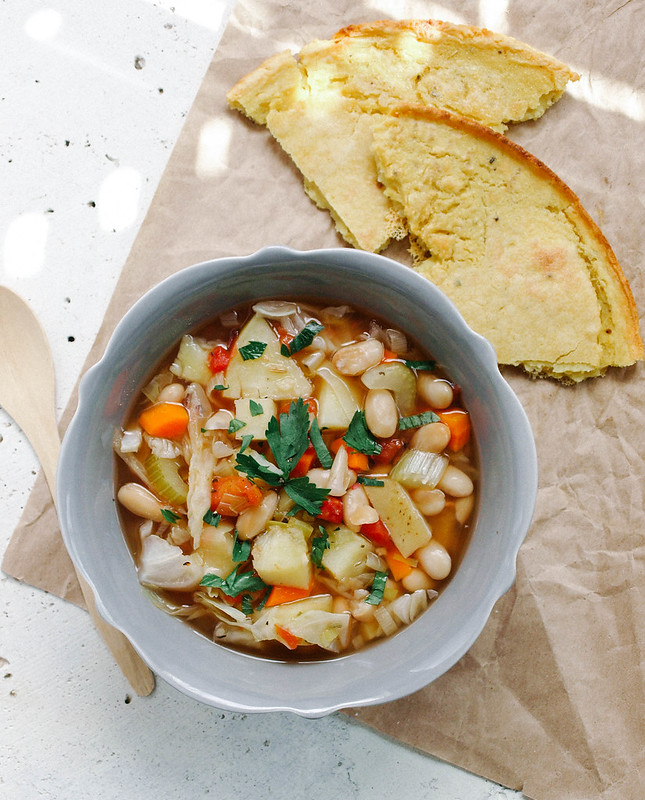
Wondering what to do with a half head of cabbage and potatoes I had sitting around brought about this hearty soup. It's brimming with vegetables, white beans and spices and is enough to feed a small crowd. Add some socca or crusty bread to the meal and you're all set. The socca I made here was seasoned simply with salt & pepper and can be whipped up while the soup is cooking. It's a nice accompaniment, not so much of a soaking bread like crusty bread, but delicious and filling. The soup in itself makes for a complete, nutritious meal with the beans adding a good amount of protein. I used leeks in this recipe, they lend a nice mellow onion flavor, but you can sub in an onion if you like. This turned out to be a great place to use up the leftover produce. I love cabbage in soups, this will be made many times to come. I'm happy to share another hearty soup for the recipe collection to inspire your senses, keeping you plant strong and loving it! 

RUSTIC CABBAGE, POTATO & WHITE BEAN SOUP

Feel free to change up the vegetables. If you're missing one or two, you can still pull this together and have a wonderful soup. If you can't find leeks, use 1 medium onion, diced, in its place. For the cabbage, use your favorite here. I happen to have regular green cabbage on hand but savoy cabbage would be great too. 

RUSTIC CABBAGE, POTATO & WHITE BEAN SOUP

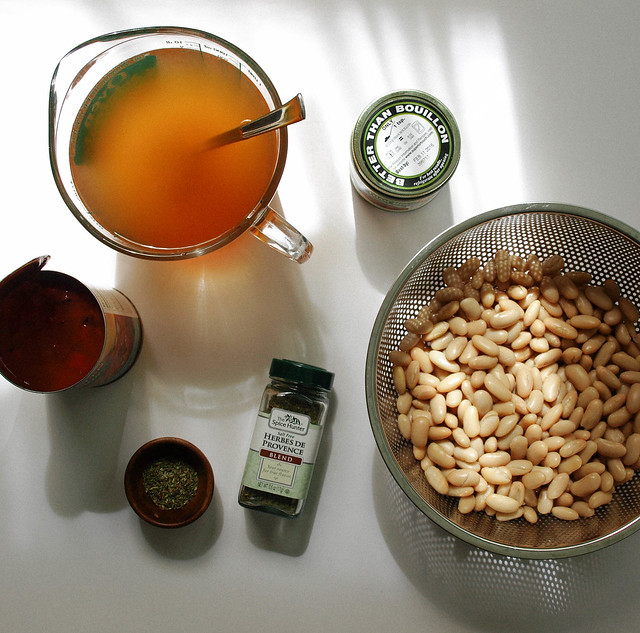
For this time around I chose to use herbes de provence. I love the combination of spices, especially the fennel that I find in this blend from The Spice Hunter. I also added in a teaspoon of fennel here because I love it. Feel free to use any spices you like as most of them will work well here. You can use 2 - 3 teaspoons of an Italian blend or combine a few herbs using 1 teaspoon each: thyme, oregano, rosemary. You can also use sage, marjoram or parsley, savory, etc...in any combination as long it equals about 1 tablespoon. 

When using Better Than Bouillon vegetable broth base, I never use the recommended serving size. I use just enough to flavor the water. For this recipe I used just under 2 teaspoons. This makes my jar last a lot longer and reduces the 'would be' sodium content per recipe. I've just recently (the last six months or so) been using their vegetable broth base and love it!

RUSTIC CABBAGE, POTATO & WHITE BEAN SOUPRUSTIC CABBAGE, POTATO & WHITE BEAN SOUP

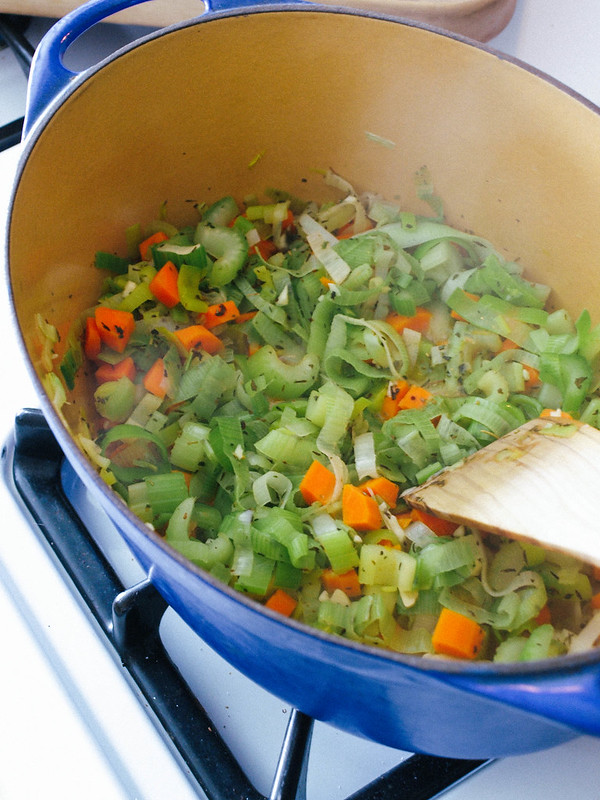
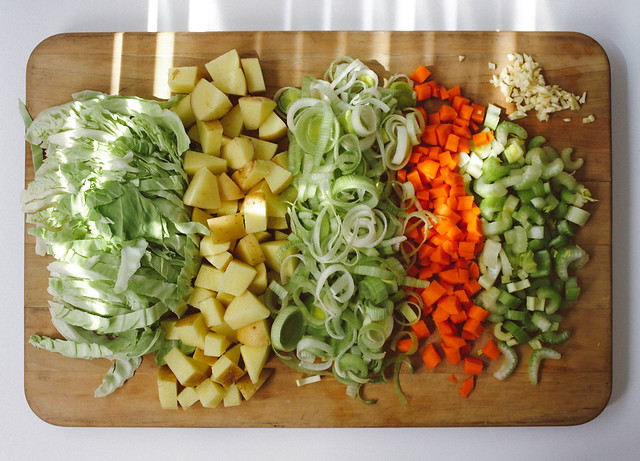
This is a one pot soup that's so easy to pull together. Saute the leeks, celery and carrots, add spices and garlic, cook a bit more. Add remaining ingredients ending with cabbage and white beans last as pictured above. Cover and simmer until cabbage and potatoes are tender, about 30 minutes. Serve with bread of choice. Enjoy often!

RUSTIC CABBAGE, POTATO & WHITE BEAN SOUP

RUSTIC CABBAGE, POTATO & WHITE BEAN SOUP


Ingredients
  • 1/4 cup water or 2 tablespoons olive or grapeseed oil (for sauteing)
  • 2 leeks (use white & pale green parts), sliced and rinsed 
  • 2 carrots, diced
  • 2 stalks celery, diced
  • 2 - 3 cloves garlic, minced
  • 1 tablespoon herbs de Provence OR 1 teaspoon each thyme, rosemary, oregano
  • 1 can (15oz) diced tomatoes 
  • 6 - 7 cups vegetable broth or water
  • 2 medium gold potatoes, diced
  • 1/2 head large cabbage, sliced (savoy or green)
  • 3 cups cooked white beans or 2 cans (15oz), drained and rinsed (use cannellini, great northern or navy) 
  • mineral salt & fresh cracked pepper, to taste
  • 1/4 cup chopped parsley, to garnish

Prepare your vegetables. After slicing your leeks, be sure to place them in a colander and rinse them well under cool running water to remove any dirt and sand that may have collected between the leaf sheaths. If there's a lot of dirt, place sliced leeks in a bowl of cool water and gently swish the leeks around to dislodge any unwanted remnants. Drain water by gently tilting the bowl with one hand and holding your hand over the leeks with the other so they don't fall out, or simply drain into a colander. Repeat until leeks are clear of dirt and sand. Here is a good tutorial from, The Kitchn, on how to wash and prep your leeks. Lastly, another method you may try is this: Slice off the root and the dark green parts. Slice in half vertically. Run under cold running water, opening up the layers as you rinse. Lay on flat surface and slice thinly hortizontally. 

In a large dutch oven or stock pot, heat water/oil over medium to medium-high heat, add leeks, carrots and celery, saute for 5 minutes. Smells delicious already! Add garlic and spices, saute for 1 minute more or until fragrant. Add tomatoes, broth, potatoes, cabbage and beans, bring to a boil, cover, reduce heat to low and simmer for 30 minutes, until potatoes and cabbage are tender. Taste for seasoning adding salt & pepper as needed. 

Serve topped with parsley and a serving of socca or crusty bread. Enjoy!

Serves 6 - 8.

Notes: 

As noted above, change the herbs to whatever you have on hand. You could also use an Italian blend seasoning if you like. I also like to add in a sprinkle of red pepper flakes.

I would suggest using the biggest pot you have for ease, this makes quite a bit of soup.

If leeks are not available, sub in 1 medium onion, diced.

Collard Greens & Cannellini Beans

Collard Greens & Cannellini Beans

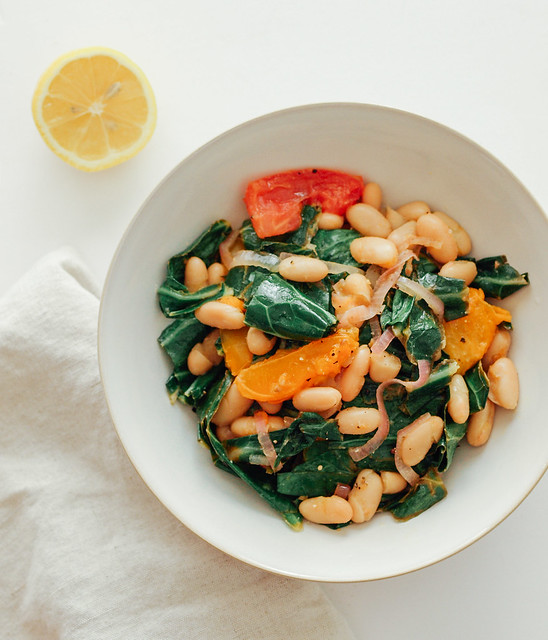
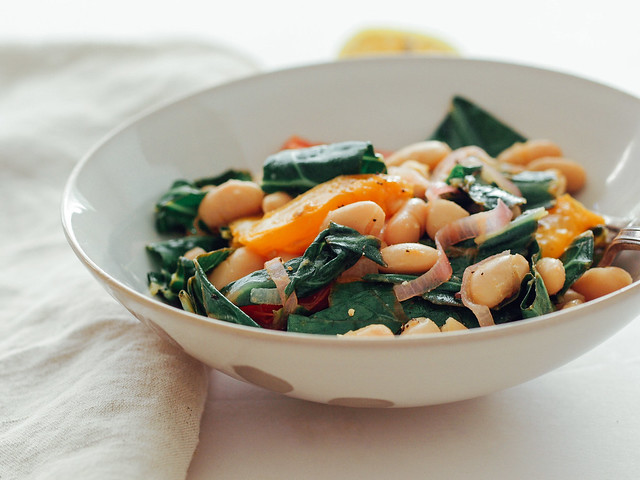
This is my first time ever having collard greens. I know I'm not alone in this and if you haven't yet tried these leafy greens, I think it's high time you do. This dish may not look super exciting but let me tell you it is a very welcome addition to the recipe collection! I surely have been missing out and am happy to share with you this very easy collard dish that will win your heart! I most definitely prefer my collards lightly cooked versus raw. They are far too bitter for me raw but once lightly sautéed they lend a beautiful smoky flavor that I find myself craving. The lemon is essential in this recipe so please be sure to have a couple lemons on hand, or bottled lemon juice if need be. This is a super simple, full of flavor dish that can easily act as a meal. Pair it with some warmed corn tortillas, naan or a slice of artisan bread and you're good to go. I've chosen to use cannellini beans here as they are mild, creamy and pair well with the other ingredients. Feel free to use another white bean of choice. Adding a tomato or two lends a bit more juices and color rounding out the dish perfectly.

Collard Greens & Cannellini Beans

Collard greens in a recent study outshined steamed kale, broccoli, brussels sprouts & mustard greens in its ability to aid the digestive tract helping to reduce the body's cholesterol levels. There is not a lot of scientific literature on collards themselves, they are usually lumped together with other cruciferous vegetables, but they hold many benefits to your health as the world is finding out. Three of the major benefits include: detox support, antioxidant powers and anti-inflammatory benefits. They are an excellent source of vitamin K, A, C, manganese, fiber and calcium. If you haven't given these leafy greens a try, this recipe is a great way to add them into your diet.

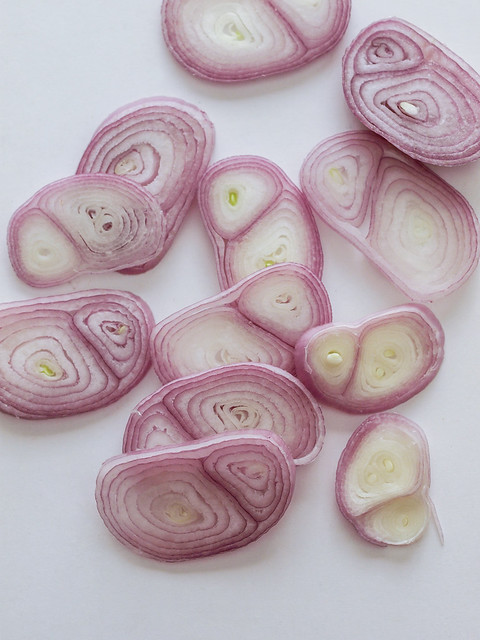
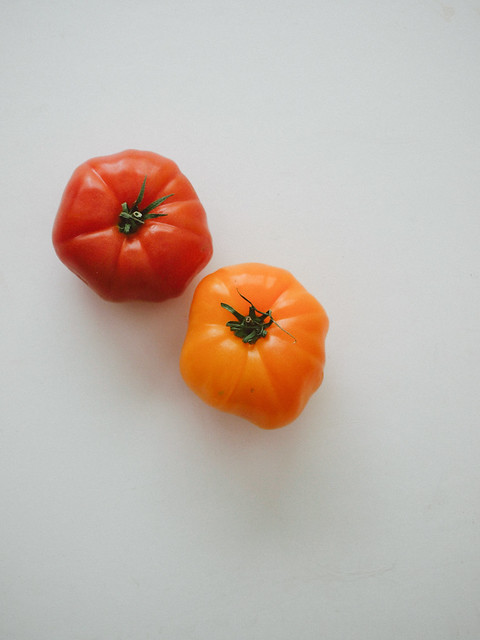
ShallotSliced shallotCollardsHeirloom tomatoes

Ultra simple and super delicious...

Collard Greens & Cannellini Beans

I promise! ♥

Collard Greens & Cannellini Beans

Collard Greens & Cannellini Beans

Ingredients
  • 1 bunch collard greens, stems removed and chopped
  • 1 1/2 cups cooked or 1 can (15 oz.) cannellini beans, drained and rinsed
  • 2 small heirloom tomatoes, sliced or diced
  • 1 shallot, sliced or 1/2 onion, sliced
  • 1 tablespoon grapeseed or olive oil
  • 2 - 3 tablespoons lemon juice (1 large or 2 small lemons)
  • 1/4 teaspoon garlic powder
  • salt & pepper to taste

Heat oil in a large wok over medium heat, add shallots and sauté 4 minutes or so, just until softened. Add collards, lemon juice, garlic powder, salt & pepper, cook another 4 minutes. Add tomatoes and beans, cook, stirring occasionally, until collards are lightly wilted or until beans and tomatoes are heated through. I like my collards al dente if you will and cooked for about 5 extra minutes. Ending cooking time will vary depending on how soft you like your collards. 

Serve in individual bowls. Top with a squeeze of lemon and lemon-pepper seasoning if on hand. IF not using lemon pepper, try adding a light dusting of almond parmesan on top. Pair with warmed corn tortillas, naan or crusty bread and a tall glass of lemon water. 

Serves 2.

Notes:

If your bunch of collard greens is on the larger side, you may consider adding another can of beans.

Feel free to use sliced grape tomatoes, or sliced tomatoes on the vine. Whatever tomatoes you prefer or have on hand.

Add more garlic powder if you like, I didn't measure and am guessing this is about how much I used.

Enjoy this simple and flavorful dish!


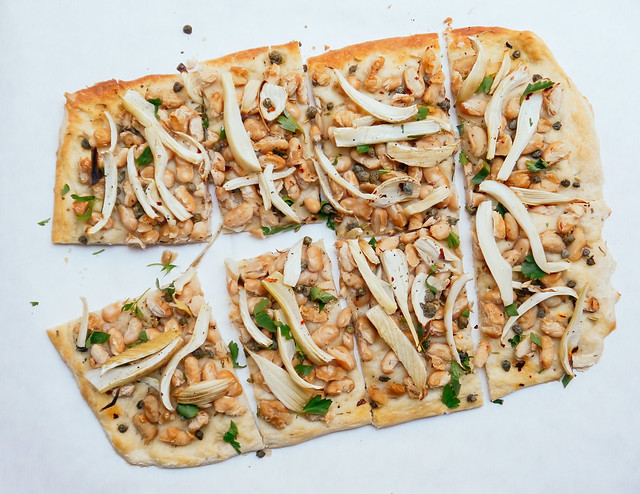
CANNELLINI BEAN & FENNEL FLATBREAD

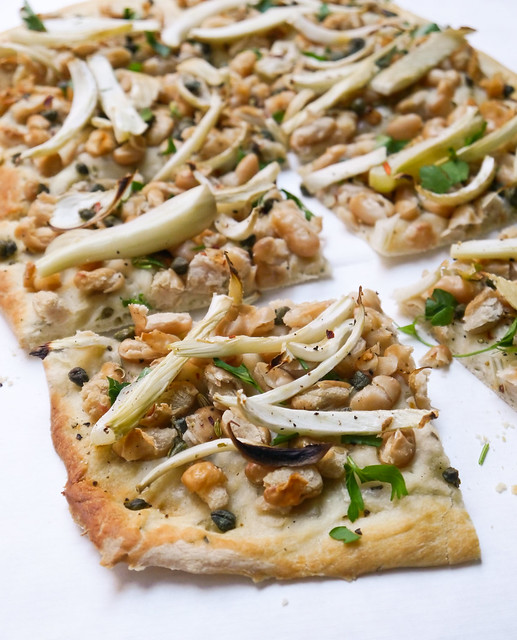
Cannellini Bean & Fennel Flatbread

Happy New Year to you all! As much as I enjoyed 2013, I'm happy to begin a new year. I hope everyone finds themselves at peace, healthy and happy as we begin 2014. I'm starting our year with this white bean and fennel flatbread. It's a great way to use this creamy white bean and fennel that I have been loving so much lately. Cannellini beans have a good amount of protein per serving, about 10 grams, and adds a subtle taste and nice texture the the recipe. Fennel, one of my favorite flavors at the moment, pairs so well with the beans and capers. Kalmata olives would also be spectacular as well. If your not a fan of capers, olives will be a great replacement or addition with their wonderful saltiness and flavor. You may even like to make an olive spread as your base for the flatbread, a quick recipe is in the notes for this option! As is, this was a great flatbread....so easy to make, visually appealing, protein enhanced and full of flavor. I could easily serve this as a meal or as an appetizer to friends and family.

Cheers to a new year of great vegan food, at least I hope you find it all to be as good as I do!

Cannellini Bean & Fennel Flatbread

CANNELLINI BEAN & FENNEL FLATBREAD

Ingredients
  • 1 pizza or focaccia dough (see notes for homemade dough)
  • olive oil
  • 1 fennel, thinly sliced about 1/4 inch or smaller
  • 1 can (15 oz.) cannellini beans, drained and rinsed
  • 1 -2 tablespoons capers
  • 2 - 3 teaspoons fennel seeds (thyme or herbs de provence would be great too)
  • mineral salt & cracked pepper to taste
  • red pepper flakes to taste, optional
  • chopped flat leaf parsley, to garnish
  • almond parmesan, to garnish

Preheat oven to 425 degrees F.

Let dough rest in its package or covered at room temp for about 15 minutes. On a baking sheet, grease or line with silpat or parchment paper, flatten dough into a rectangular shape using the heel of your hand. Use your fingertips at the edges to press and flatten outward.

Drizzle olive oil over dough and spread with your fingers, back of a spoon or silicon brush. Spread cannellini beans in a single layer over the dough. Layer with sliced fennel. Sprinkle with capers, fennel seeds, salt, pepper and optional red pepper flakes. Add an extra drizzle of olive oil over top if desired.

Bake for 20 - 25 minutes, until edges are golden and bottom is crisp.

Let cool a few minutes and slice. Top with chopped parsley. Serve with a light dusting of almond parmesan.

Serves 2 - 3 as a meal or 4 - 6 as an appetizer.

Notes: 

For ease, pre-made pizza or focaccia dough works great. If you prefer to make your own dough I recommend this recipe from Food 52. I suggest using spelt flour or a gluten free flour blend. I used a ready made rosemary foccacia dough for this recipe.

Feel free to replace the capers with sliced kalamata olives, or you may like to use both.

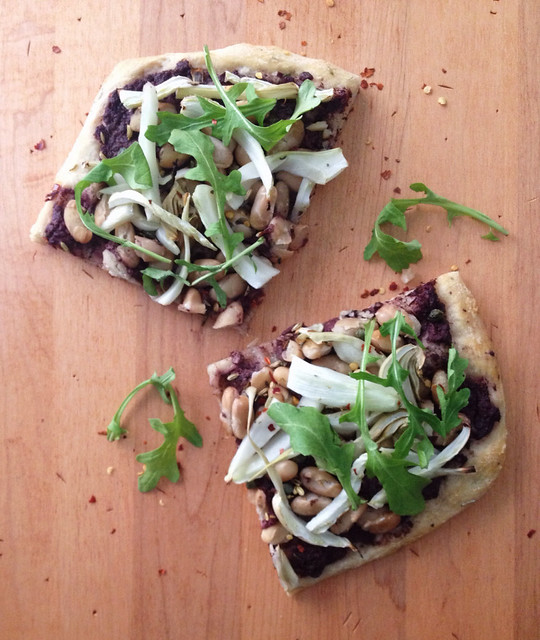
You may even like to add an olive spread before topping as pictured below. This was so delicious! In a blender/food processor, add 1/2 - 2/3 cups kalamata olives and a tablespoon or so olive oil, pulse until roughly blended. Spread mixture evenly over dough before topping. This will add a wonderful flavor to every bite!

Lunch today: Cannellini Bean & Fennel Flatbread with the optional olive spread and topped with arugula... So good!

I also used a Himalayan Salt with Truffles from Trader Joe's which added another layer of flavor! In the store it was $5.99, in the link it sells for $10 (glad I found it in the store). Yes, it's a bit for salt but I'm a foodie and this is what I like to spend my money on. :) I believe it's a holiday product so keep your eye out if your a truffle fan and pick up a can. I have only used the salt here and on little hassleback red potatoes with herbs...so far so delicious!

Here's a quick tutorial on how to cut fennel from Better Home & Garden

Enjoy!


Inspiration for this recipe was drawn from Bon Appetit and Food 52

Loving this tune from Little Dragon-Cystalfilm 


Roasted Vegetables + Chickpeas with Lemon-Cannellini Sauce

Roasted Vegetables + Chickpeas with Lemon-Cannellini Sauce

This recipe is adapted from one of the very first vegan meals I used to make on a regular basis when starting my new lifestyle. This was before I started blogging and then was off trying everything else I could. Nice to come back to this recipe once again. I have only slightly changed it from the original by adding chickpeas for boost of protein and texture, as well as mixing up the veggies a bit. The original recipe can be found here on One Green Planet by its author Robin Robertson. I love this recipe because of the versatility and ease. The vegetables can be pretty much anything you like. Use red or Yukon gold potatoes in place the sweet potato, just be sure to use about 2 cups worth. You can add, or sub in, butternut squash, pumpkin or any other winter squash you might like. You may like to add earthiness by using cubed beets. Try cauliflower florets in place of broccoli. Really anything goes here. As for the sauce, I find it's not something to write home about on its own but that changes once added like gravy to the top of your vegetables and grain, all the flavors come together and you'll be in comfort food heaven! This recipe is easy to pull together and makes for a great hearty meal in these cooler months. It's full of protein and fiber, is low in fat and has plenty of essential nutrients needed to maintain a healthy plant based diet! 

Roasted Vegetables + Chickpeas with Lemon-Cannellini Sauce

Clean, vibrant, healthy and satisfying!

By all means load your plate with two to three times the vegetables you see here. Enjoy freely!

Roasted Vegetables + Chickpeas with Lemon-Cannellini Sauce

Roasted Vegetables + Chickpeas with Lemon-Cannellini Sauce

Ingredients (serves 4-6)
  • 1 large sweet potato, cut into 1 inch cubes
  • 2 cups broccoli florets
  • 2 large carrots, sliced
  • 2 cups brussels sprouts, halved lengthwise
  • 1 onion, sliced (use your favorite onion or what you have on hand)
  • 1 can (15 oz.) garbanzo beans (chickpeas), drained  and rinsed
  • 1 tablespoon olive oil
  • mineral salt & fresh cracked pepper or lemon-pepper, to taste
  • 2 -3 cups cooked quinoa or grain of choice (about 1/2 cup per person)
Sauce
  • 2 cans (15 oz.) cannellini beans, drained and rinsed
  • 1/4 cup nutritional yeast
  • 1 teaspoon garlic powder
  • 3/4 - 1 cup vegetable broth (start low and add as needed)
  • juice of 1 good size lemon
  • generous pinch of red pepper flakes
  • mineral salt, to taste
  • 1 tablespoon fresh chopped basil, thyme, parsley, chives, sage, tarragon 

Preheat oven to 425 degrees F.

Line roasting pan/baking dish with silpat, parchment paper or grease lightly with neutral oil. Add vegetables to roasting pan and toss to coat with olive oil. Arrange vegetables in a single layer (as much as possible), sprinkle with salt and pepper to taste. Roast vegetables until tender and lightly browned, about 45 minutes, mixing once halfway through.

Start your grain of choice while vegetables are cooking. Quinoa will take about 30 minutes.

Prepare your sauce by placing all the ingredients into your food processor/blender, except for the herbs, and process until smooth. Add extra broth as needed to thin. Add in herbs and pulse once or twice. Place sauce in a small saucepan and heat over low heat, uncovered, until warm, stirring occasionally.

Serve vegetables over grain of choice with a nice helping of sauce over top. Serve warm.

Serves 4 generously.

Store leftovers in refrigerator for up to a week. Leftovers are just as delicious!

Enjoy!


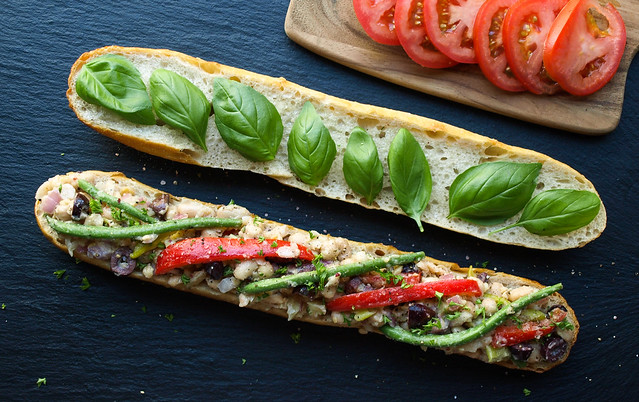
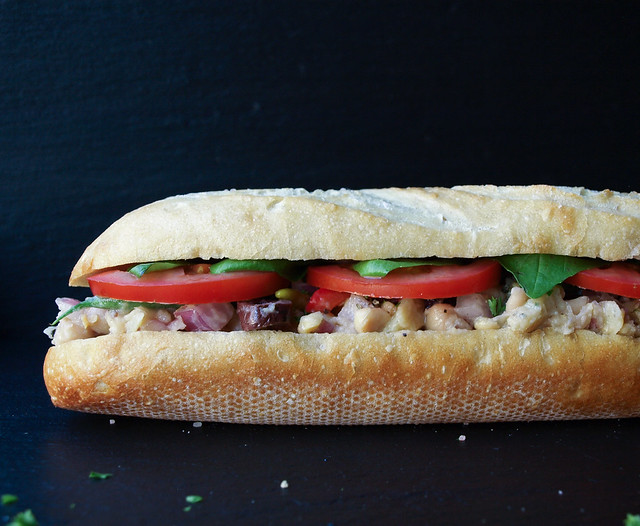
Pan Bagnat (White Bean Niçoise Salad Sandwich)

Pan Bagnat (White Bean Niçoise Salad Sandwich)

This recipe was inspired by a recent post on BuzzFeed for 27 Awesome Easy Lunches To Bring To Work. I'm thrilled to have been included in the roundup with the Mashed Chickpea Salad Sandwich! There is also a few other great vegan options as well so be sure to take a look. In it I saw a Pan Bagnat from Food 52 and had to recreate it for us plant powered lovers. I love Food 52, and have always been inspired by the simplicity and beauty of their photography. And of course the recipes are great too! I have a few in my collection that were inspired from there like this Mushroom Bourguignon and these Gluten Free Banana Flap Jacks. It's a great community if you haven't heard of it yet! In fact, they have a vegan column called The New Veganism with Gena Hamshaw of Choosing Raw as the recipe creator. Be sure to take a look and be inspired by both the recipes and photography!

Pan Bagnat (White Bean Niçoise Salad Sandwich)

The pan bagnat (meaning 'bathed bread') is a classic specialty sandwich served in and around the region of Nice, France. It's a sandwich version of the salade niçoise which is a combination of tuna, anchovies and/or sliced hard boiled egg mixed with raw vegetables like red bell pepper, green beans, radishes, olives and onion. You will also find there to be olive oil and possibly vinegar, salt and pepper. Here we'll be using a few of these traditional ingredients but veganizing this classic using white beans as our protein. And I can guarantee you this is just as delicious if not better than the traditional version! Not only does the salad make for a great sandwich filler but it would be just as good on a bed of leafy greens as well. This recipe may give you leftovers, and that's a good thing because it only gets better in the next day. One day make a sandwich for work, home or a picnic and the next top it on some leafy greens or just eat as is. It's pretty amazing on its own!

Pan Bagnat (White Bean Niçoise Salad Sandwich)Pan Bagnat (White Bean Niçoise Salad Sandwich)
Pan Bagnat (White Bean Niçoise Salad Sandwich)

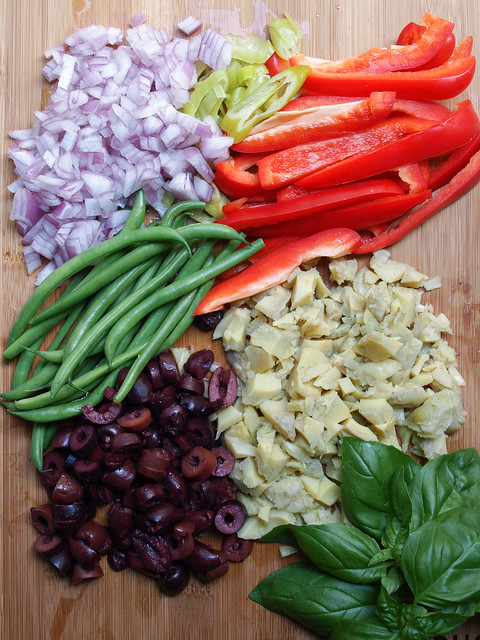
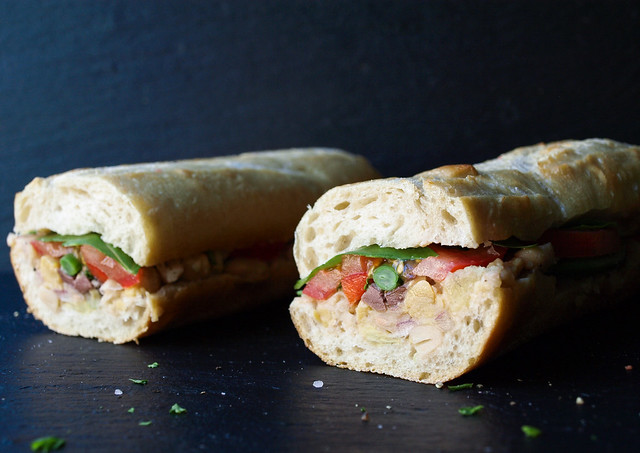
I love the saltiness from the olives here, you can add a tablespoon of capers if you like. The fresh bell pepper and blanched green beans add a nice crunch and sweetness while the onion and artichokes add another layer of flavor. Tie the vegetables together with the white beans, dressing made of olive oil, lemon and mustard, add a good sprinkling of mineral salt & plenty of cracked pepper and this salad will be another favorite to come back to time and time again!

Pan Bagnat (White Bean Niçoise Salad Sandwich)

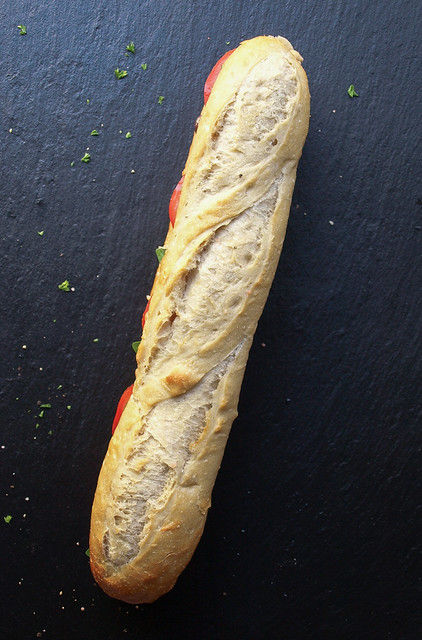
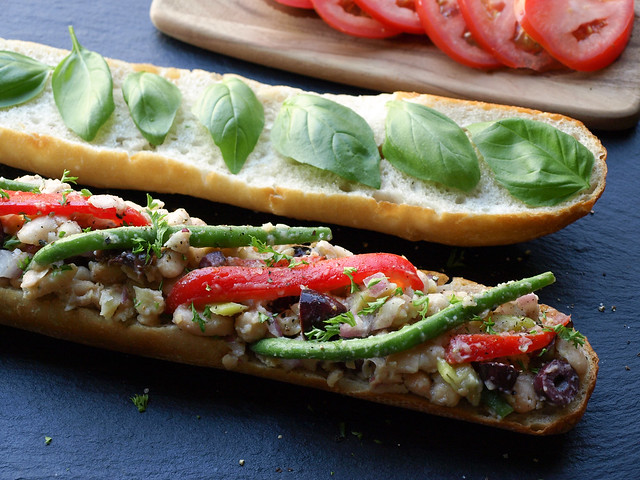
To create the traditional pan bagnet you'll first want to hollow out the insides of your bread. I left the top on this alone but from now on will hollow it out as well. It gives more room for your salad, helping to hold it together better while using less bread at the same time which is great too. Brush the insides of the bread with olive oil. Layer your bottom half with the salad. Since we're going to press the sandwich you can pile it on pretty good making a very hearty sandwich. Add your tomatoes across the top. Then layer basil, top with mineral salt & cracked pepper and remaining slice.

Pan Bagnat (White Bean Niçoise Salad Sandwich)

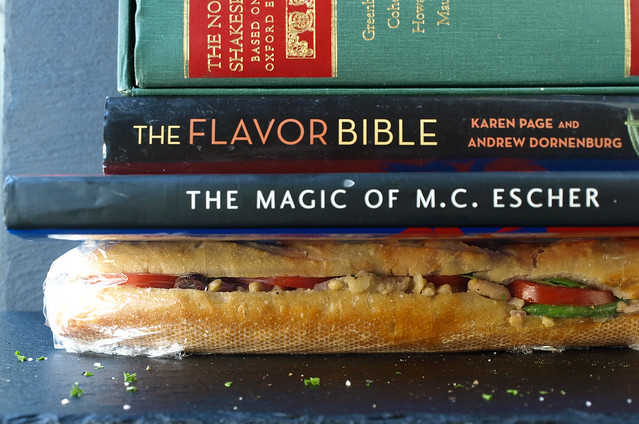
Wrap your sandwich tightly in saran wrap, fold ends under and press with a few heavy books or pots. This is an important part or your sandwich will be very messy and fall all over. Trust me, I know this from first hand experience. Plus, this helps the bread soak up the moisture of the salad dressing making for 'bathing the bread'. So be sure to press your sandwich, even if just for an hour, it will make all the difference...although overnight is even better. This makes a perfect grab and go sandwich for lunches and picnics, once pressed it's ready to go!

Pan Bagnat (White Bean Niçoise Salad Sandwich)

 Pan Bagnat (White Bean Niçoise Salad Sandwich) 

Ingredients 
  • 1 can (15 oz.) cannellini or chickpeas (garbanzo beans), drained and rinsed well or 1 1/2 cups cooked white beans
  • 1/2 red bell pepper, thinly sliced
  • 1/4 cup blanched French green beans, cut into half or thirds
  • 1 jar artichoke hearts in water, drained and chopped
  • 1/2 red onion, diced
  • 3/4 cup kalamata olives, pitted and sliced
  • 2 tablespoons parsley, finely chopped
  • 1 -2 greek pepperoncinis, diced (optional, not a traditional ingredient)
  • mineral salt & fresh cracked pepper, to taste
Dressing
  • 2 - 3 tablespoons extra virgin olive oil
  • juice of 1 large lemon (about 2 tablespoons)
  • 1 heaping teaspoon Dijon mustard
To assemble
  • 1 French baguette, ciabatta loaf, Pain de campagne, boule or artisan loaf of choice (even good sized rolls would be great)
  • extra virgin olive oil, to brush
  • 8 - 10 basil leaves
  • 1 medium tomato, thinly sliced
  • mineral salt & cracked pepper

Cut bread in half lengthwise. Remove some of the insides of each half making a trough for the filling (this will help keep the filling inside the sandwich when eating). Brush both halves with extra virgin olive oil.

In a small bowl, mix the dressing ingredients together until dijon has emulsified. Set aside to let the flavors develop.

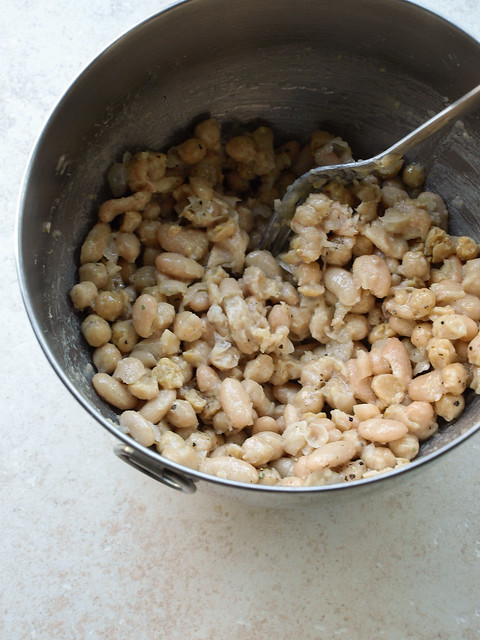
In a medium/large mixing bowl, add beans and roughly mash leaving about 2/3 whole beans. Add in dressing to the beans and mix well. Add in the bell pepper, green beans, artichokes, red onion, olives, parsley, optional pepperoncini and salt & pepper. Mix to combine.

Layer your bottom half of bread with a good serving of the mixed salad. Add tomatoes across the top, then top with basil leaves and salt & pepper. Top with other slice of bread. (You can also vice versa this layer order starting with the basil and tomato on the bottom and salad on top.)

Wrap sandwich tightly in saran wrap and press with a few heavy books/pots for at least an hour to overnight. If overnight, be sure to press in the refrigerator.

When ready to serve, slice in half or make as many slices as you like. Serve chilled or at room temperature.

Store any leftover salad mixture covered in the refrigerator for up to 5 days. 

Notes:

The cannellini beans have more protein and fiber than chickpeas so if that is a priority use them. Otherwise use your preferred white bean.

Try adding a splash of red or white wine vinegar to the dressing if you like.

As with all my recipes, add/subtract ingredients to your liking. Try adding a tablespoon or so of capers. I've had someone sub in asparagus for the green beans. Add sliced radishes along the top.

I edited this recipe on 11/10/13 at 12:15pm so it wouldn't make so much leftovers. The old recipe called for 2 cans white beans, 1 red bell pepper, 1/2 cup French green beans, 1 cup kalamata olives and 4 tablespoons olive oil. The old recipe was delicious, it just made a bit too much but of course feel free to use the old version instead so you'll have plenty of leftovers!

Enjoy!


Quinoa & White Bean Veggie Burger

Quinoa & White Bean Veggie Burger

It's burger time...

Quinoa & White Bean Veggie Burger

Quinoa & White Bean Veggie BurgerQuinoa & White Bean Veggie Burger
I haven't done a veggie burger in almost a year. It was time to add a new one to the list and this one is as delicious as it gets. These patties are loaded with protein and fiber as well as other beneficial nutrients, and they are very filling. As far as veggie burgers go this is fairly easy. I have to admit that I'm a pretty lazy cook and don't like a lot of steps. I prefer to spend as little time as possible preparing a meal as well as cleaning it up. Fyi, you can make this recipe even simpler by using a pre-made flour instead of processing oats like I did. The patties came out fantastic and held up great without falling apart, and they were not dry at all, nor were they mushy. The texture, taste and visual appeal all hit the mark. Once layered with all the extra goodies this burger was supreme and the best veggie burger I've ever had...am I biased...maybe, but these were divine! And, if you don't feel like having it on a bun, by all means top your veggie burger on a bed of fresh leafy greens with a squeeze of lemon, some avocado, salt and pepper...so good just like that! 

Quinoa & White Bean Veggie Burger

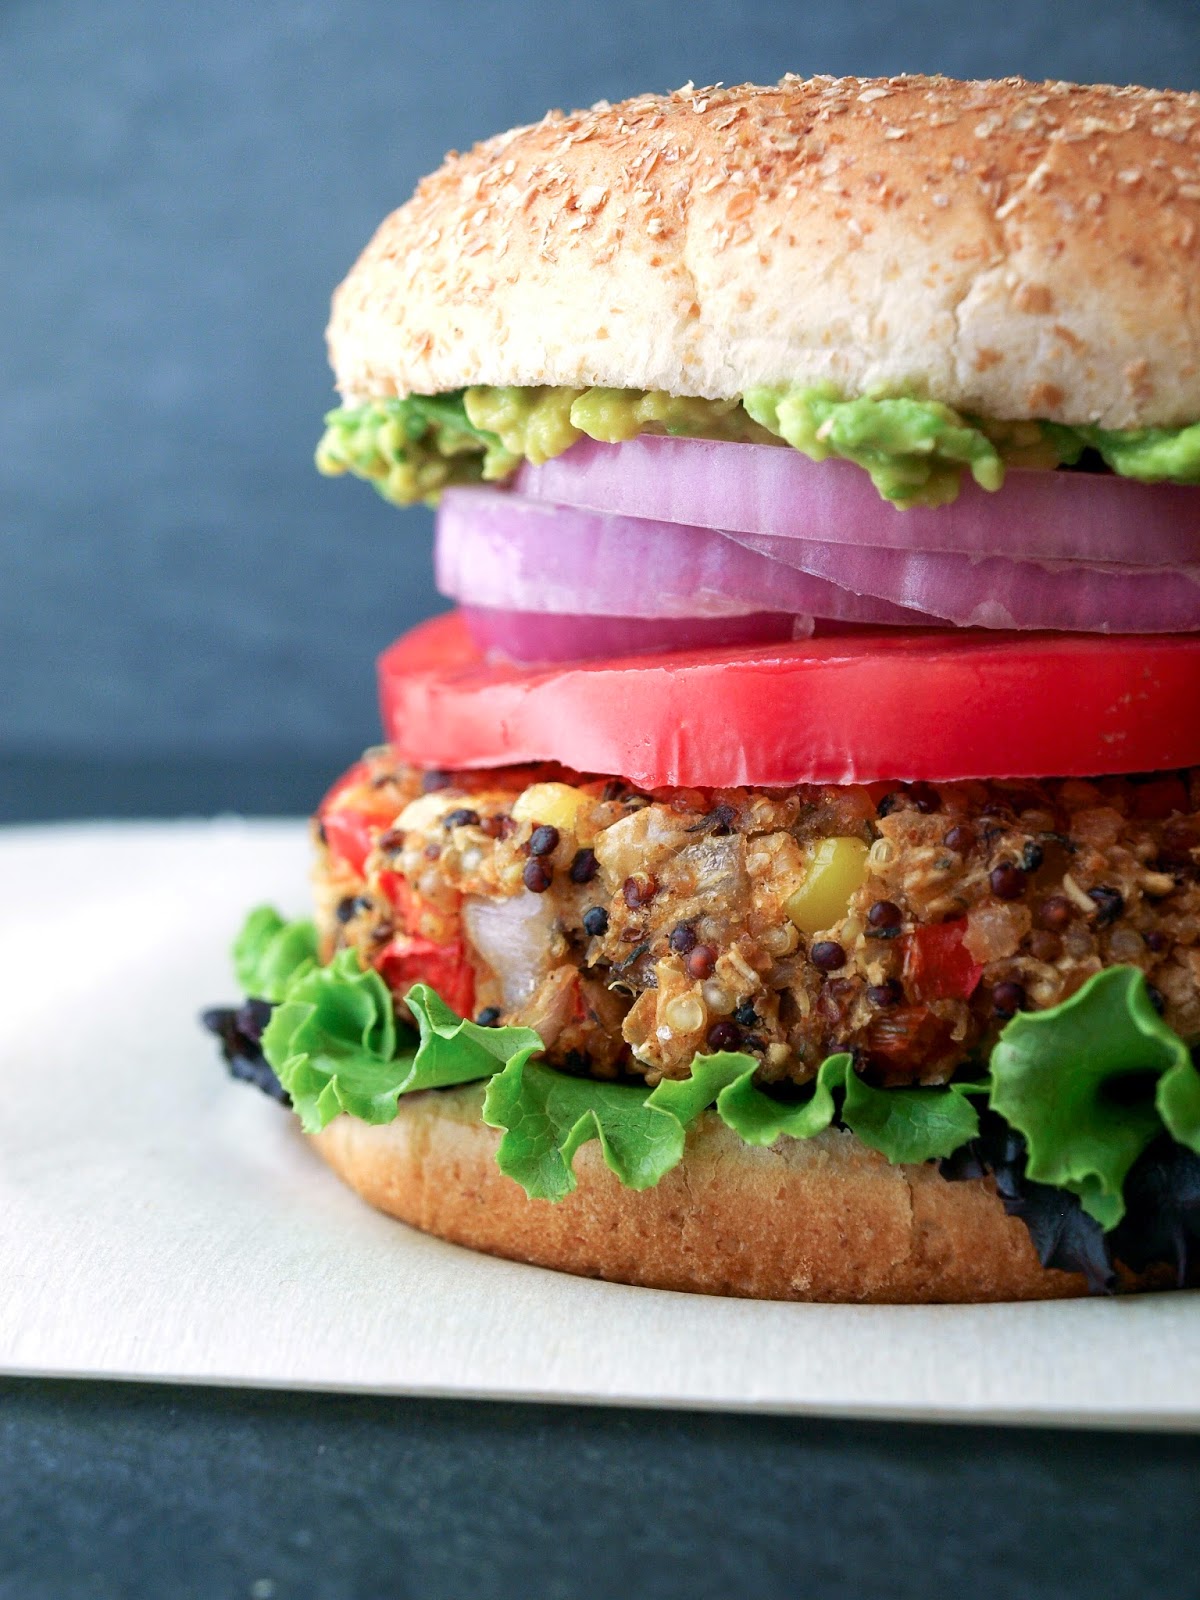
I loaded this beauty up with leafy greens, slice of heirloom tomato, sliced red onion, whole grain mustard, mashed avocado and a nice drizzle of sriracha. Lot's of flavors going on and I loved it. As the saying goes, "Eat like you mean it!" 

Quinoa & White Bean Veggie BurgerQuinoa & White Bean Veggie Burger

Quinoa & White Bean Veggie BurgerQuinoa & White Bean Veggie Burger

Quinoa & White Bean Veggie BurgerQuinoa & White Bean Veggie Burger

And now for the money shot! Having fun with my iphone and the VSCO Cam app (it's free), managed to create this final mouthwatering picture...veggie love at first sight!

Choose your cooking style...stove top

Quinoa & White Bean Veggie Burger

Ingredients (makes four patties)
  • 1/2 cup quinoa (I used tri-color)
  • 1 cup water
  • 1 teaspoon garlic powder
  • 3 teaspoons thyme, divided (oregano would be good too)
  • 1/2 - 1 teaspoon smoked paprika 
  • 1/2 teaspoon ground chipotle pepper, optional
  • 1 can (15 oz.) white beans (I used cannellini), drained and rinsed
  • 1/2 cup corn, fresh or frozen (about 1/2 fresh corn off the cob)
  • 1/2 cup red bell pepper, finely diced (about 1/2 bell pepper)
  • 1/2 cup shallot, finely diced (about 1 medium) or red onion
  • juice of one lemon
  • 1/3 cup oat flour, or flour of choice 
  • 1 Ener-G egg replacer or 1 flax egg (1 Tbs flaxseed meal + 3 Tbs water), optional*
  • mineral salt & cracked pepper, to taste
  • coconut or olive oil, to grease

To Serve:
  • tomato, sliced
  • leafy greens
  • avocado, sliced or mashed
  • red onion, sliced
  • whole grain or dijon mustard (hummus or vegan mayo is great too)
  • sriracha or Sriracha Cashew Cream (use the sriracha cream in place of mustard)
  • burger buns of choice

Start by making your flax egg or ener-g egg replacer and set aside. If baking in the oven, turn oven to 375 degrees F. (It's helpful to read instructions first before making the patties)  

In a medium pot, bring water, quinoa, garlic powder and 1 teaspoon thyme to a boil. Cover, reduce heat and simmer for 15 minutes. Once done, remove cover and let set for 10 minutes.

While quinoa is cooking, prepare your corn, shallot and red pepper. Be sure to dice your onion and red pepper fairly fine, they should be about the same size as the corn kernels.

Next, mash your beans. I mashed about 3/4 of the beans leaving a quarter of the batch whole or somewhat whole.

Once quinoa is ready, add the quinoa to the beans along with the shallots, red pepper, corn, remaining 2 teaspoons thyme, smoked paprika and optional chipotle powder and lemon juice. Mix well. Add in the flour and egg replacer, mix well again. Season to taste with salt, pepper and more of the other spices. We all vary on how strong we like our spices...you can't take out but you can always put in.

Now to divide and make your patties. I like to pat my mixture into the bowl a little and divide it with a knife into 4 sections, making a plus sign if you will. Take each section and pack it tightly into a ball in the palm of your hands. It should be about the size of your hand. Flatten with your palms and place on hard surface. Cup the edges with your palms and tighten them in a bit and flatten the top to the desired size. Mine were about 1/2 inch thick by 3 1/2 - 4 inches.

Cook one of two ways:

In the oven at 375 degrees on a greased or parchment lined cookie sheet for 30 minutes, turning once after 15 minutes. I also added a sprinkle of himalayan salt to the top before baking.

OR

In a large skillet, heat 1 tablespoon coconut oil or olive oil over medium to medium high heat. Cook patties about 4 - 5 minutes on each side.

I cooked both ways and had no preference. They both held up well and cooked great. (pic shows skillet cooked)

Serve on bun or bed of leafy greens with choice of toppings!

Notes:

The patties can be made ahead of time and stored covered in the refrigerator for a couple days prior to cooking.

*I have a sneaky feeling that this can be made without the use of any egg replacer if you don't have it available. I have it here for good measure until I try without (in the comments you will see that it has been done). If you decide not to use an egg replacer, when adding the flour, just try adding two - three tablespoons of water instead if needed...the amount may depend on the flour you're using.

For mashed avocado, cut open avocado, remove seed and using a fork, mash the flesh right in the skin...it's like a bowl. Spread on bun for a great creamy condiment!

I hope this makes you want to get in the kitchen and cook.
I encourage you to make these soon and often...

Enjoy!

Roasted Buddha Bowl + Creamy Lemon Hippie Sauce

Roasted Buddha Bowl

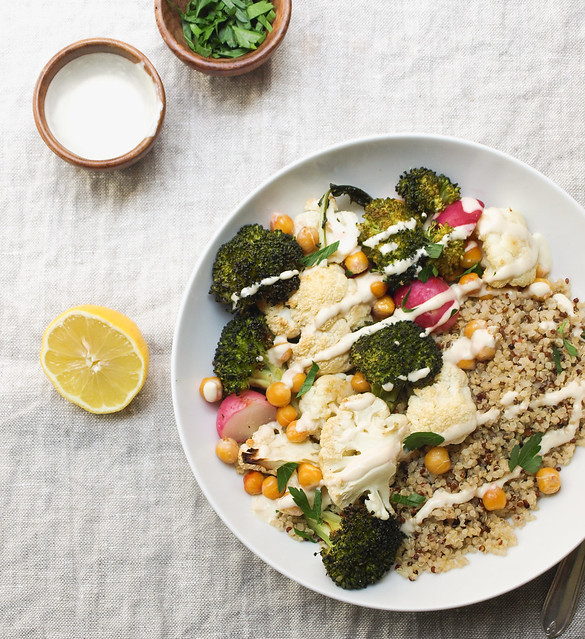
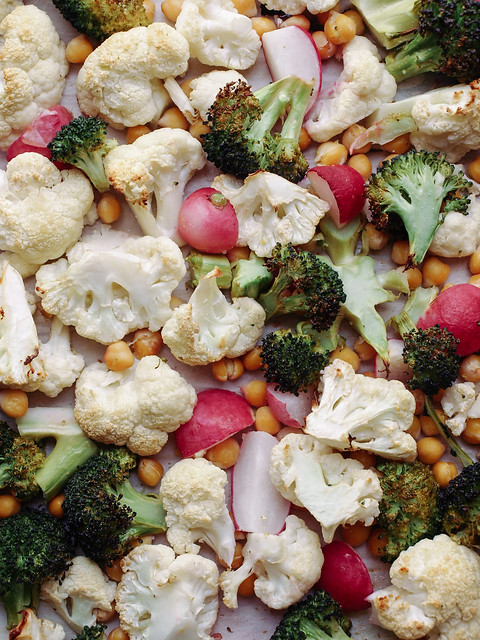
What I have to share with you today is my take on the Roasted Buddha Bowl from Oh She Glow's. It is my kind of meal...simple, flavorful and easy! I added some radishes to my mix. Once roasted, they become sweet and tender. If you've never grilled or roasted radishes, I highly recommend adding that to your list of must tries. I also made my own sauce for this recipe. I've been having lots of cashew based sauces lately and decided to mix it up with a lemon white bean sauce. It came out wonderful and pairs really well with the quinoa and vegetables. I would consider it more of a hummus that has been thinned out a bit. I think you'll love it. So we have another nutrient dense meal that tastes great, is filling and easy to make. Be sure to pick up some radishes and give this bowl a try...you may find that you will make it again and again. I have. :)

Roasted Buddha Bowl

Before we begin, let's go over a little bit about what a Buddha bowl is. Personally, this is my first experience with it, although I have made it many times before, I just didn't know it. Buddha bowls can be whatever you want them to be...they typically include a grain, protein, sauce and vegetables. But you can add anything your kitchen holds and/or your heart desires. Usually you will find the vegetables to be sautéed or steamed. I really love roasted vegetables so this Buddha bowl is perfect for me. I think sweet potatoes would be great in this too. You can keep your Buddha bowl simple or go all out adding all kinds of colorful ingredients. Chances are you've already had many Buddha bowls too! 

Now let's be full of gratitude for all that is and dine in peace...

P5075367-2Roasted Buddha BowlRoasted Buddha Bowl

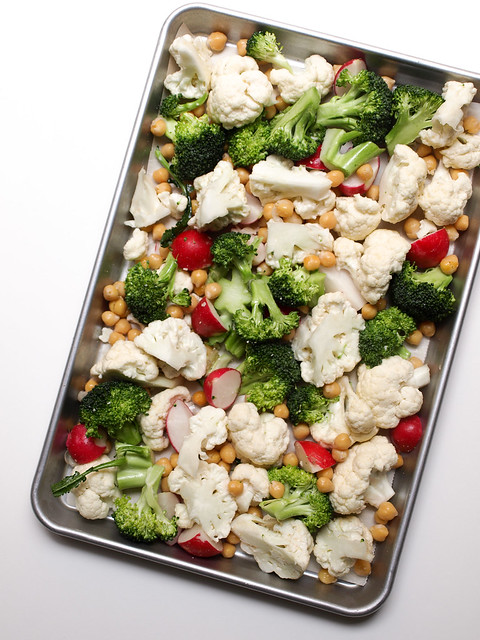
Prepare your vegetables and roast.

Roasted Buddha BowlRoasted Buddha Bowl

Quinoa, my favorite grain of all time...to date that is! It's full of protein, fiber and is just an amazing grain with its versatility. My favorite is mixing white and tri-color quinoa together. It breaks up the solidness of the white quinoa and the too clutseriness of the tri-color, and it always photographs the best for me adding just the right texture. It's perfect for this Buddha bowl and can cook while the vegetables are roasting.

Roasted Buddha Bowl

Roasted Buddha Bowl

Ingredients (serves 3 generously)
  • 1 broccoli head, cut into florets
  • 1 cauliflower head, cut into florets
  • large handful radishes, halved (or quartered depending on the size)
  • 1 1/2 cups cooked chickpeas (garbanzo beans) or 1 can (15 oz.), drained and rinsed
  • 1 - 2 tablespoons olive oil or sesame oil
  • generous sprinkle of garlic powder
  • pinch or two of salt
  • 1 cup quinoa, (rinse if you pref) 
  • 1 1/2 cups water
  • chopped parsley, to garnish

Creamy Lemon Hippie Sauce
  • 1 can (15 oz) cannellini beans or chickpeas (garbanzo beans), drained and rinsed or 1 1/2 cups fresh cooked
  • 2 tablespoons tahini
  • 2 tablespoons extra virgin olive oil
  • 2 tablespoons nutritional yeast, optional
  • 1 large garlic clove
  • juice of 1 large lemon
  • mineral salt, to taste
  • 2 - 4 tablespoons water for thinning 

Preheat oven to 400 degrees.

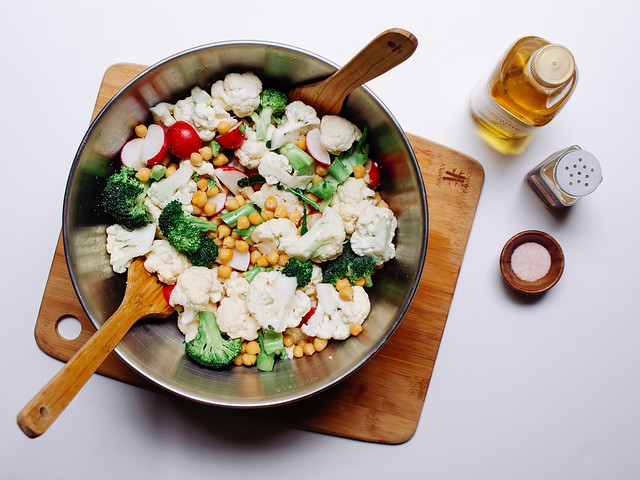
In a large bowl, combine broccoli, cauliflower and radishes, drizzle with oil, garlic powder and salt, mix well to coat. Place mixture on rimmed cookie sheet or roasting pan. Cook for 35 -45 minutes, stirring once in between.

While vegetables are roasting, in a medium pot add quinoa and 1 1/2 cup water. Sprinkle in a dash or two of garlic powder and mineral salt. Bring to a boil, cover, reduce heat and simmer for 15 minutes. Remove from heat, uncover and let rest for 10 minutes. Fluff with fork.

Next, prepare your sauce by placing all the ingredients in food processor/blender, except the water, and blend until creamy smooth. Add water 1 tablespoon at a time until desired consistency. You may also like to add more lemon in place of water for a really zesty lemon sauce. Taste for flavor adding extra garlic or salt if needed.

Serve vegetables on top of quinoa, add a generous amount of sauce on top...don't be shy with the sauce, it's so good and healthy. Add some freshly chopped parsley and cracked pepper or lemon pepper if you like. A Buddha bowl fit for a king or queen!

Store left overs in an air tight container in the refrigerator for up to a week

Notes:

If you have sauce left over, you can use it a dip for veggies or pita chips, or as a spread for sandwiches.

You may also like to try this Sriracha Cashew Cream Sauce in place of the sauce suggested above for a spicy twist or this Tahini-Miso Dressing for another mellow sauce!


Enjoy!

Image of the sitting man with his Buddha bowl comes from the first published book by Anna Thomas called, The Vegetarian Epicure. You can find all four of her books here including her new book, Love Soup. I stumbled onto this graphic from this blog post at Gluten Free For Good: Buddha Bowls and Hippie Chicks.

A final note, food for thought from a genius...

'If someone thinks that peace and love are just a cliche that must have been left behind in the 60's, that's a problem. Peace and love are eternal.'

~ John Lennon


Back to top