ORANGE & SPICE HOT COCOA

ORANGE & SPICE HOT COCOA

This is a quick n' easy orange hot chocolate to change up the usual hot cocoa routine. The winter weather is finally setting in here with rain and very cool temperatures, it calls for a nice mug of hot cocoa! I love orange and chocolate together and set out to come up with a hot cocoa using this combination. After doing a bit of research on orange hot chocolate, using orange juice is not typical, usually a bit of orange extract is added or even orange flavored liqueur (which sound pretty good too on certain occasions!). Since I happen to only have some oranges on hand, I decided that would do perfectly fine. And it did! Using orange juice instead of flavoring will also give you the added benefit of vitamin C with your cocoa. Add in the cinnamon & ginger and you have yourself a nicely flavored hot cocoa. I even love this without the ginger, using just cinnamon. Use the spices to your liking and preference. For a bit of heat, you may consider adding a dash of cayenne powder. The toppings can be changed up to whatever you like or have on hand. So next time you're thinking about having a cup of hot chocolate give this version a try, I think you'll love it too!
ORANGE & SPICE HOT COCOAORANGE & SPICE HOT COCOA
ORANGE & SPICE HOT COCOA

ORANGE & SPICE HOT COCOA

Ingredients
  • 3 cups unsweetened almond milk
  • 1 cup 100% pure orange juice
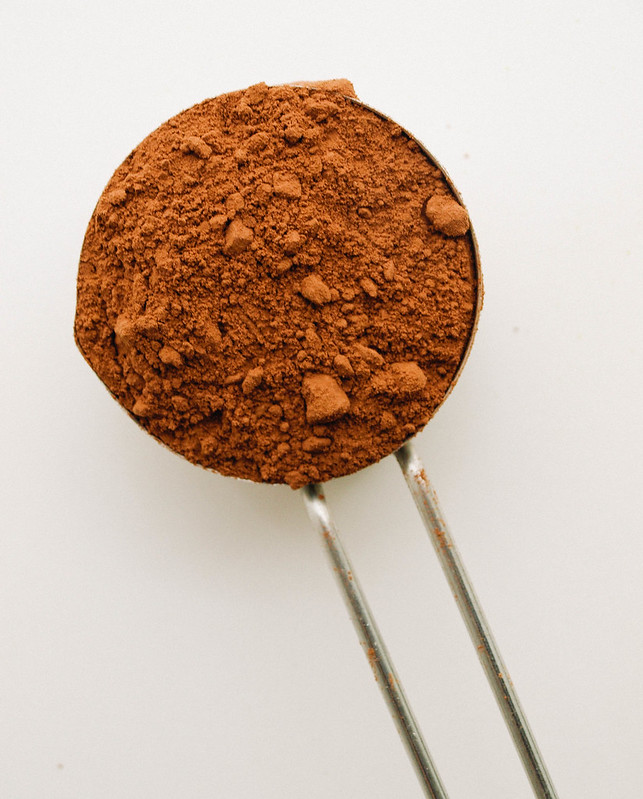
  • 1/4 cup unsweetened cocoa powder 
  • 1/4 cup raw sugar, pure maple syrup or coconut nectar/sugar
  • 1 teaspoon ground cinnamon
  • 1/2 teaspoon ground ginger
  • pinch of salt

garnish options:

In a small/medium saucepan, heat milk and orange juice over medium-low heat. Add cocoa, sugar, cinnamon, ginger and pinch of salt, stir until cocoa is completely dissolved. Turn heat to low to keep cocoa warm until ready to serve.

Serve in individual cups topped with any garnish you like. I added coconut cream, dusted with cocoa powder and topped with orange zest.

Serves 2 - 3.

Notes:

Feel free to use water in place of non-dairy milk or use a combo of water & milk equally 3 cups.

For the orange juice, use fresh squeezed or bottled (no pulp to medium pulp pref). If using fresh squeezed, you may like to strain the pulp before using.

Make your 1/4 cup of cocoa heaping if you like a little extra chocolate flavor.


KIMCHI

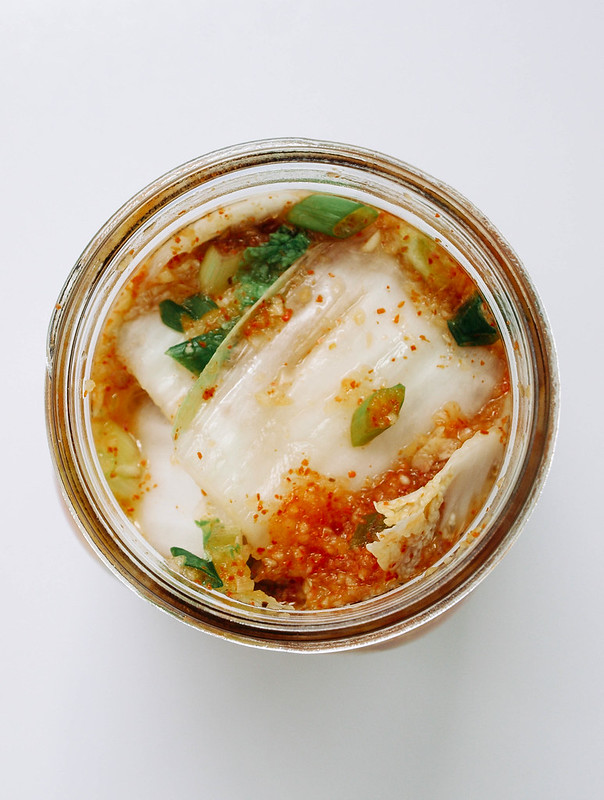
KIMCHI...Freshly packed

Welcome to the world of Kimchi! This tangy, spicy dish is a staple in the Korean culture and is typically eaten with every meal. In fact, kimchi is their national dish. Once you become accustomed to its unique characteristics, you may find yourself hooked! Kimchi is a mixture of vegetables and spices that go through a fermentation process, in our case we'll be using cabbage as our base. Fermenting foods have long been known for their health benefits. Foods like kimchi, kombucha, sauerkraut, pickles, miso and tempeh are probiotic powerhouses. The fermenting creates good bacteria which work directly in the gut to balance and regulate a variety of bodily functions. It can help with IBS, boost your immunity, aid in weight loss and even promote better skin. With kimchi being so simple to make, it's easy to add this beneficial mixture to your weekly meal plans. 

My first  experience with kimchi was with a jar I picked up at a local grocery store labeled Pickled Planet. I fell in love with the spicy flavor. I also have an affinity for all the ingredients listed on the jar and set out to make my own using the list as my guide. Basically it's cabbage, apple, green onion, red pepper, salt, garlic & ginger. After researching I found how kimchi recipes vary. I'll be playing around with different versions and sharing my experience here as I do. It's very easy to make and just takes patience to get through the first day or two. In the last couple weeks, I've tried 2 different spice blends, both delicious and noted below. I've also used different style cabbages, all great. I've even added shredded carrots but will save that for another recipe. Kimchi is a new addiction for me. Its spicy, pungent flavor and versatility keeps me coming back for more. If you've never tried kimchi, I hope this will inspire you to get in the kitchen and give it a try, or pick up a ready-made vegan version and enjoy asap! 

KIMCHIKIMCHIKIMCHI

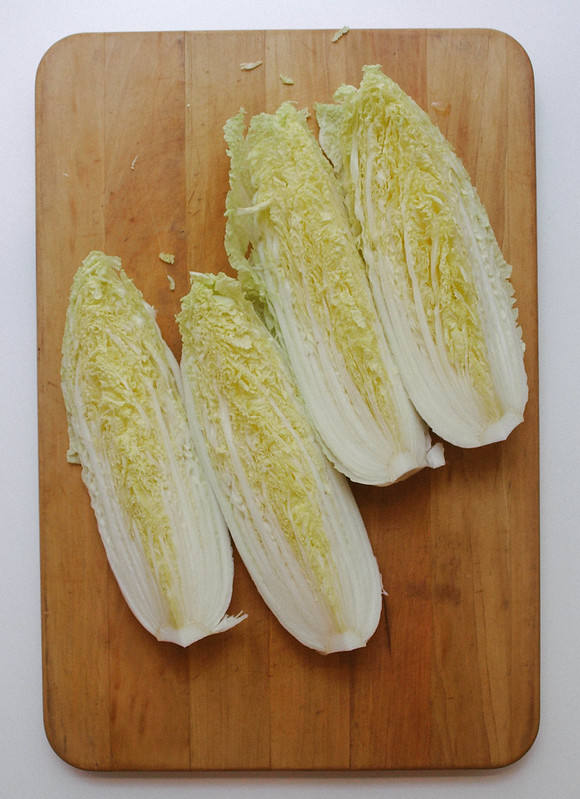
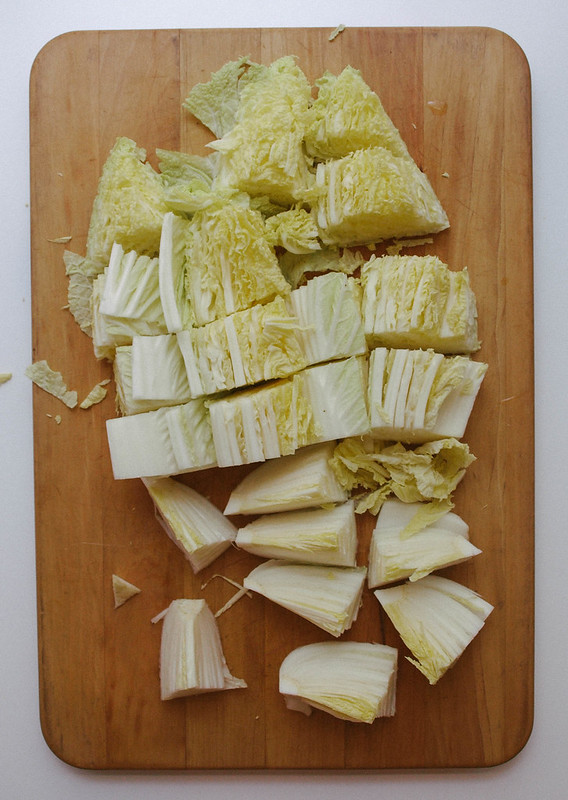
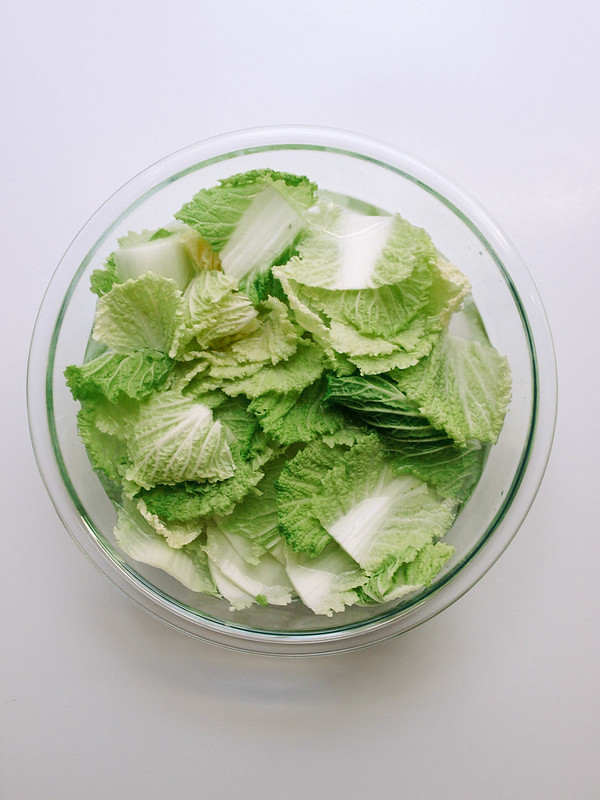
First, quarter your cabbage and slice laterally into 2" chunks. Cabbage will shrink a bit more during the fermentation process so no need to chop it too small. But you may consider slicing the pieces with thick stalks (mainly the pieces towards the bottom), slicing them in half will do fine. Here I used Napa cabbage as it is the most traditionally used cabbage but you can use green or savoy with excellent results, you may even find you like one of these better.

KIMCHIKIMCHIKIMCHIKIMCHI

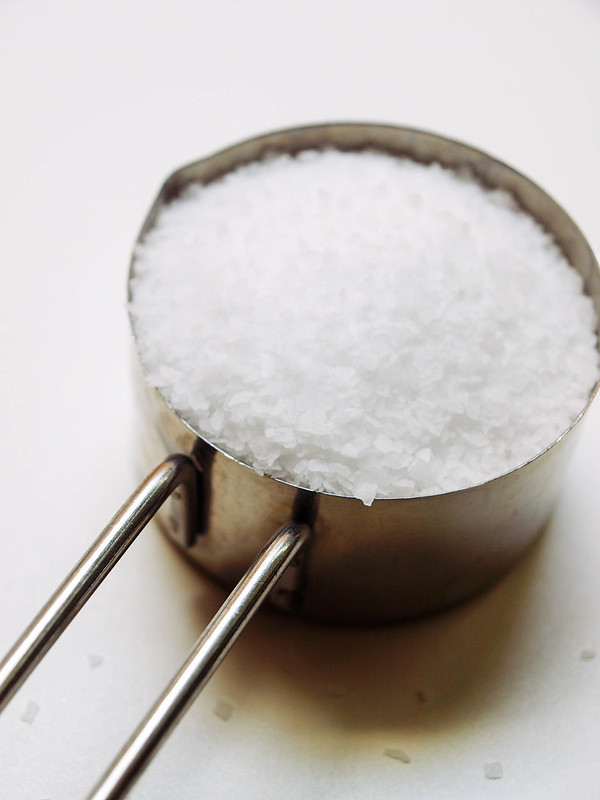
Next is the soaking of the cabbage in salt water, this will help draw moisture from the plant cells causing the leaves to wilt. Soaking the cabbage in salt water will move the preperation along a lot faster than than other methods used, it is my preferred method. For your salt, stick with using kosher, pickling or other course salts like sea or mineral salts that do not contain iodine. Iodine, with its antimicrobial properties, may interfere with proper fermentation. Place cabbage in a salted water bath, cover with dish and place weighted object on top to submerge the cabbage, let soak for at least 2 hours, up to 12 if you like but I find 2 hours is plenty.

KIMCHIKIMCHI

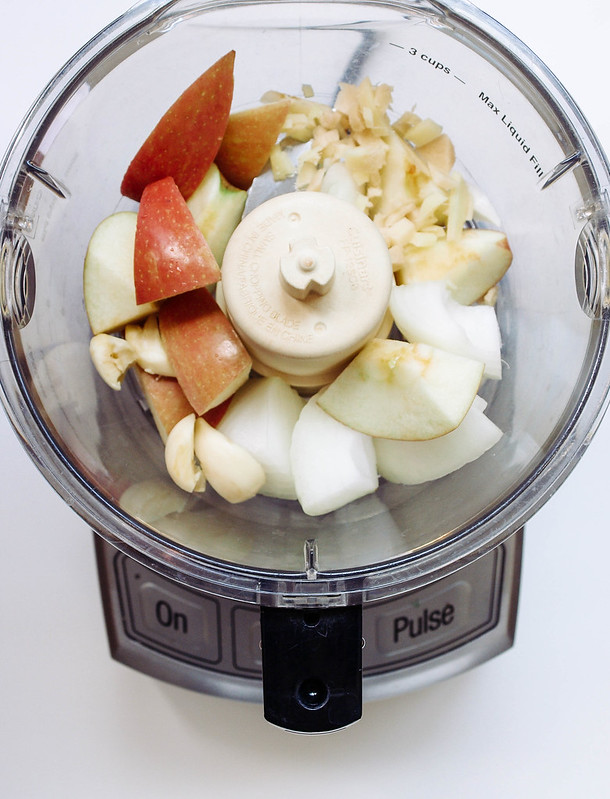
Puree the apple, onion, ginger and garlic making a sweet and zesty mixture. The sugar from the apple will help in the fermentation while adding a hint of sweetness. You can also use a pear. Some recipes call for a teaspoon or two of sugar in place of the apple (I will save that method for another kimchi recipe). I like the thought of using an apple but if you're in a pinch without an apple in sight, use 2 teaspoons of organic pure cane sugar, coconut sugar or sugar in the raw....just the puriest sugar you can find. You may like to add a bit of water to the mix as well, about 2 - 3 tablespoons. 

KIMCHI

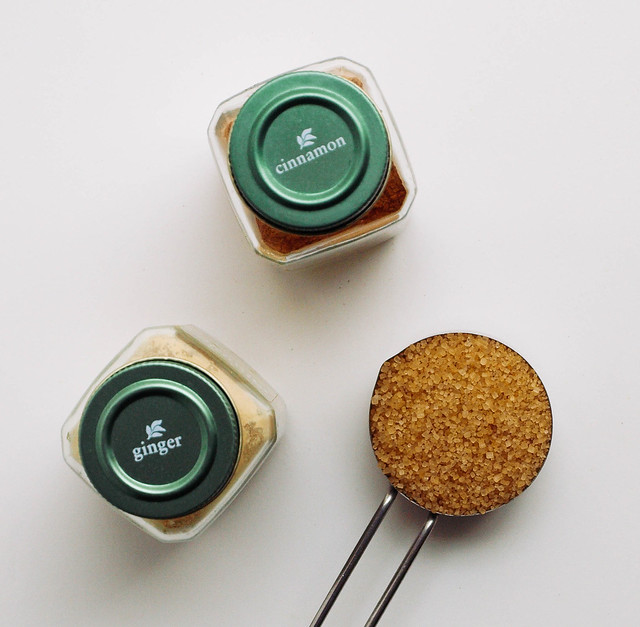
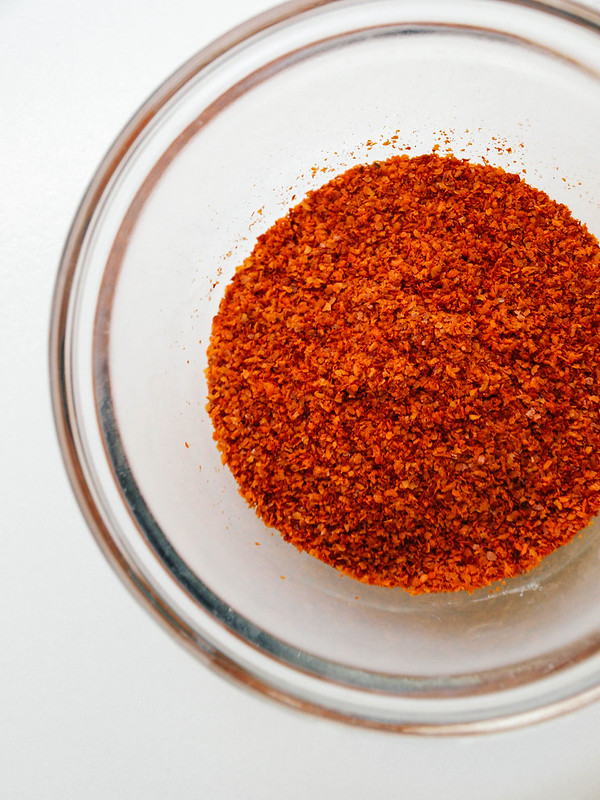
For the spice, you'll want to source out Korean red pepper powder or flakes known as gochugaru. You can find it at Asian grocery stores or online. I just tried this one from Mother In Laws Kimchi Korean red pepper flakes and thought it had an nice flavor. The peppers are not overly spicy, but I do find that the spiciness will intensify as the kimchi ages. I've also replaced the korean red pepper and used a mix of cayenne pepper and sweet Hungarian paprika, using 1 tablespoon each, and it was delicious as well.

KIMCHIKIMCHIKIMCHI

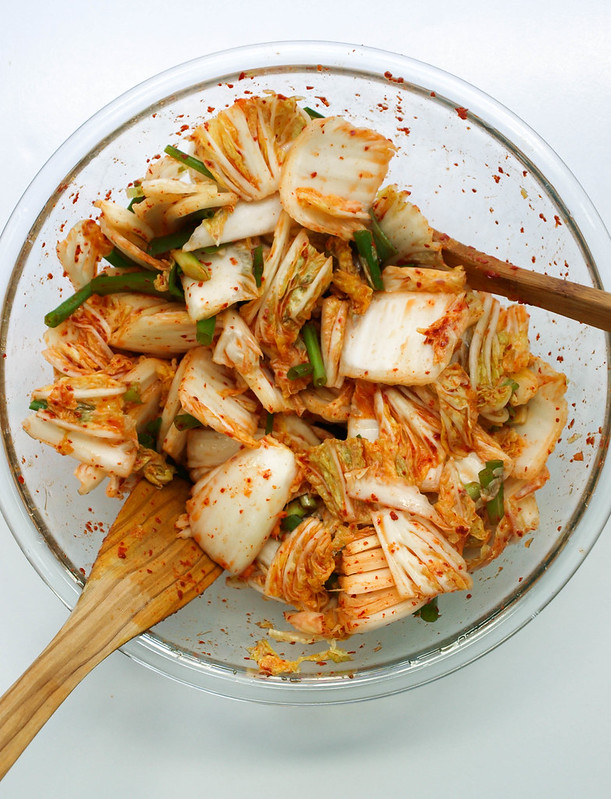
Make your spice mixtures and combine with cabbage and green onions, mix well to coat. Some use their hands (gloves recommended if you do), I used wooden spoons. Pack your mixture into glass jars or containers with a lid, leaving a little room at the top and cover. Check periodically for the next 24 - 36 hours. Move to refrigerator, kimchi will keep for at least a month, maybe 2. 

KIMCHIKimchi

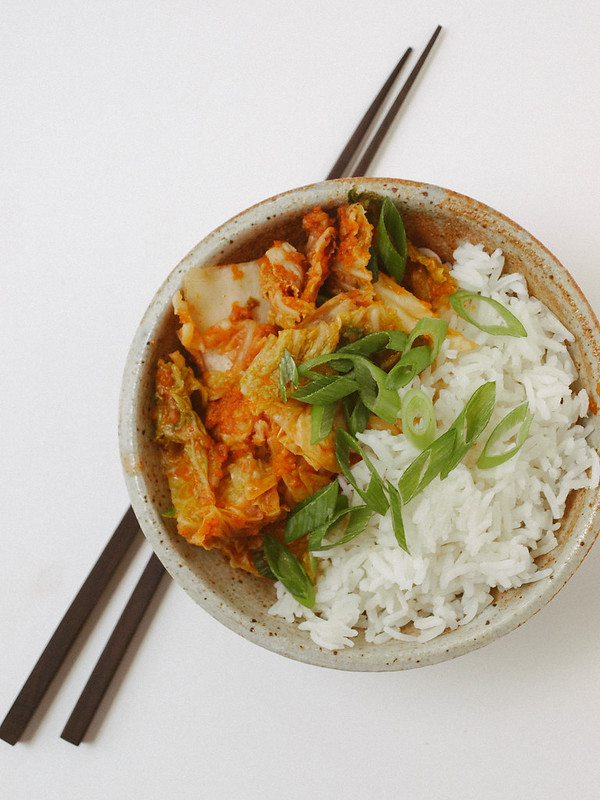
Kimchi can be served a number of ways. It's great as a simple dish with rice, a little cubed tofu would balance the meal out nicely. I have a Kimchi Tofu Scramble Taco recipe coming up next which tastes amazing! You can also be inspired by these tasty recipes: Kimchi Steamed Buns, Brussels Sprout Kimchi Tacos, Kimchi Fried Rice and Kimchi Tofu Summer Rolls. I have a few other ideas in mind as well so stay tuned...

KIMCHI

KIMCHI

Ingredients
  • 1 medium Napa cabbage, about 2 lbs (savoy, green or any combo works too)
  • 1/4 cup kosher, sea salt or other course salt 
  • 6  cups water
  • 3/4 sweet apple (I used fuji), chopped
  • 1/2 small white onion, chopped
  • 1 1/2 inch ginger, chopped
  • 1 - 2 cloves garlic
  • 3 tablespoons Korean chili powder (gochugaru) or 1 tablespoon each cayenne & Hungarian paprika
  • 3 - 4 scallions (green onions), sliced 1 inch

Preparing Cabbage: Quarter cabbage and chop laterally into about 2 inch pieces. Place cabbage in a an extra large bowl or pot. Combine salt with 2 cups of luke warm water, stir to dissolve salt. Pour salt water over the cabbage and add remaining 4 cups, stir to mix. If you can, place a plate or circular baking dish of sorts on top to submerge the cabbage (I used a pie dish), place something with a good amount of weight on top to hold down if necessary (it's not completely necessary but will help to evenly wilt the cabbage). Give cabbage a good mix every now and then. Let set for 2 hours, up to 12 if you like. I found that 2 - 4 hours was enough and didn't see much change between the two times.

Make your seasonings: While cabbage is soaking, combine apple, onion, ginger and garlic in food processor/blender and process until fairly smooth.

In a small bowl, mix the chili pepper with a small amount of water to make a wet paste. You can just as easily blend it with the apple/onion mixture adding a couple tablespoons of water as well.

Mix everything together: Once cabbage is ready, drain water, reserving 1/2 cup, and rinse well. Place cabbage back in large bowl, combine with the scallions, apple/onion mixture and chili paste. Mix well to coat all pieces. Either use your hands (with gloves on pref to protect from the chili pepper) or simply use wooden spoons to toss everything.

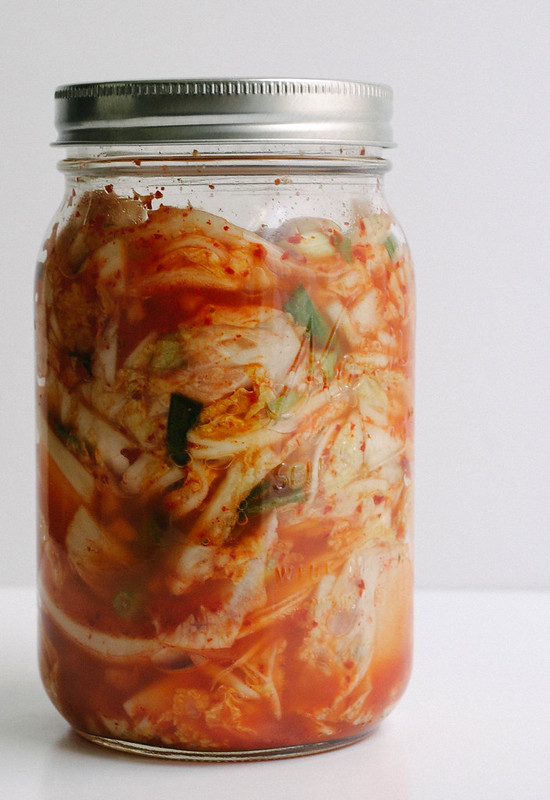
Packing: Place the kimchi in glass jars or containers with lid, pack down the best you can to close air pockets and leave about an inch at the top for air and gases. Top with remaining juices, add reserved brine if needed to cover vegetables.

Fermenting: Let kimchi set at room temp (or in a cool place like a pantry or closet if weather is extremely warm) for 24 - 36 hours. After 24 hours, open kimchi and pack the mixture down with a spoon (the cabbage will have likely shrunk and you'll have more liquids). You may notice it bubbling, this is perfectly normal as the kimchi is fermenting. As your kimchi ferments the flavors will develop, taste every 24 hours and place kimchi in the refrigerator once you're happy with the taste and to slow fermentation, usually after 48 - 36 hours. It should be tangy, spicy and slightly sweet. After moving to the fridge, it's best used within a month, maybe two.

Makes about 3 - 4 cups.

Notes:

Practice makes perfect with kimchi. You may find you like it more or less spicy. After a few tries you'll find the perfect mix to suit your taste. Also, how fermented you like your kimchi will take practice as well. The weather will also play a role in how fast/slow your mixture will ferment. Higher temperatures will progress fermentation while cooler will slow it down.

If you're in a pinch without an apple in sight, use 2 teaspoons of organic pure cane sugar, coconut sugar or sugar in the raw....just the puriest sugar you can find. You may like to add a bit of water to the mix as well, about 2 - 3 tablespoons. 

You can also enjoy kimchi fresh right after you mix it and store it straight in the fridge. You may like to experiment by putting half the recipe in the fridge and the other half in the pantry to ferment & sour to see which flavor is your favorite.

Optional ingredients for color and variation: carrots and/or daikon radish (grated or julienned), about a 1/2 cup of each. If using these, add to cabbage when mixing scallions and wet mixtures together.

If using savoy or green cabbage, quarter cabbage, remove core and roughly slice.

If you don't have glass jars, plastic containers with lids will work just as well. If you have too much room, more than and inch, place plastic wrap over top but sinking it close to the surface of the kimchi and cover with lid.


I'd love to see your noms...
#thesimpleveganista


SUGAR SNAP PEA & SOBA NOODLE BOWL + MISO SAUCE

SUGAR SNAP PEA & SOBA NOODLE BOWL + MISO SAUCESUGAR SNAP PEA & SOBA NOODLE BOWL + MISO SAUCESUGAR SNAP PEA & SOBA NOODLE BOWL + MISO SAUCE

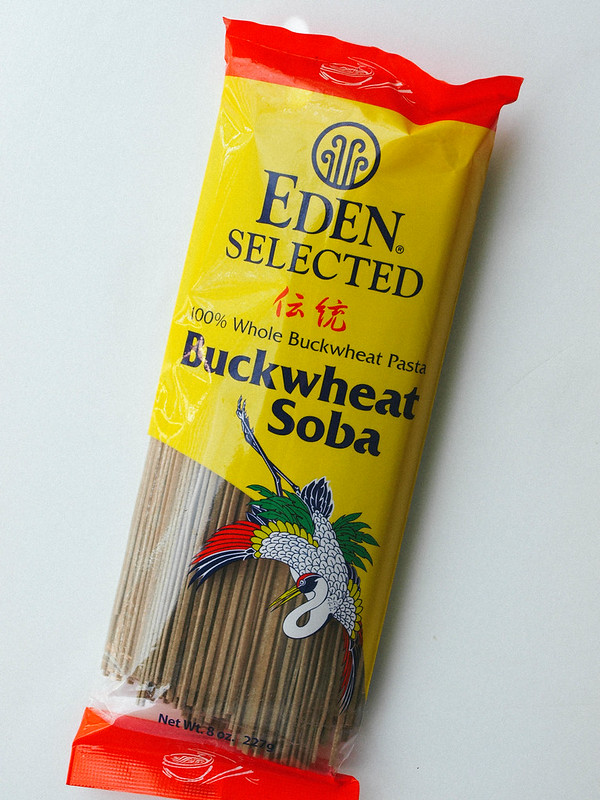
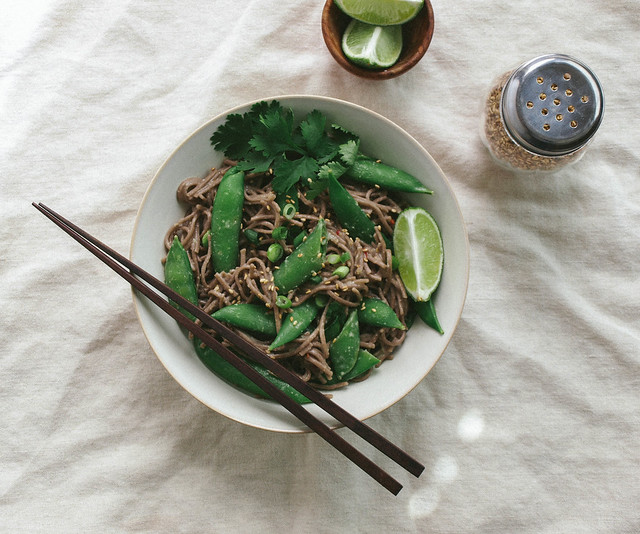
Soba noodles have become a favorite of mine. I love the 100% buckwheat noodles from Eden Foods. They have a nutty flavor with a somewhat chewy texture. Each serving contains 6 grams of protein and 3 grams of fiber. I love that they can be served warm or cold making them a versatile noodle choice. They are gluten free using only buckwheat flour, unlike other brands of soba noodles which use a combination of wheat and buckwheat flours. They tend to be a bit more expensive than the mixed flour soba noodles. I happen to see these noodles as a tradeoff for the more expensive items that I don't purchase anymore such as meat, poultry and dairy. Keeping that in mind, the extra expense doesn't bother me. I hope you may have the same perspective as I do when picking and choosing your plant based grocery items.

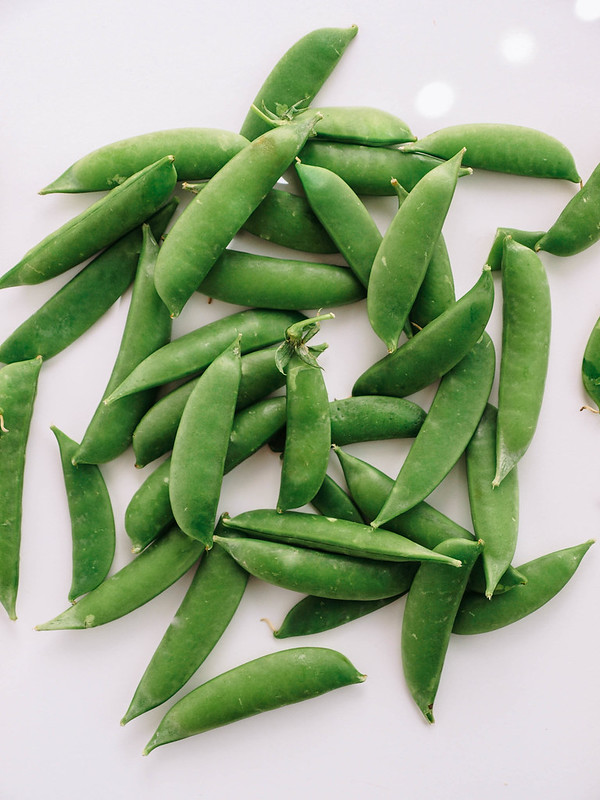
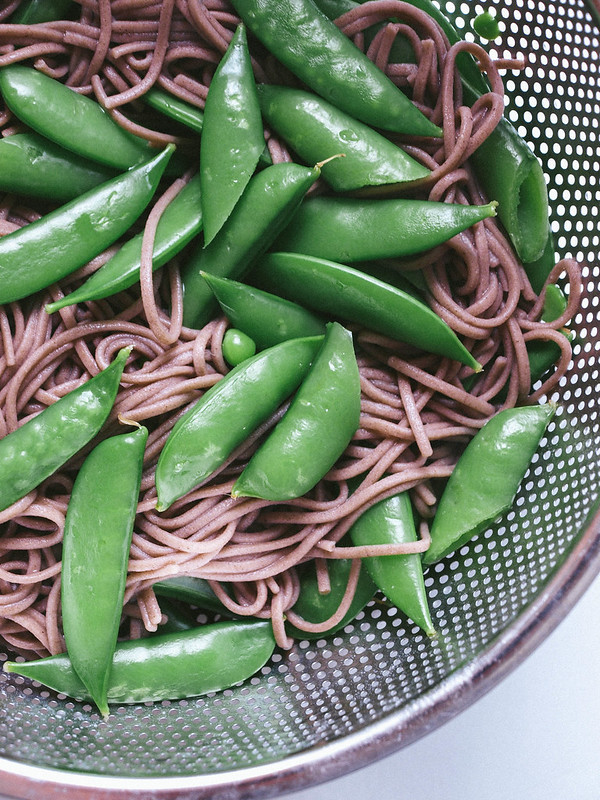
The addition of sugar snap peas add a perfect dose of sweetness and crunch to the soba noodles. I love sugar snap peas and have them often dipping them in hummus and eating as is. In this recipe we will be adding the pods to the soba noodles half way through as they cook to soften them a bit and bring out their greenest green. 

SUGAR SNAP PEA & SOBA NOODLE BOWL + MISO SAUCE
SUGAR SNAP PEA & SOBA NOODLE BOWL + MISO SAUCESUGAR SNAP PEA & SOBA NOODLE BOWL + MISO SAUCE

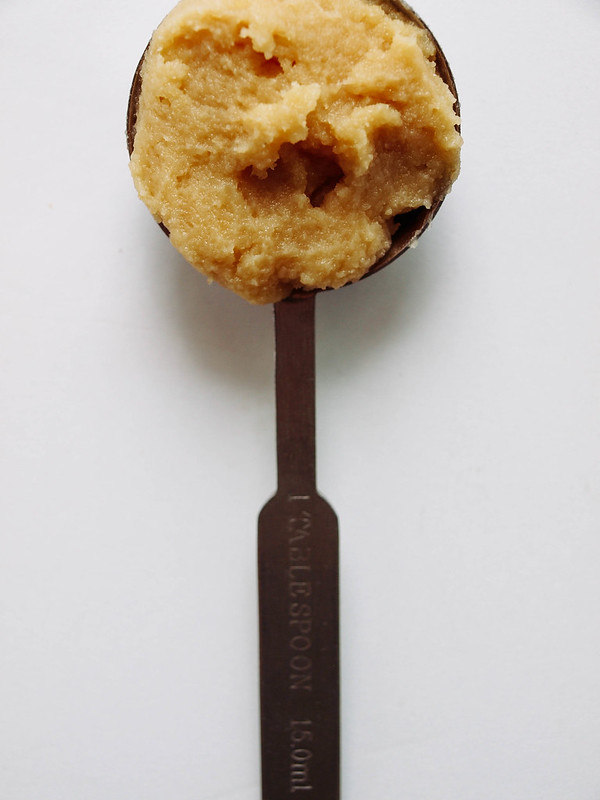
Miso is another great addition to your healthy eating habits. With a few additional ingredients it makes for an easy and flavorful dressing for the noodles and sweet peas. A tub of miso will last up to 9 months + in the refrigerator and can be used for soups, dressing/dips and adding richness to vegan cheeses and sauces. It will go a long way in your kitchen and is a great staple ingredient to have on hand.

This is a very easy meal to throw together and will be ready in about 25 minutes or less. I originally planned on having cubed tofu in this recipe but in the end forgot to add it in for this set of pictures. Feel free to add in a serving of tofu (as per the notes). With or without tofu, enjoy this simple, wholesome and delicious meal! 

SUGAR SNAP PEA & SOBA NOODLE BOWL + MISO SAUCE

SUGAR SNAP PEA & SOBA NOODLE BOWL+ MISO SAUCE

Ingredients
  • 1 package (9oz.) soba noodles
  • 8 oz. sugar snap peas
  • 2-3 scallions (green onions), sliced, to garnish
  • toasted sesame seeds, to garnish
  • handful cilantro sprigs, to serve
  • lime wedges, to serve

Miso Sauce
  • 2 - 3 tablespoons mellow miso paste (white miso)
  • 2 tablespoons rice wine vinegar 
  • 3 tablespoons water, + more as needed to thin
  • 1 inch knob of ginger, grated or minced
  • juice of 1 lime (about 1 tablespoon)
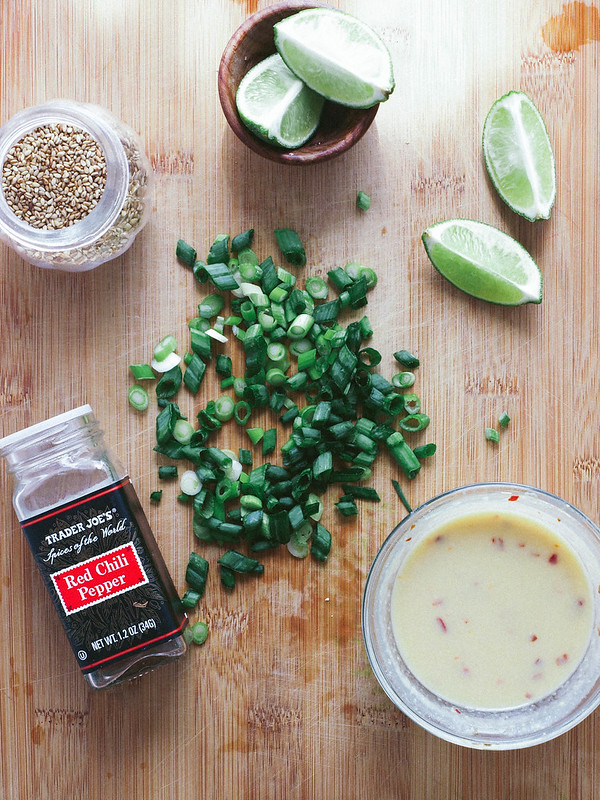
  • pinch of red pepper flakes

In a small bowl, mix the miso sauce ingredients together, set aside.

Fill a large pot just under 1/2 full of water, bring to a boil, add a pinch of salt and soba noodles, cook 4 minutes. If using 100% soba noodles, careful to watch the water after 2 minutes or so, it will start to become foamy and bubble over...turn the heat to medium and back up again as needed to keep the water at a boil but not boiling over.

2-3 minutes before noodles are done according to package directions, add sugar snap peas to the noodles and continue cooking until noodles are done. Drain and rinse noodles and peas under cool running water.

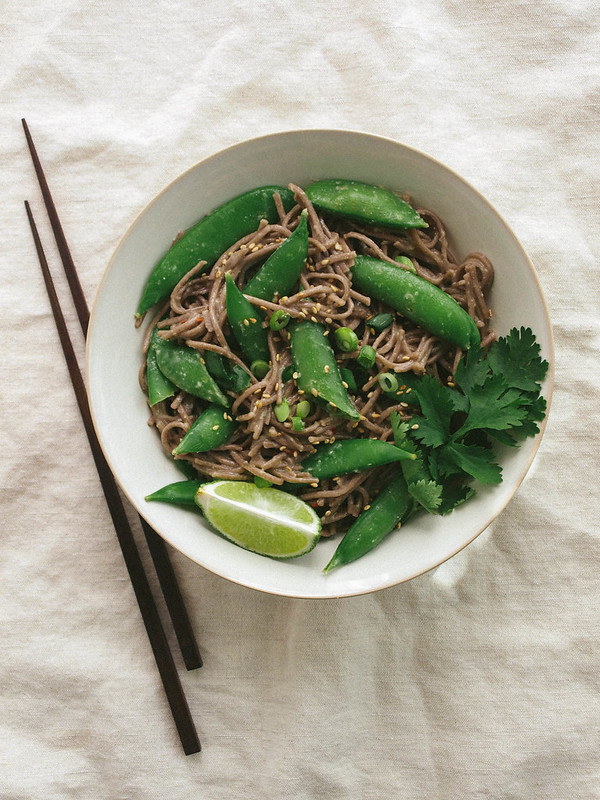
Add noodles/peas back to the pot they were cooked in, add sauce and gently toss to coat. Serve in individual bowls with sliced scallions, sesame seeds, cilantro and lime wedges to squeeze over top.

Serves 2

Notes:

If your sugar snap peas are on the larger side, slice them diagonally in the center to make them easier to eat.

Add in a serving or two of cubed tofu for extra protein if you like...either baked, pan cooked until golden or simply diced from the package. You may even like to add in a serving or so of edamame.

If you have soy allergies, try using other miso's which don't contain soy such as chickpea miso. 


    BANANA COCONUT GINGER ICE CREAM


    If you have followed my blog long enough, you know that I love my banana ice creams! The reason being is that I don't have an ice cream maker, or the space for one, so I make due by blending up banana's with all kinds of fun ingredients. They can be served as a soft-serve, or frozen for a few hours and scooped out like ice cream. The best of both worlds. Just blend your ingredients and enjoy now or later. Easy and done!

    This recipe came about on a whim. I threw these ingredients together and it worked beautifully (of course, this combo is a no brainer!). My taste buds were extremely pleased and if you love these ingredients, yours will be too! 

    Banana Coconut Ginger Ice Cream (soft serve)Banana Coconut Ginger Ice Cream (soft serve)Banana Coconut Ginger Ice Cream (soft serve)

     Get ready for summer with some of the easiest ice cream you'll ever make!

    Banana Coconut Ginger Ice Cream (soft serve)

    Soft-serve or frozen....you choose!

    Banana Coconut Ginger Ice Cream

    BANANA COCONUT GINGER ICE CREAM

    Ingredients
    • 3 frozen bananas
    • 2 - 3 tablespoons coconut butter, coconut milk* or 3 tablespoons shredded coconut
    • 2 tablespoons pure maple syrup
    • 1 tablespoon ginger, minced
    • splash or two of unsweetened vanilla almond milk

    Place ingredients into your food processor/blender, except milk, process, adding milk as needed through the feeder to help move the mixture around, blend until fairly smooth and creamy. 

    For soft-serve: eat right away.

    For ice cream: place mixture into a freezer safe container, cover and place in the freezer for at least 4 hours before serving. Scoop out like ice cream and serve.

    Serve with mini chocolate chips, shredded coconut or whatever you like.

    Serves 2 to 3...or one as a meal.

    Notes: 

    *Canned coconut milk should be chilled before using, store the remaining in the refrigerator for up to a week.

    If using shredded coconut, place in food processor/blender and blend until finely shredded or creamy.

    Try not to over blend, it will become almost frothy. I personally didn't care for over blending.

    Adjust ingredients to suit your taste.


    CHOCOLATE CHAI ROASTED ALMONDS

    CHOCOLATE CHAI ROASTED ALMONDS

     I've been very busy since my last post updating some older recipe that desperately needed to be revisited, not only for the pictures but to update and streamline the ingredients and instructions. In case you're interested, take a look and see if any inspire you. First up was the Smoky Chipotle Maple T.L.T., an absolutely delicious sandwich. Then I was onto the Raw Vegetable Pasta...you'll never miss regular pasta again with this one. Next, the Refried Bean & Avocado Lavash Wrap which was just a whim recipe at the time that hit the spot. Up next, I revamped the Pasta and Bean Soup with Kale which is out of this world. Lastly, the Spicy Carrot & Hummus Sandwich...delicious in every way. Today not only are you getting one inspirational recipe to try but 6! Take a look and hopefully you'll be inspired to add more of these recipes to your meal plans for the upcoming months!

    I've been doing a lot of snack and dessert type recipes lately and have been loving every minute of it. Inspired by my Chocolate Chai Popcorn, I decided to try roasted almonds with this flavorful mix and it worked great. The flavor of cinnamon, cardamom, ginger, clove with some black pepper spice all lightly wrapped with a hint of cocoa. It's a fun and delicious flavor! Almonds are an alkalizing nut and eating just 9 almonds a day will provide you with all the vitamin E you need for the day. They're also a great source of magnesium, potassium, copper and fiber. These flavored almonds make for quite an addicting but healthy little snack that I'm happy to share with you today. I love that they travel well too. Bag or bottle some up in a mason jar and take them with you for the day. They even make for great gift ideas for special holidays or just because. Share the goodness, share the love!

    CHOCOLATE CHAI ROASTED ALMONDS

    Gather your ingredients...

    CHOCOLATE CHAI ROASTED ALMONDS 

    Add everything together and mix well...

    CHOCOLATE CHAI ROASTED ALMONDS

    Spread in single layer on baking sheet and bake, stirring once...

    CHOCOLATE CHAI ROASTED ALMONDS

    Let cool and harden. Share the goodness!

    CHOCOLATE CHAI ROASTED ALMONDS

    CHOCOLATE CHAI ROASTED ALMONDS

    Ingredients
    • 3 cups raw almonds
    • 1/4 cup pure maple syrup
    • 2 teaspoons vanilla extract, optional
    • 1 heaping teaspoon cocoa powder
    • 1 heaping teaspoon cinnamon
    • 1 heaping teaspoon cardamom
    • 1 heaping teaspoon ginger
    • 1/2 teaspoon cloves
    • 1/4 - 1/2 teaspoon black pepper
    • a few pinches of mineral salt

    Preheat oven to 350.

    In a large mixing bowl, add almonds, maple syrup, vanilla and spices, mix well to coat. On a large baking sheet lined with parchment paper or lightly oiled, spread almonds, syrup and all, in a single layer, it's ok if they're touching each other. Bake on center rake for 20 - 22 minutes, shuffling the almonds around once after 10 minutes. Remove from oven, sprinkle with mineral salt and let cool to harden. They may clump together a bit while cooling but will easily come apart.

    Store in air tight container for up to a month.

    Enjoy often!


    CHOCOLATE CHAI POPCORN (STOVETOP)

    CHOCOLATE CHAI POPCORN

    I love popcorn, from simple to unusual flavors, it's easy to make and fills that snack void perfectly. I can easily sit and finish off a whole bowl all by myself. I've been experimenting with different popcorn toppings lately just for fun.  You may already be familiar with my last one, Sweet Zen Popcorn, which is a green tea and sugar mix. Green tea is good for you so why not put in on popcorn too! This chocolate chai seasoning came about on a whim and ended up being a great combination. Hints of cacao and warming chai spice flavors with a touch of sweetness makes for another delicious popcorn topping.

    CHOCOLATE CHAI POPCORN

    My preferred method of making popcorn is the stovetop method where it's popped in a large stock pot. I purchased the stock pot you'll see here from Etsy which is super lightweight making it easy to do the happy dance at the end when adding my spices. It only cost me $20 and can be used for a variety of things, unlike the popcorn machine. Although the popcorn machine is good for those who prefer the convenience of not having to do much. Keep in mind that you can make the stovetop method without any oil, or a tad less than the recipe calls for, but the seasoning won't stick as well. Speaking of oils and nutrition, one cup of air popped popcorn contains only 30 calories per cup. Our 3 tablespoons of coconut oil contains around 350 calories and the spices add very minimal calories, not enough to factor in. Altogether, this recipe contains approx. 770 calories for about 14 cups of popcorn. Not too bad if you like to share! I hope you enjoy this version of gourmet popcorn I've brought with me today. I've got a few more in mind to share in the future so we'll have plenty of options when it comes to gourmet popcorn. Cheers!

    CHOCOLATE CHAI POPCORNCHOCOLATE CHAI POPCORNCHOCOLATE CHAI POPCORNCHOCOLATE CHAI POPCORN

    Gather your ingredients and let's get popping!

    CHOCOLATE CHAI POPCORNCHOCOLATE CHAI POPCORNCHOCOLATE CHAI POPCORNCHOCOLATE CHAI POPCORN

    CHOCOLATE CHAI POPCORN

    Ingredients
    • 3 tablespoons coconut oil
    • 1/2 cup organic popcorn
    • 3 teaspoons coconut sugar or organic cane sugar
    • 2 teaspoons cocoa/cacao powder
    • 1 1/2 teaspoons cinnamon
    • 1 teaspoon cardamom
    • 1 teaspoon ginger
    • 1/2 teaspoon clove or nutmeg
    • pinch of mineral salt, optional

    In a small bowl, mix your spices. Feel free to use heaping measurements. Measure your popcorn. 

    In a large stock pot, add coconut oil, cover and heat over medium high heat for about 2 1/2 minutes. Add popcorn, cover with lid, place dish cloth over the top with the ends wrapped around the side handles and shake back and forth continuously, or at least every 10 seconds give a good shake, until you hear popping, anywhere from 1 -3 minutes. Continue shaking back and forth to prevent popcorn from burning. Once popping comes to a minimum, lift lid, add spices, cover tightly, carefully lift pot and tilt, round and round, upside down, every which way you can while twirling your hips and doing the happy popcorn dance. It's the best way to really get that popcorn coated and ready! Lift the lid, if you have a lot of seasoning on the lid or sides of the pot, scrap it off with a flat edged spatula and mix it in.

    Serve and enjoy with a smile.

    Makes about 12 to 14 cups.

    Notes:

    If you don't have all the spices, you can still make a flavorful topping using just a few...try simply using sugar, cocoa and cinnamon.

    If you happen to have the Tazo Chai Tea bags on hand, they will work too. Cut open 3 tea bags, combine with sugar and cocoa. Add once popcorn is ready.

    I went for sweetness on this recipe, feel free to omit the sugar or lessen it. If you omit the sugar, you may opt to add 1/4 - 1/2 teaspoon black pepper for a more authentic chai spice.


    I'd love to see your masterpieces!
    #thesimpleveganista


    Back to top