DIY MUESLI MIX

DIY MUESLI MIX

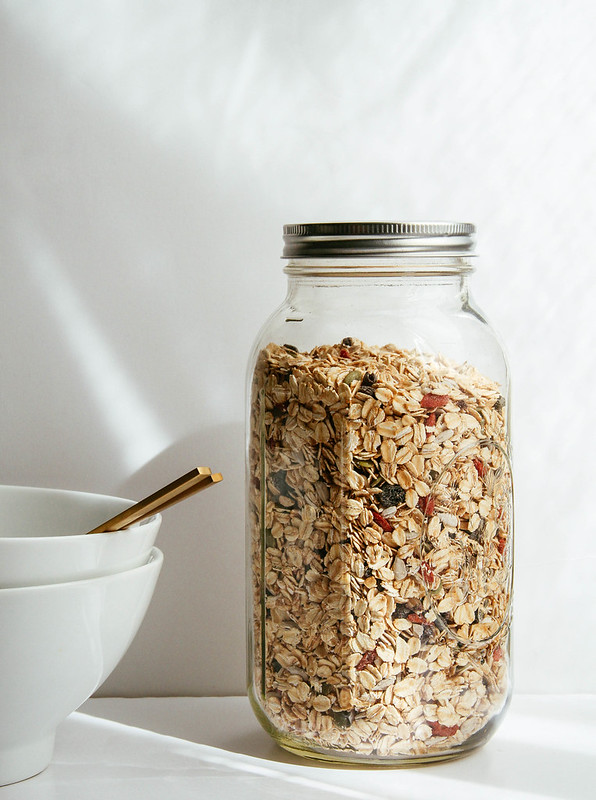
Muesli is one of my favorite cold cereals. It's been one of my go-to breakfasts for the last few months, next to this Vanilla Chia Pudding with fruit. With the cooler months ahead it's a perfect time to introduce a more cold and summer like oat breakfast leaving the hot oatmeal, like this Everyday Oatmeal, for cooler seasons. It's a no-fuss, gluten free muesli mix that's so easy to throw together. I used a large 1/2 gallon ball jar like these in a batch or this one from Target which are perfect for your large batch muesli mix and even have cup lines on the side so you can measure without having to use measuring cups. Once you've made your muesli, it's pretty enough to keep on the kitchen counter or store in the pantry if you prefer. Now you've got yourself a ready-made healthy breakfast or lunch if you will. I love the addition of fresh berries and dried mulberries if I have them on hand for extra flavor and freshness. If you feel you need to sweeten your cereal a bit, add a teaspoon or so of maple syrup or coconut nectar over top before serving. For even more flavor add a dash of cinnamon over top too, its delicious! Change up the ingredients by using shredded or flaked coconut, cranberries, chopped dates, cherries or apricots, slivered almonds, pistachios, etc. You get the idea. Use whatever flavor combination works for you using the suggested ratio I have in the notes. I hope this inspires you to make a batch of this wholesome goodness and enjoy often, it's a perfect way to start the day!  
DIY MUESLI MIXDIY MUESLI MIX

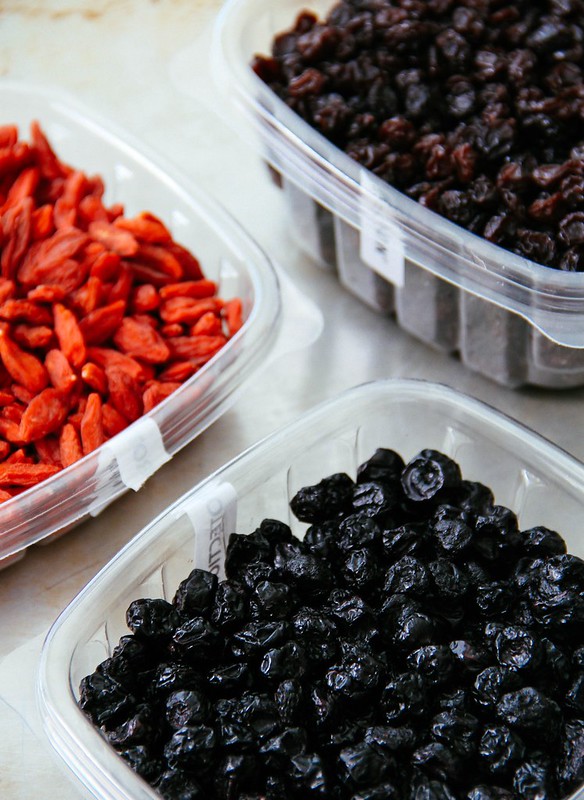
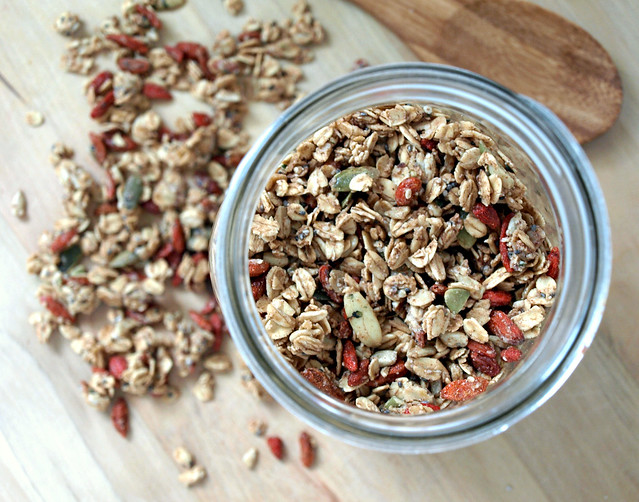
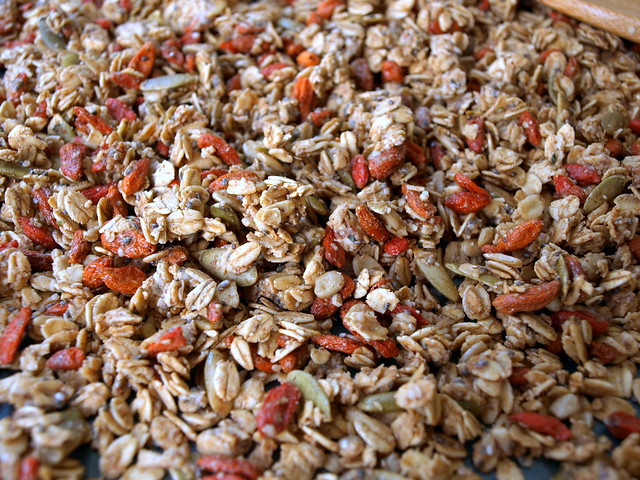
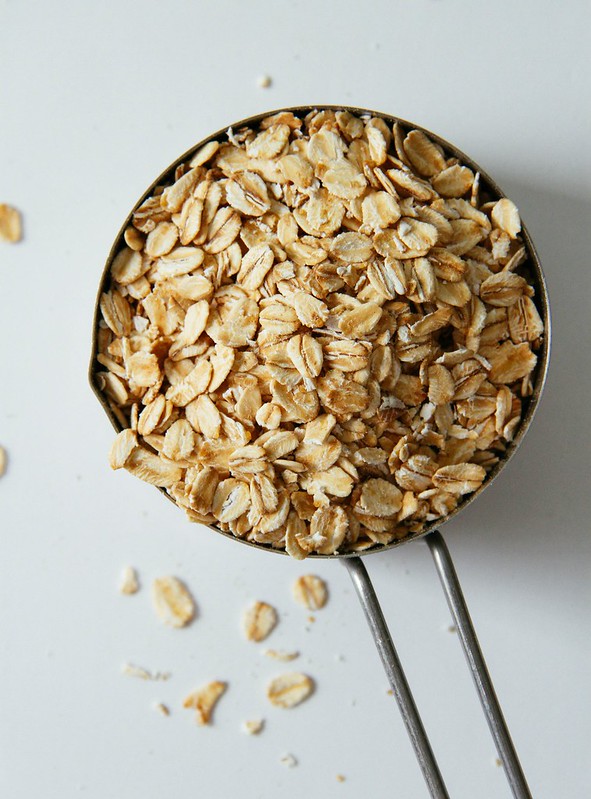
I use only rolled oats in my muesli making it easily accessible, economical and gluten free. I'll add in goji berries, currants and dried blueberries for my fruits. It's preferable to use unsweetened fruits but if one of your choices is sweetened, like my dried organic blueberriesif you, I think we'll be fine! You can also use raisins, cranberries, chopped dates, cherries, apricots, etc.
DIY MUESLI MIX

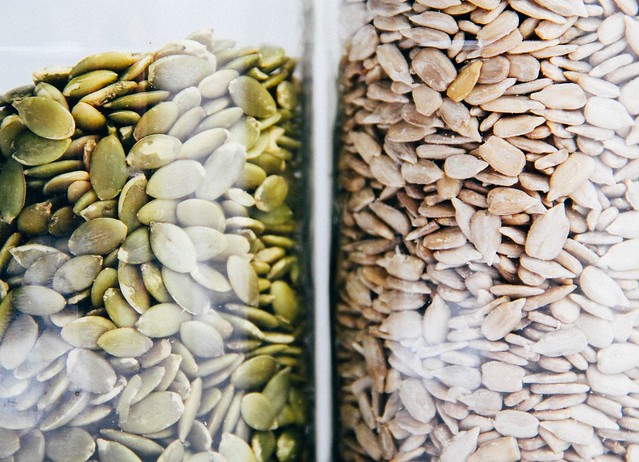
For the seeds, I like pepitas (pumpkin seeds) and raw sunflower seeds. Feel free to use slivered/chopped almonds or any nuts and seeds you prefer. I tend to stay away from the smaller ingredients in a large batch like this just because they most likely will end up on the bottom of the jar. Try to stick with ingredients that are about the same size to help keep them evenly distributed. If you want to add smaller ingredients like hemp or chia seeds, just sprinkle some on top before eating. 
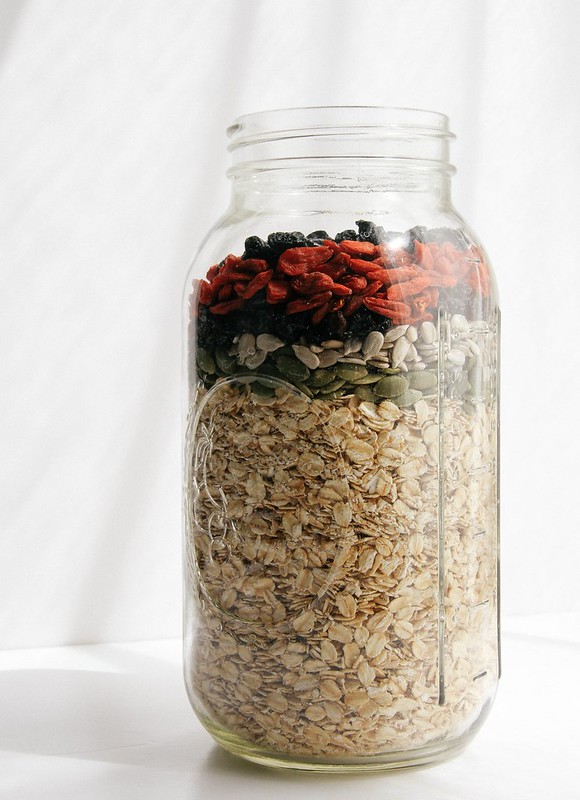
DIY MUESLI MIXDIY MUESLI MIX

Once you've made your batch of muesli, you're ready to pour and serve with or without toppings.

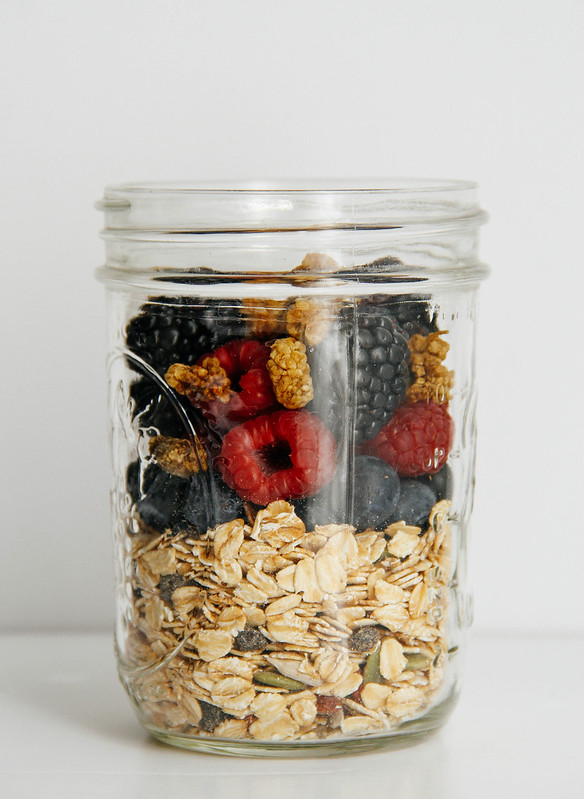
Prepare your muesli one of two ways:
DIY MUESLI MIXDIY MUESLI MIXDIY MUESLI MIX

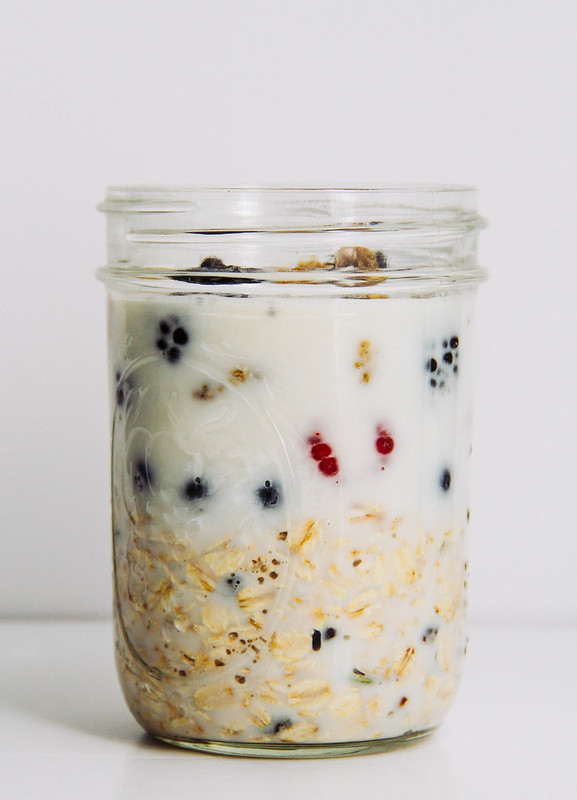
Above is overnight muesli. It's easy to prepare. Simply fill your jar, cover and keep in the refrigerator until ready to eat, at least 4 hours and up to 3 days. Makes for a great take along breakfast, snack or lunch!
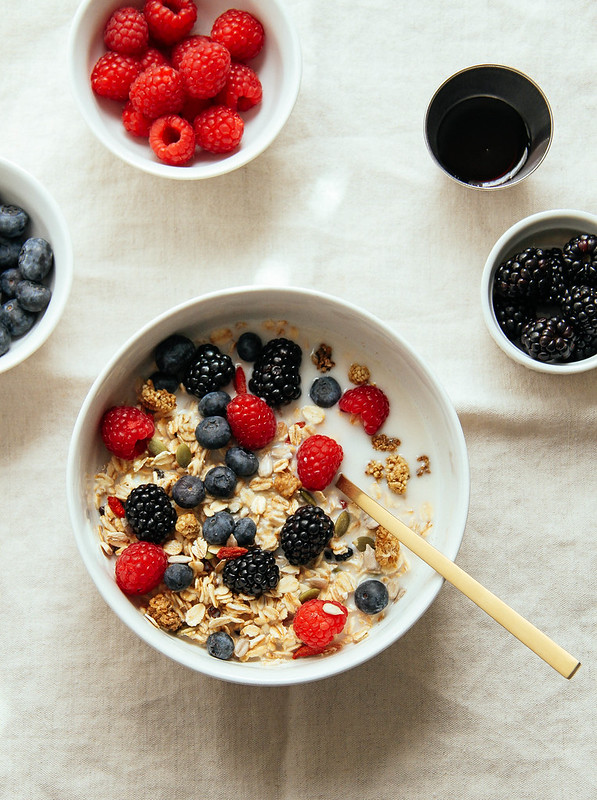
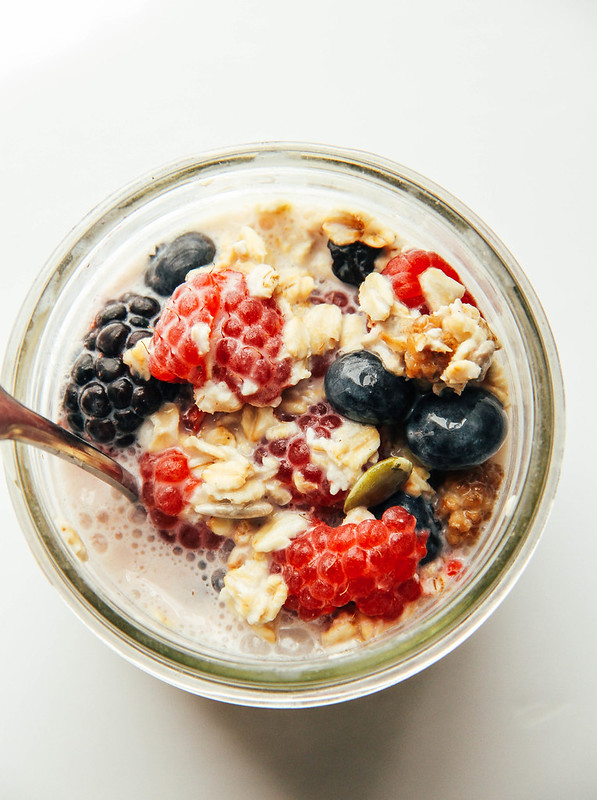
Below is pour and serve, eating after 5 minutes or so of letting the milk soak into the oats softening them just a bit. 

Both ways are terrific and have their place in your healthy habit meal routine!

I use unsweetened almond milk and add fresh berries along with a few dried mulberries. I sometimes add a drizzle of maple syrup if I want a little sweetness. And if I remember, I'll add a dash of cinnamon or ground vanilla bean for a little extra flavor. I love all the flavors combined and suggest trying it for yourself. I think you'll love it too!

DIY MUESLI MIX

DIY MUESLI MIX

Ingredients
  • 5 cups rolled oats
  • 1/2 cup sunflower seeds
  • 1/2 cup pepitas (pumpkin seeds)
  • 1/3 cup raisins or currants
  • 1/3 cup dried blueberries
  • 1/3 cup goji berries

Place ingredients in your large jar, attach the lid and shake, twist and roll until evenly distributed. If using a large bowl, stir mixture and add to container of choice.

When ready to serve, add 1/2 - 3/4 cup of muesli to your bowl, add enough milk to cover and let set for about 5 minutes or so until the oats soften a bit. Add a little sweetener of choice (I use a drizzle of maple syrup) and some fresh berries such as blueberries, raspberries, blackberries. Sliced strawberries and/or bananas would also be great. If you have some dried mulberries on hand, throw some in they taste great! When ready to eat, add a little extra milk as you like. Once you've made this a few times, you'll find your perfect way.

To make overnight muesli, add about 3/4 cup muesli to a jar/bowl, top with fruits of choice if you like and cover with milk. Seal or cover and keep in the refrigerator overnight or up to 3 days (make a few so they're ready to grab and enjoy or take along). Mix before eating, add a little extra milk as needed (if at all).

Makes about 7 cups serving approx. 9 - 14.

Notes: 

Feel free to add 1/2 cup of flaked or shredded coconut. You can change up the dried fruit by adding dried cranberries, chopped dates, cherries or apricots etc. Add any nuts and seeds you prefer. Slivered almonds are great in the mix. Mix and match as you like making this your own!

If you're not going to top with any fresh fruit, feel free to add in another 1/2 cup or so of dried fruit of choice.

Suggested ratio:
5 cups rolled oats
1 cup mixed nuts & seeds
1 cup mixed dried fruit (pref. unsweetened varieties)


I'd love to see your masterpieces!
#thesimpleveganista
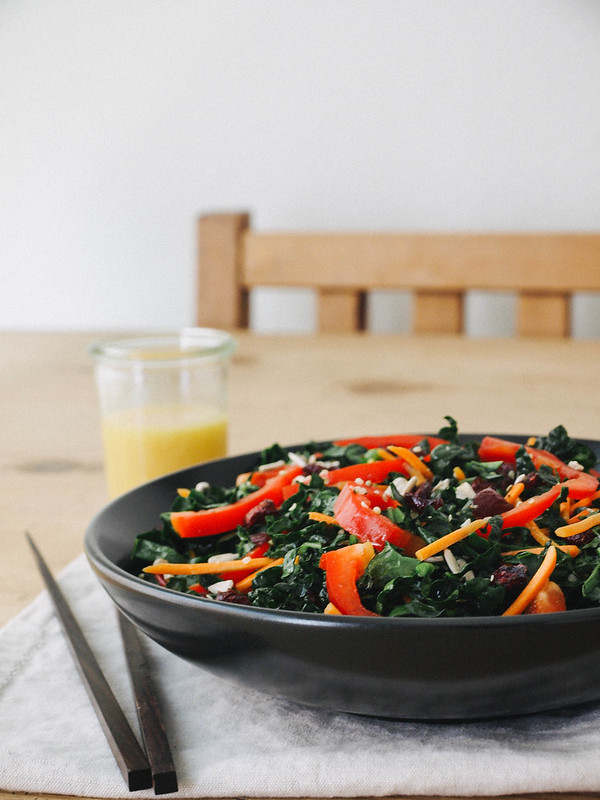

CRUNCHY KALE SALAD + CITRUS DRESSING

CRUNCHY KALE SALAD + CITRUS DRESSING

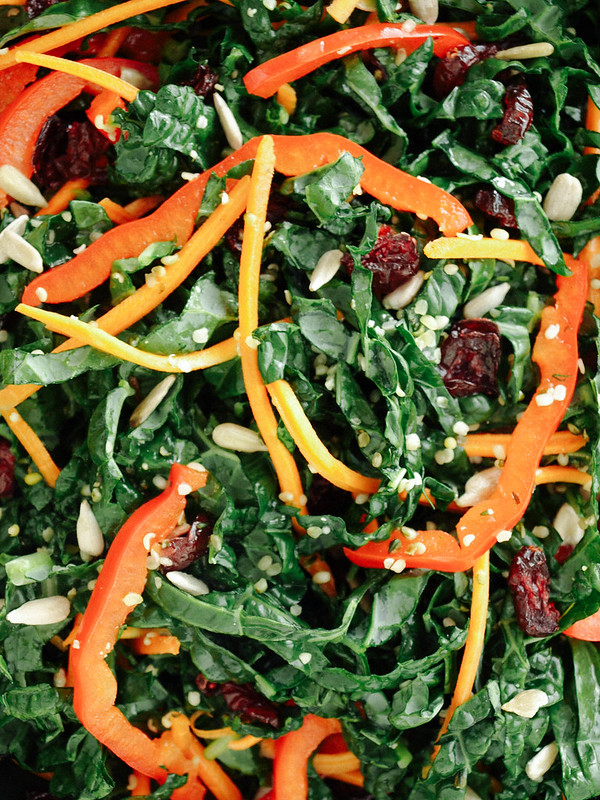
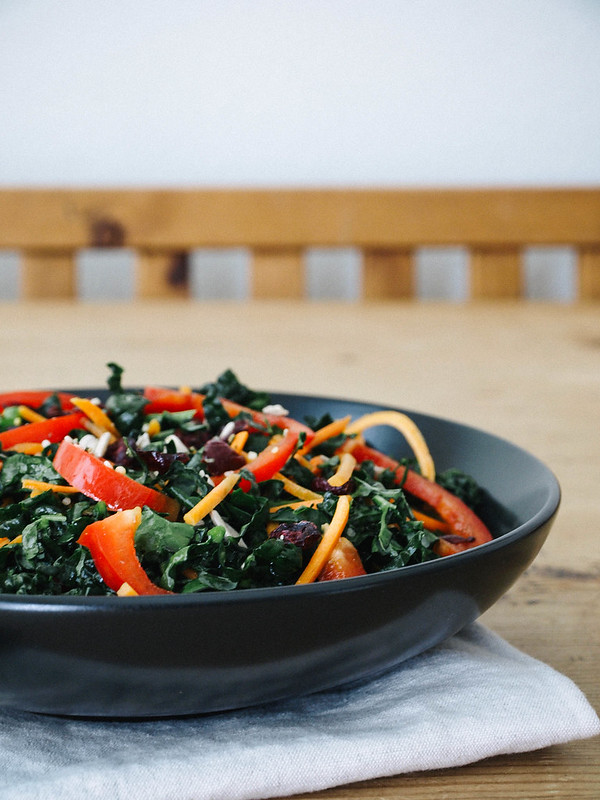
This salad featuring the king of leafy greens has been a perfect match for my lighter fare cravings. It's sweet with the cranberries and bell pepper, a bit citrusy from the dressing and crunchy from the carrots, kale and sunflower seeds. Everything adds up to nice flavor and texture. My favorite way to enjoy a kale salad is to let the kale marinate with the dressing for about an hour. This will help relax the kale and take some of the bitterness away. Making your salad this way makes for a great pack-n-go lunch option. Your salad will be softened and ready by the time lunch comes. When your looking to add some freshness into your diet, I think you'll find this to be a great inspiration!

If you don't already know, KALE is a power house of nutrients. It's loaded with anti-oxidants and anti-inflammatory support as well as being rich in calcium, iron and vitamin K, A & C. It aids in the body's detoxifying process and offers cardiovascular support. But even with all this goodness, you may have heard that too much kale is not so good. That is true for some. Kale is a green that may be best consumed moderately, especially for those with kidney and gallbladder issues because of the high amounts of oxalates. If you're in good health, kale can be consumed on a fairly regular basis without much concern. Look for organic kale whenever possible. The 'dirty dozen' list has been revised to be the 'dirty dozen plus' with kale/collards greens coming in at #16 of produce with highest amounts of pesticide residue.

CRUNCHY KALE SALAD + CITRUS DRESSINGCRUNCHY KALE SALAD + CITRUS DRESSINGCRUNCHY KALE SALAD + CITRUS DRESSING

CRUNCHY KALE SALAD + CITRUS DRESSING

Ingredients
  • 1 bunch kale, julienned
  • 1/2 cup shredded carrots
  • 1 red bell pepper, julienned
  • 1/2 cup dried cranberries
  • 1/4 cup sunflower seeds (toasted or raw)
  • 1/4 cup hemp hearts
Dressing
  • 3 tablespoons orange juice
  • 1 tablespoon lemon juice
  • 2 tablespoons apple cider vinegar
  • 1 -2 teaspoons pure maple syrup
  • 1 teaspoon dijon mustard, optional

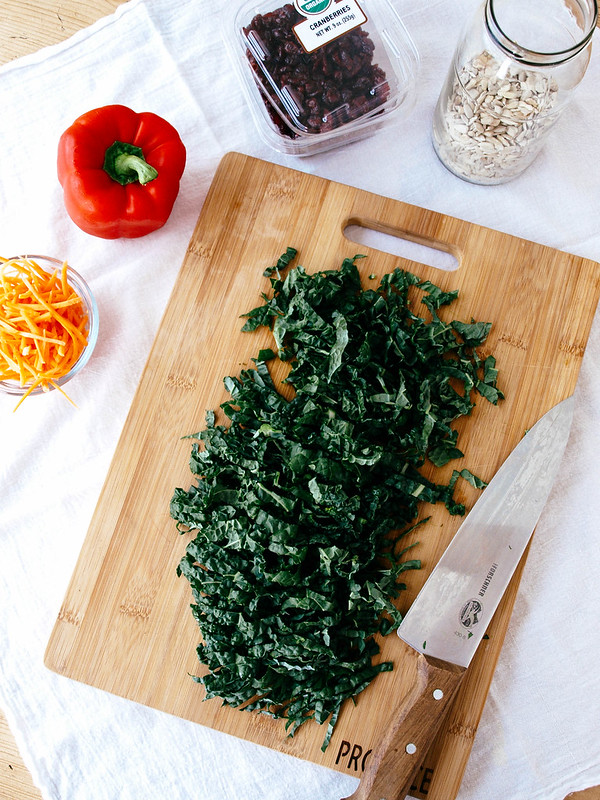
Prepare your vegetables and gather your cranberries and seeds. 

Mix kale, carrots, bell peppers and dressing together. Let set for about an hour at room temp or in the refrigerator (this will soften the kale nicely and reduce the bitterness). Serve in individual bowls topped with cranberries and seeds. If you don't have time to let the kale marinate with the dressing, the salad will still be great! 

Serves 2

Notes:

Use orange, lemon, lime and/or grapefruit as your citrus juice. Mix and match your citrus flavors using whatever you have on hand or is available.

Make this a creamy dressing by adding 1 - 2 tablespoon tahini when mixing the dressing.

The dijon is optional, I found that I preferred it with a small amount. Try it both ways and see what you think.


Ginger-Orange Granola

Ginger-Orange Granola

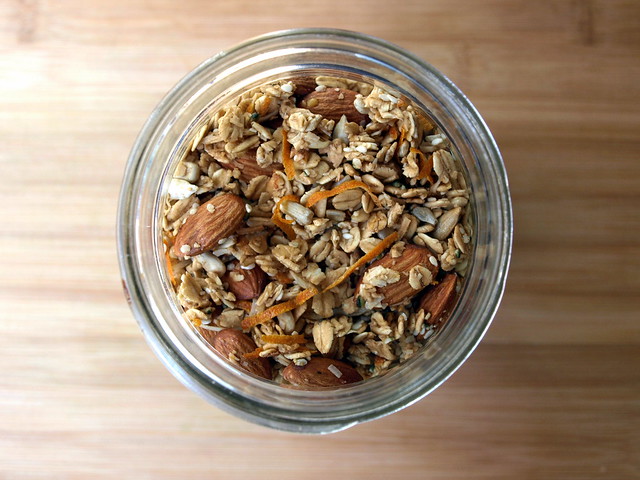
Next time you make granola...this is a must try! Especially if you love ginger and orange zest. I thought my last granola, Seeds & Goji Berry Granola, was delicious but this may just surpass that by a margin. I've been trying a few granola's lately and these two have come out on top. My house smelled like orange cinnamon rolls...mouthwatering! This granola has such nice flavoring, especially with the orange zest. I love zest of any kind, so the addition of the orange zest is welcome. It toasts up just perfectly along with the other ingredients. And when you get a bite of the toasted sesame seeds, they add another layer of deliciousness. We have another great granola to add to the recipe list. I just love a good granola and I think you'll love this one too!

Ginger-Orange Granola

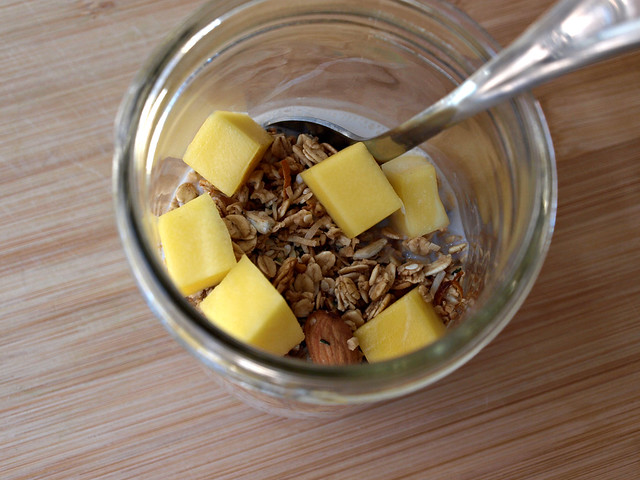
This was terrific as a cereal with diced mango and unsweetened almond milk. I can see this being a great muesli mix too for overnight oats. Might even be good with some fresh squeezed orange juice as your liquid. So simple and delicious...


Ginger-Orange Granola

Ingredients
  • 2 1/2 cups rolled oats (I used GF)
  • 1/2 cup sunflower seeds
  • 2/3 cup almonds
  • 1/3 cup shredded unsweetened coconut
  • couple tablespoons sesame seeds
  • couple tablespoons hemp hearts, ground flax seeds or chia seeds
  • 1 heaping teaspoon ground ginger
  • 1/2 teaspoon cinnamon
  • pinch of salt
  • zest of 1 - 2 oranges, chopped fine or left as is 
  • 2/3 - 3/4 cups pure maple syrup
  • coconut oil, to grease

Preheat oven to 250 degrees.

Mix all of your dry ingredients together in a large mixing bowl. Add in your maple syrup and mix well to coat. On a greased rimmed cookie sheet, lay granola in a single layer. You may need to use 2 rimmed sheets. Place sheets in oven and cook for 30 - 40 minutes, stirring every 10 minutes or so to ensure even toasting.

Once done, remove from oven, let cool completely, store in an air tight container for up to a month.

Let this be a template, add/subtract anything you like. If you're missing an ingredient you may add extra of something else you do have on hand. I like lots of zest and added the zest of 2 oranges.

Enjoy the aroma and the taste!


Seeds & Goji Berry Granola

Seeds & Goji Berry Granola

Let's talk granola, seeds and goji berries for a second, shall we? I know there are many recipes out there and it's no wonder why... it's pretty great and handy to have around. Have it as cold cereal, top it on hot oatmeal, non-dairy yogurts or non-dairy ice creams, or simply take some to-go in a small container...it's a great snack or meal that is filling, healthy and just plain good. It's so versatile too. You can pretty much add anything to your base and come out with something wonderful. That happens to be the case here. I have a ton of goji berries in my fridge along with pumpkin (pepitas) and sunflower seeds that needed to be put to good use. A few days ago I ran across this article from Wake Up World entitled, Five Healthy Seeds, which I had posted to the Facebook page. That planted the seed so to speak for this recipe. Seeds are great; especially for those who have nut allergies...they can be a nice alternative. Some of the best seeds in whole form are hemp, sunflower, chia, sesame and pumpkin seeds. Flax seeds are great too but unless they are ground you're not going to get their full benefits as they will pass straight through the body without much notice. As for the goji berries, well I love them because they don't have any added sweeteners like most dried fruits do (I also like raisins for this reason). They are full of anti-oxidants just as other berries like blueberries, acai berries, cranberries, strawberries and cherries. Find out more about their nutritional profile from this article from Live Strong, Goji Berries Nutrition.

Seeds & Goji Berry Granola

Seeds & Goji Berry Granola

Ingredients
  • 2 1/2 cups old fashioned rolled oats (I used GF)
  • 1/3 cup sunflower seeds
  • 1/3 cup pumpkin seeds (pepitas)
  • 1/3 cup goji berries
  • 2 tablespoons chia seeds
  • 2 tablespoons hemp hearts or the entire seed
  • 1 teaspoon cinnamon
  • pinch of salt
  • 1/2 - 3/4 cup pure maple syrup*
  • 1/4 cup sunflower seed butter (sunbutter), optional
  • 1 teaspoon vanilla

Preheat oven to 250 degrees.

Combine all your dry ingredients in a medium size bowl. Add your maple syrup, sunbutter and vanilla. Mix until well coated.

On a greased (I used coconut oil), or ungreased, baking sheet (use two sheets if you like), add your granola, laying it flat and bake for about 30- 35 minutes, stirring the mixture every 10 minutes to ensure even cooking. If using two baking sheets, you may even like to switch their positions in the oven once after stirring. If using a smaller baking dish such as a 9x9 or 11x13, bake for up to 1 hour or so, or until golden throughout. Be sure to stir the mixture every 15 minutes or so.

Once done, remove from oven and let cool completely before storing in an air tight container of choice. Will keep up to one month.

* The more syrup you use the more likely you are to create larger granola chunks throughout. I only used 1/2 cup in mine and felt it was a nice texture with many clumps. It also was a perfect sweetness for my liking, not too sweet. Add additional syrup to your preferences.

Feel free to add 1/4 cup or so unsweetened shredded coconut to the dry mixture as well.

Enjoy!

Spaghetti Squash & Italian Bean Balls

Spaghetti Squash & Italian Bean Balls

If you've never had spaghetti squash, you are in for a surprise. It really is a great replacement for pasta for those looking for a change, or just wanting to stay away from the wheat and rice pasta alternatives. It does have a little crunch but it's very pleasant, the texture reminds me a little of kelp noodles if you're familiar with those. Spaghetti squash contains lots of nutrients, including folic acid, potassium, vitamin A & C, and it's low in calories containing about 42 calories per serving. It's just so colorful too. I can definitely get used to this and incorporate it into my meal rotations every now and then.

Spaghetti Squash & Italian Bean Balls

This is my second time having spaghetti squash. The first time was with just sauce and that was delicious by itself. But I decided if I was going to do a recipe it would be best to add in some bean balls as well just to make it a more rounded meal. And it was, this was very filling and the bean balls came out great. They definitely added more protein per serving to this meal and left me completely content for quite a few hours.

Spaghetti Squash & Italian Bean BallsSpaghetti Squash & Italian Bean Balls

I really wanted the bean ball recipe to be easy, using things you may already keep on hand so you can whip these up without too much planning and/or work involved. I also wanted to make this with an option for being low fat, as well as for people with nut allergies, you can add the nuts/seeds if you wish. I did this batch without any nuts/seeds. Adding them into the mixture will give an extra dose of protein, texture and hardiness to the bean balls. You may think they look a little dry coming from the oven (dipping them in sauce right before serving will greatly help that), but once you put some sauce on top they come to life. Honestly, I actually found myself munching on the leftover bean balls the rest of the day without any sauce. They held together extremely well too!

Spaghetti Squash & Italian Bean Balls

Spaghetti Squash & Italian Bean Balls

Ingredients
  • 1 large or 2 small spaghetti squash, seeds removed
  • 1 jar (25oz.) organic pasta sauce of choice
Bean Balls
  • 1 heaping cup of mushrooms (about 4 oz), sliced (I used cremini)
  • 1 small yellow onion, diced
  • 2 cloves garlic, minced
  • 1 tablespoon olive or grapeseed oil, to saute
  • 1/2 cup walnuts or sunflower seeds, optional
  • 1 can (15oz) cannellini, kidney or black beans, drained and rinsed (I used cannellini)
  • 1 cup of quick oats
  • 1 tablespoon dried oregano, basil, thyme or Italian seasonings (or a mixture of these)
  • 1/2 teaspoon garlic powder
  • dash or two of cayenne pepper or red pepper flakes, to taste
  • sea salt and cracked pepper, to taste

Preheat oven to 375 degrees.

Cut spaghetti squash in half lengthwise, remove seeds and place in roasting pan or baking dish, cut side up. If you like you can coat with a thin layer of olive oil and a sprinkle of salt & pepper. Add about 1/4 inch of water to the dish and bake on bottom rack for 45 - 50 minutes. (You will be adding the bean balls to the middle rack about half way through.) EDIT: Alternately, you can place squash cut side down (without oil and seasonings), add 1/4 inch of water to the dish and bake the same as above (this has been my preferred method lately). 

Start assembling the bean balls. Saute onions, mushrooms and garlic over medium heat for 5 minutes and let cool. If using the nuts/seeds, place in food processor first and pulse until coarsely ground, and continue. Also, if using old fashioned oats place them in the with the nuts to chop then up a bit. In food processor place beans, sauteed veggies, oats and herbs and spices. Pulse until just combined. Taste for seasoning adding anything extra you may like. I added in some fresh chopped basil I had on hand.

Roll into balls, about 1 1/2 - 2 inches, and place on a baking sheet. I was able to get 9 jumbo sized bean balls. Put in the oven on the middle rack for the remaining 25-30 minutes of the squash cooking time, they should get at least 20 minutes. Remove both when time is up and let cool. OR...you can also cook the balls in a saute pan using a little olive oil over medium to medium high heat, turning often enough so that all sides brown (I used the oven method here).
spaghetti squash

In the meantime, heat your sauce. When ready to assemble, using a fork scrape the insides of the squash horizontally all the way around. It will pull easily from the sides resembling 'noodles'. You will have more squash noodles than you might expect, enough to serve two with one good sized squash.

Serve squash 'noodles' topped with bean balls, sauce, fresh cracked pepper, salt and some chopped fresh parsley or basil. A nice dusting of Almond Parmesan will also enhance this dish!

Serves 3 - 4. Store leftovers in an air tight container for up to five days. Leftovers were great!

Notes:

If you don't have quick oats, use regular oats but process gently into a very rough flour. Also, replace the oats with breadcrumbs if you prefer.

Try dipping your bean balls in the sauce just before serving, this will greatly enhance the visual appeal as well giving it a nice flavorful coating.

Sub in zucchini noodles, gently heated, or any pasta of choice if spaghetti squash is not available. 

Spaghetti Squash & Italian Bean Balls

Enjoy!

Adapted from these recipes: Whole Foods and The Vegan Stoner

Back to top