DIY MUESLI MIX

DIY MUESLI MIX

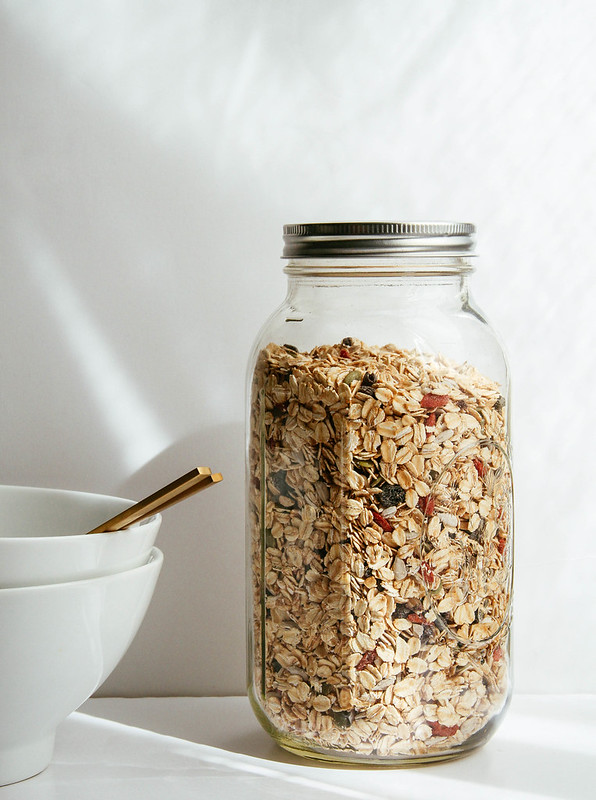
Muesli is one of my favorite cold cereals. It's been one of my go-to breakfasts for the last few months, next to this Vanilla Chia Pudding with fruit. With the cooler months ahead it's a perfect time to introduce a more cold and summer like oat breakfast leaving the hot oatmeal, like this Everyday Oatmeal, for cooler seasons. It's a no-fuss, gluten free muesli mix that's so easy to throw together. I used a large 1/2 gallon ball jar like these in a batch or this one from Target which are perfect for your large batch muesli mix and even have cup lines on the side so you can measure without having to use measuring cups. Once you've made your muesli, it's pretty enough to keep on the kitchen counter or store in the pantry if you prefer. Now you've got yourself a ready-made healthy breakfast or lunch if you will. I love the addition of fresh berries and dried mulberries if I have them on hand for extra flavor and freshness. If you feel you need to sweeten your cereal a bit, add a teaspoon or so of maple syrup or coconut nectar over top before serving. For even more flavor add a dash of cinnamon over top too, its delicious! Change up the ingredients by using shredded or flaked coconut, cranberries, chopped dates, cherries or apricots, slivered almonds, pistachios, etc. You get the idea. Use whatever flavor combination works for you using the suggested ratio I have in the notes. I hope this inspires you to make a batch of this wholesome goodness and enjoy often, it's a perfect way to start the day!  
DIY MUESLI MIXDIY MUESLI MIX

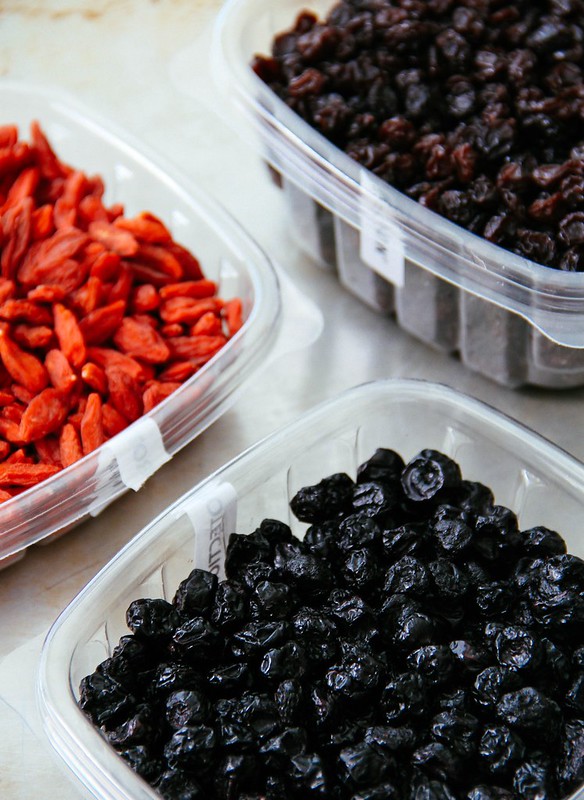
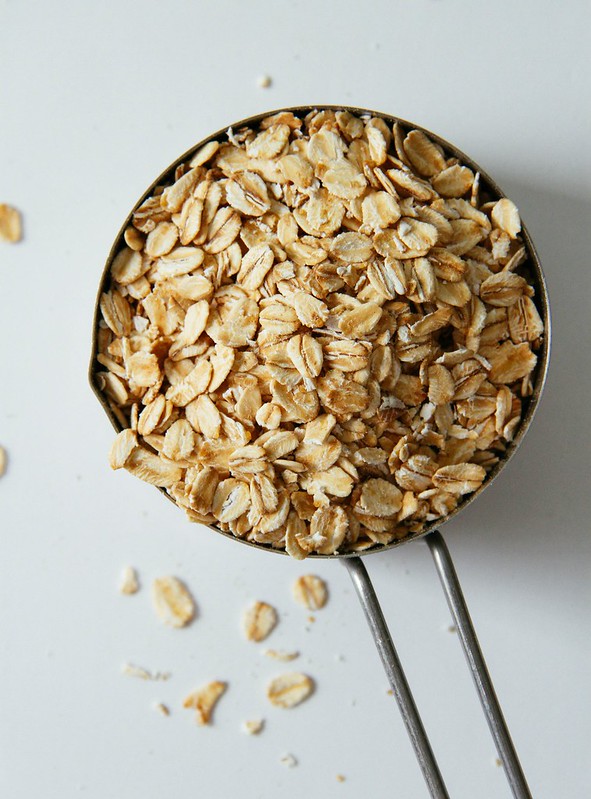
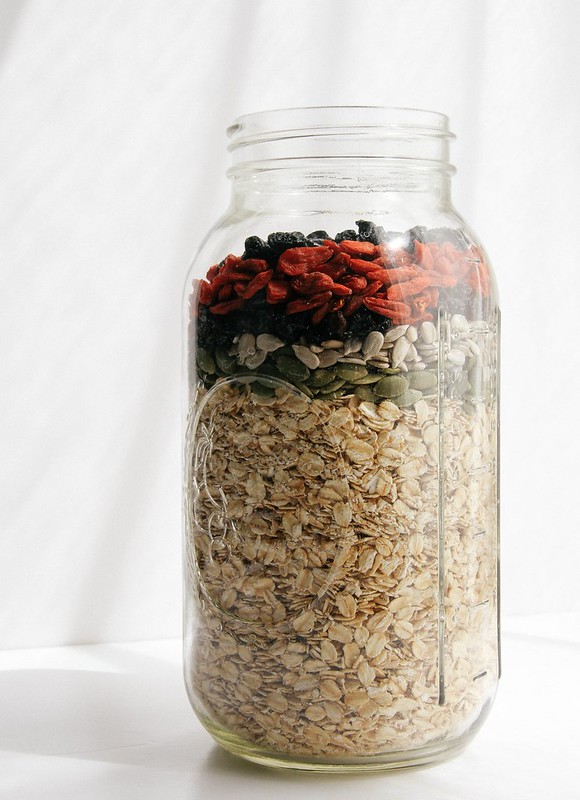
I use only rolled oats in my muesli making it easily accessible, economical and gluten free. I'll add in goji berries, currants and dried blueberries for my fruits. It's preferable to use unsweetened fruits but if one of your choices is sweetened, like my dried organic blueberriesif you, I think we'll be fine! You can also use raisins, cranberries, chopped dates, cherries, apricots, etc.
DIY MUESLI MIX

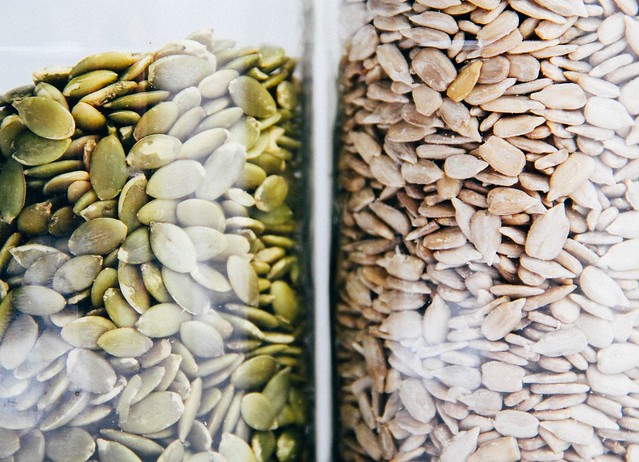
For the seeds, I like pepitas (pumpkin seeds) and raw sunflower seeds. Feel free to use slivered/chopped almonds or any nuts and seeds you prefer. I tend to stay away from the smaller ingredients in a large batch like this just because they most likely will end up on the bottom of the jar. Try to stick with ingredients that are about the same size to help keep them evenly distributed. If you want to add smaller ingredients like hemp or chia seeds, just sprinkle some on top before eating. 
DIY MUESLI MIXDIY MUESLI MIX

Once you've made your batch of muesli, you're ready to pour and serve with or without toppings.

Prepare your muesli one of two ways:
DIY MUESLI MIXDIY MUESLI MIXDIY MUESLI MIX

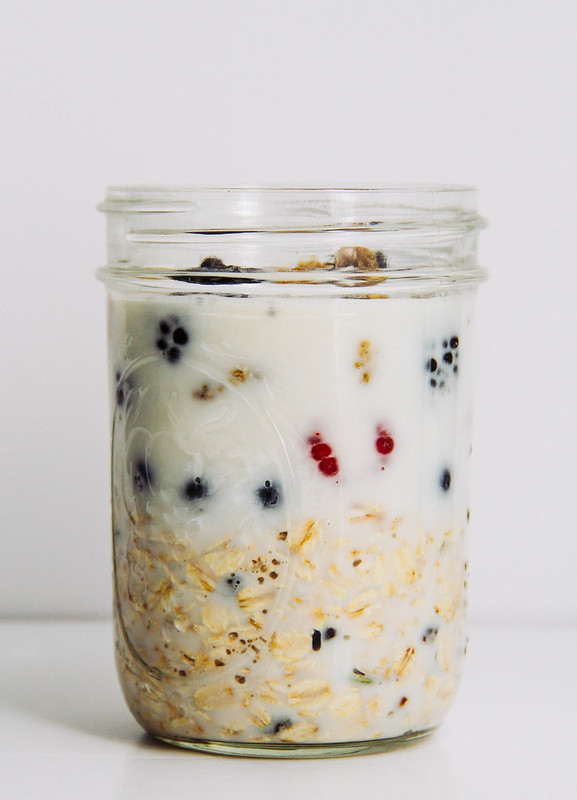
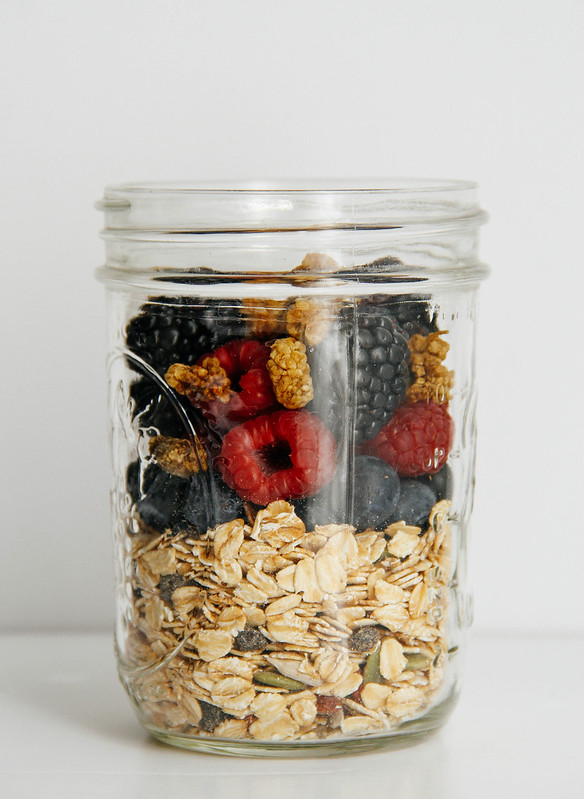
Above is overnight muesli. It's easy to prepare. Simply fill your jar, cover and keep in the refrigerator until ready to eat, at least 4 hours and up to 3 days. Makes for a great take along breakfast, snack or lunch!
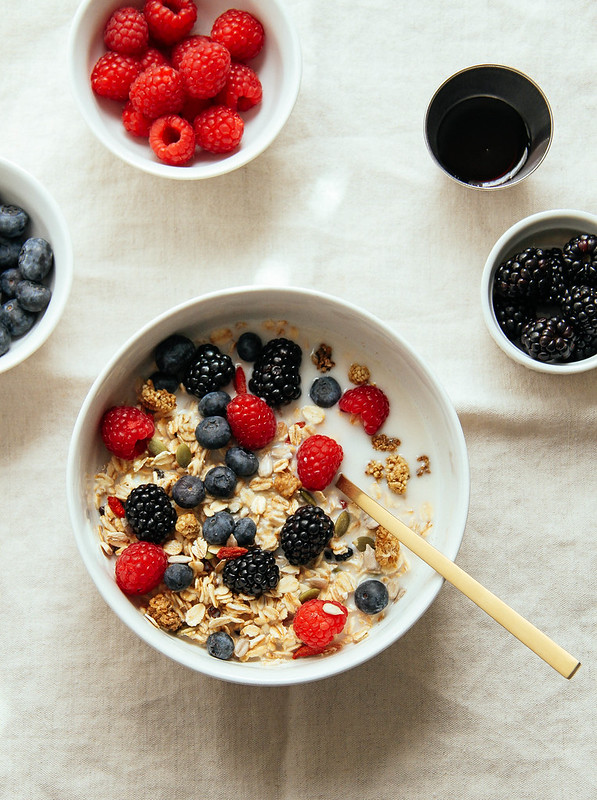
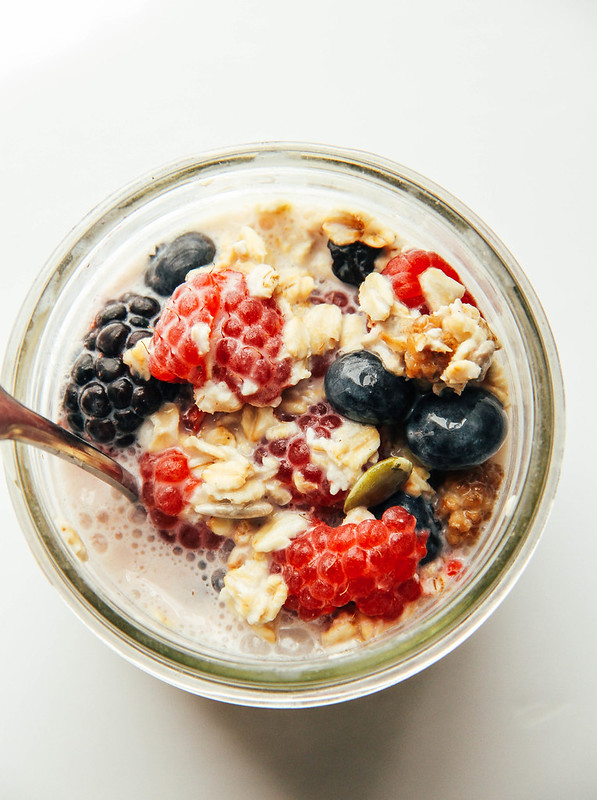
Below is pour and serve, eating after 5 minutes or so of letting the milk soak into the oats softening them just a bit. 

Both ways are terrific and have their place in your healthy habit meal routine!

I use unsweetened almond milk and add fresh berries along with a few dried mulberries. I sometimes add a drizzle of maple syrup if I want a little sweetness. And if I remember, I'll add a dash of cinnamon or ground vanilla bean for a little extra flavor. I love all the flavors combined and suggest trying it for yourself. I think you'll love it too!

DIY MUESLI MIX

DIY MUESLI MIX

Ingredients
  • 5 cups rolled oats
  • 1/2 cup sunflower seeds
  • 1/2 cup pepitas (pumpkin seeds)
  • 1/3 cup raisins or currants
  • 1/3 cup dried blueberries
  • 1/3 cup goji berries

Place ingredients in your large jar, attach the lid and shake, twist and roll until evenly distributed. If using a large bowl, stir mixture and add to container of choice.

When ready to serve, add 1/2 - 3/4 cup of muesli to your bowl, add enough milk to cover and let set for about 5 minutes or so until the oats soften a bit. Add a little sweetener of choice (I use a drizzle of maple syrup) and some fresh berries such as blueberries, raspberries, blackberries. Sliced strawberries and/or bananas would also be great. If you have some dried mulberries on hand, throw some in they taste great! When ready to eat, add a little extra milk as you like. Once you've made this a few times, you'll find your perfect way.

To make overnight muesli, add about 3/4 cup muesli to a jar/bowl, top with fruits of choice if you like and cover with milk. Seal or cover and keep in the refrigerator overnight or up to 3 days (make a few so they're ready to grab and enjoy or take along). Mix before eating, add a little extra milk as needed (if at all).

Makes about 7 cups serving approx. 9 - 14.

Notes: 

Feel free to add 1/2 cup of flaked or shredded coconut. You can change up the dried fruit by adding dried cranberries, chopped dates, cherries or apricots etc. Add any nuts and seeds you prefer. Slivered almonds are great in the mix. Mix and match as you like making this your own!

If you're not going to top with any fresh fruit, feel free to add in another 1/2 cup or so of dried fruit of choice.

Suggested ratio:
5 cups rolled oats
1 cup mixed nuts & seeds
1 cup mixed dried fruit (pref. unsweetened varieties)


I'd love to see your masterpieces!
#thesimpleveganista

EVERYDAY OATMEAL

Everyday Oatmeal

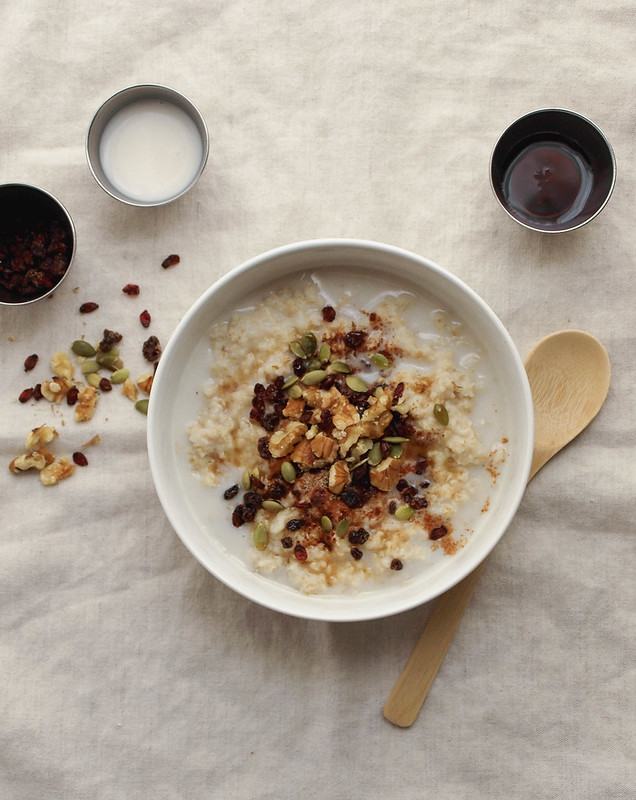
Today I share with you my go-to oatmeal. It's quick and flavorful! On its own, oatmeal is nothing to get excited about. It needs help with warm spices, sweet and/or tart fruits and some crunchy nuts & seeds. Add a drizzle of pure maple syrup and splash of almond milk for the perfect finishing touch. I love oatmeal all year long, but during the fall\winter I especially eat this on a regular basis. It warms me up, fills that morning hunger, supplies me with good carbohydrates and keeps me going for a good part of the day. 

Everyday Oatmeal: The Essentials

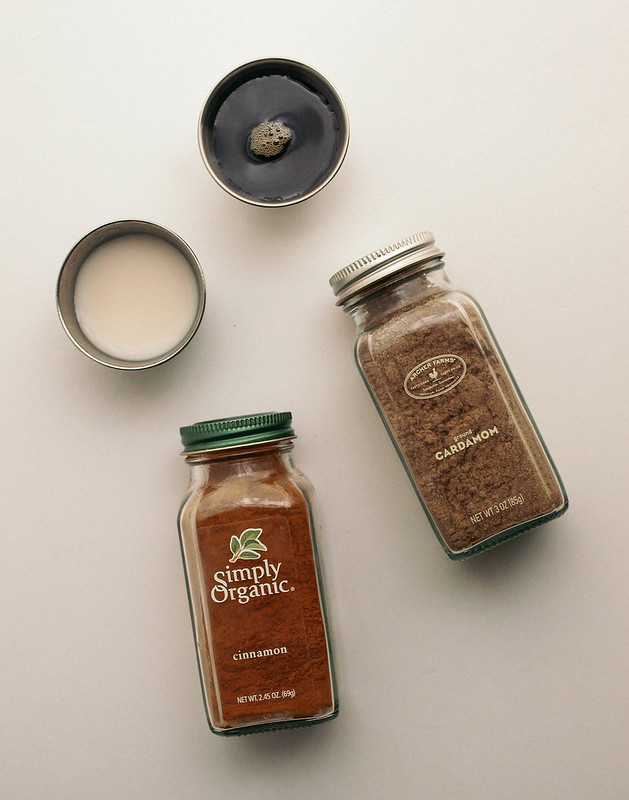
My everyday oatmeal always consists of cinnamon, cardamom, maple syrup and almond milk...these are the essential flavor boosters. The rest of the ingredients will be mixed and matched depending on what I have on hand.

Cinnamon and cardamom are warming spices and both hold health benefits. They are delicious together and will add a ton of flavor to plain oatmeal!

Pure maple syrup is my sweetener of choice and contains a good dose of manganese and zinc.

For the milk, I use unsweetened almond milk but you can use your favorite non-dairy milk. Most non-dairy milks are low in calories, fat and are fortified with important vitamins and minerals (even more so than dairy milk) like calcium, vitamin D, B-12 and E, manganese, potassium, copper and selenium.

The oats can be whatever you prefer. Lately I've been using quick oats, it's what I've been baking with and have tons on hand. You can use rolled or steel cut oats too, just cook according to the package directions.

I usually always add in some sort of fruit, whether dry or not. Usually its dried fruit since I always have some on hand in the pantry or refrigerator. I prefer unsweetened dried fruit like raisins, currants, barberries, blueberries and cranberries. Chopped dates, apricots and cherries are also great. I'm loving the addition of the barberries I picked up awhile back, they add a tartness contrasting the sweetness of the other dried fruits. I've come to learn that barberries are higher in anti-oxidants than dried blueberries, cranberries, goji berries and even pomegranates! These little tart fruits can be found in Middle Eastern grocery stores (you can also order them online) and hold up well in the pantry or refrigerator. When using fresh fruits, I may use blueberries, sliced bananas or apples.

The addition of nuts & seeds will add protein and a nice crunch. Many nuts & seeds contain essential omegas that are heart healthy making them another good reason to add a small handful. You can use any combo of walnuts, pepitas (pumpkin seeds), almonds, hemp hearts, chia seeds and pecans.

It's the perfect everyday oatmeal to get me going, or end my day! Sometimes I have oatmeal for dinner. ♥

Everyday Oatmeal

EVERYDAY OATMEAL

Ingredients
  • 3/4 cup quick oats 
  • 1 1/4 cup water
  • 1/2 cup unsweetened almond milk, divided
  • 1 - 2 tablespoons pure maple syrup
  • 1/4 heaping teaspoon cinnamon
  • 1/8 teaspoon cardamom
  • small handful mixed nuts (I used walnuts and pepitas)
  • small handful dried or fresh fruit ( I used currants and barberries)

Bring water to a boil in a small saucepan. Stir in 3/4 cup oats, reduce heat to medium and cook for 1 1/2 minutes. Add 1/4 cup milk and cook another 30 seconds. Remove from heat, cover and let stand for 2 to 3 minutes. 

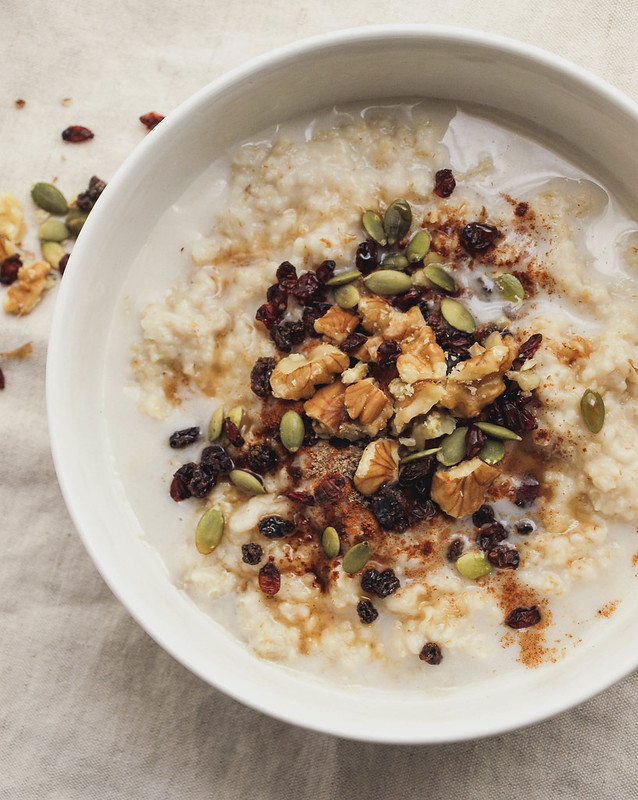
Place oatmeal in your serving bowl, top with cinnamon, cardamom, nuts, seeds and berries. Drizzle maple syrup over top and some of the remaining milk. Give a good stir and enjoy!

It tastes great with a morning cup of coffee, green tea or lemon water.

Notes: 

Give or take on both the oatmeal and water when cooking, using more or less as needed.

Use rolled or steel cut oats if you prefer, cook according to package instructions. 

If you don't like the flavor of maple, use coconut nectar or pure cane brown sugar. 

Dried fruits you might like to use...cranberries, blueberries, goji berries, raisins, currants, barberries, chopped dates, apricots and cherries. Fresh fruits can be blueberries, apples and bananas.

Nuts and seeds you might like to use are almonds, walnuts, pecans, pepitas, hemp hearts and chia seeds. 

PEANUT BUTTER & BANANA GRANOLA SNACK CLUSTERS

PEANUT BUTTER & BANANA GRANOLA SNACK CLUSTERS

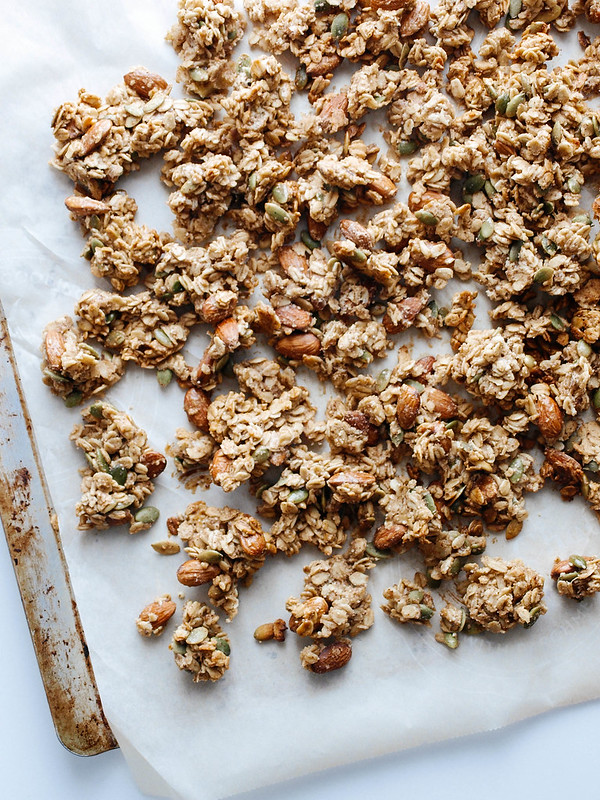
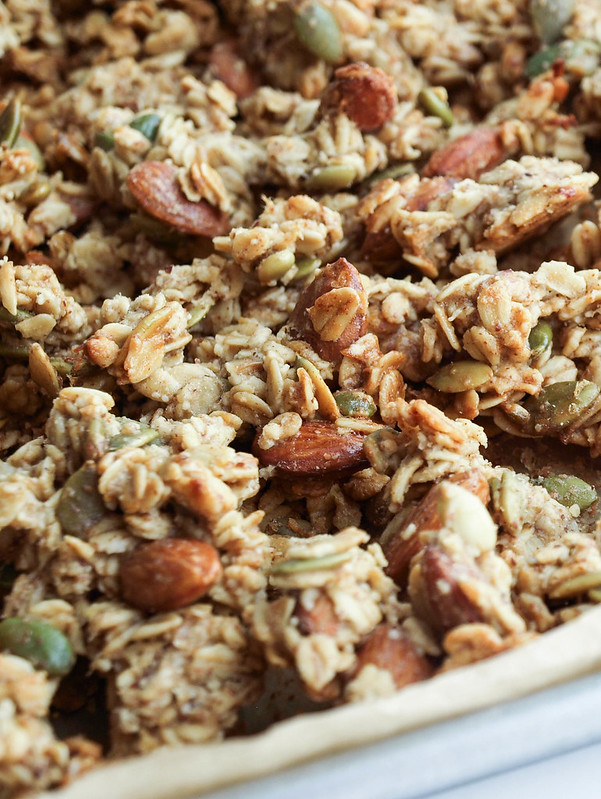
I have some granola inspiration to share with you today! While at the store a few weeks ago, I saw a package of granola from La Brea Bakery and loved that it had big chunks. I set out to recreate that in my kitchen. Initially I wanted to make a mixed fruit granola, but seeing that I had some very ripe bananas that needed to be used up I thought I'd put them into a granola with a nut butter instead. We'll save the fruit granola for another time. This combination turned out great. Not too sweet, chunky like I wanted and the nut butter will add a good amount of protein. This is a perfect snacking granola! Great to have on hand at home or pack some up and take it with on the go. You can also break it up a bit more and top it on non-dairy ice cream or yogurt. You may even like to fill a bowl full, add some milk and enjoy. However you like your granola, this will be a great addition to your granola addiction!

PEANUT BUTTER & BANANA GRANOLA SNACK CLUSTERSPEANUT BUTTER & BANANA GRANOLA SNACK CLUSTERSPEANUT BUTTER & BANANA GRANOLA SNACK CLUSTERS

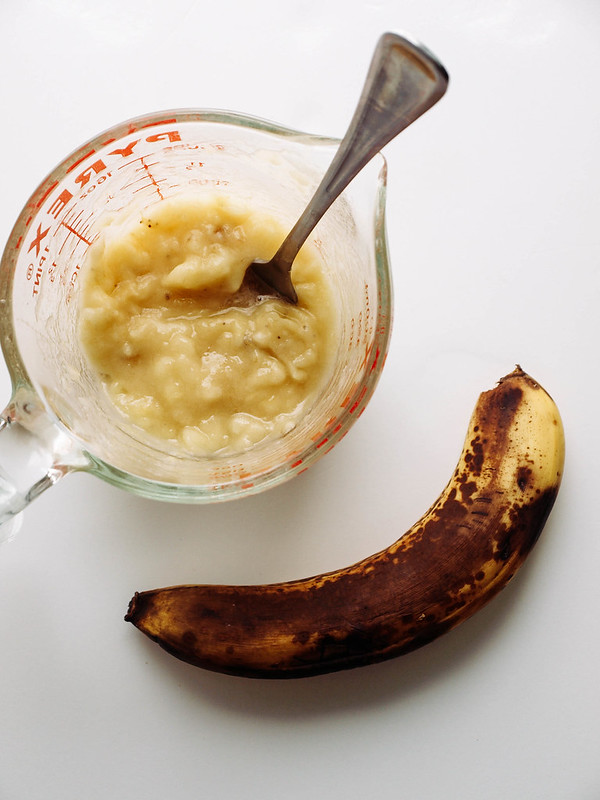
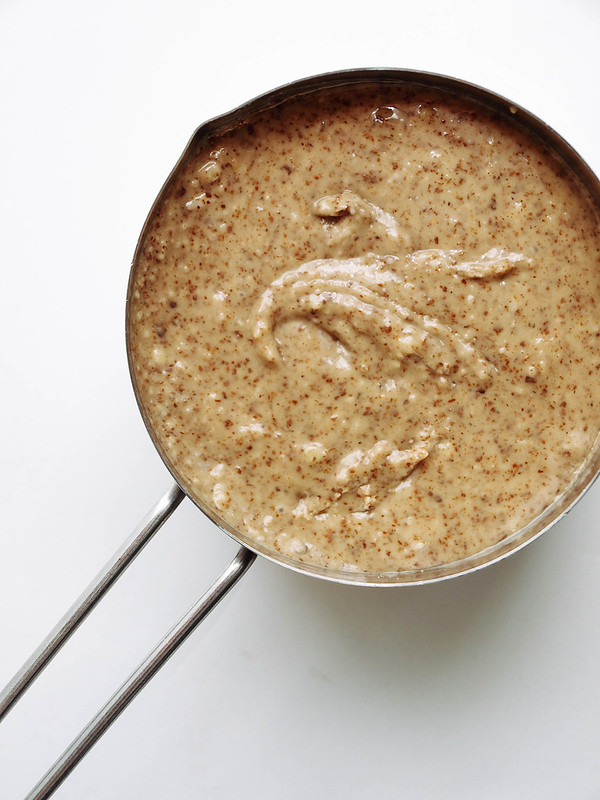
I used almond butter here but you can use any natural nut butter you like. The bananas, the riper the better...the more ripe they are the sweeter they'll be.

PEANUT BUTTER & BANANA GRANOLA SNACK CLUSTERS

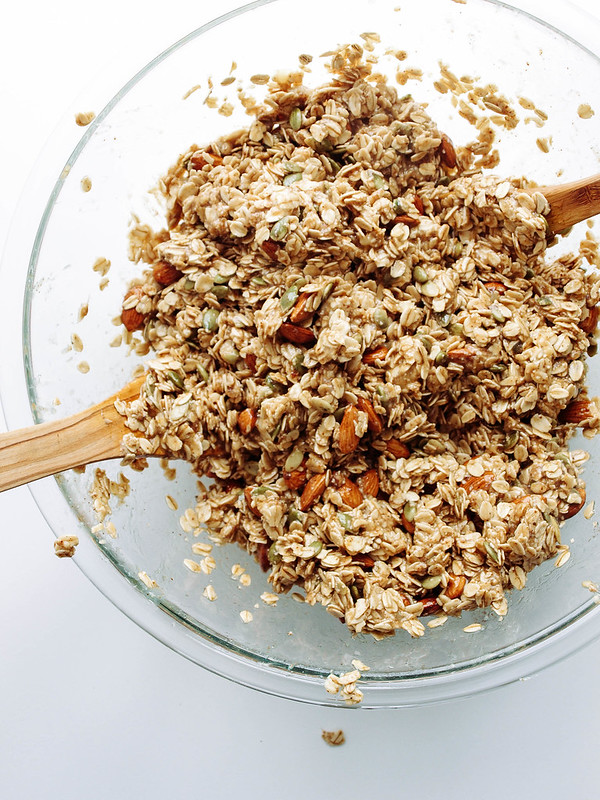
Mix your wet and dry ingredients...

PEANUT BUTTER & BANANA GRANOLA SNACK CLUSTERS

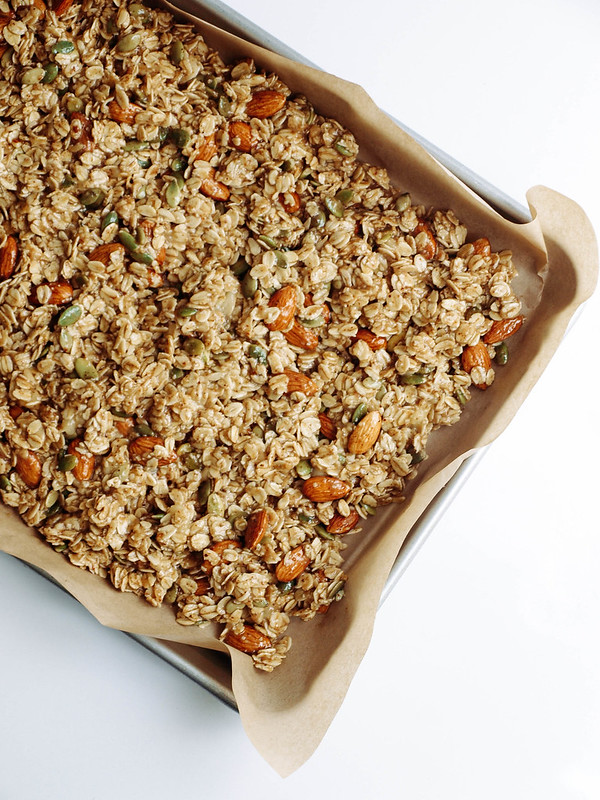
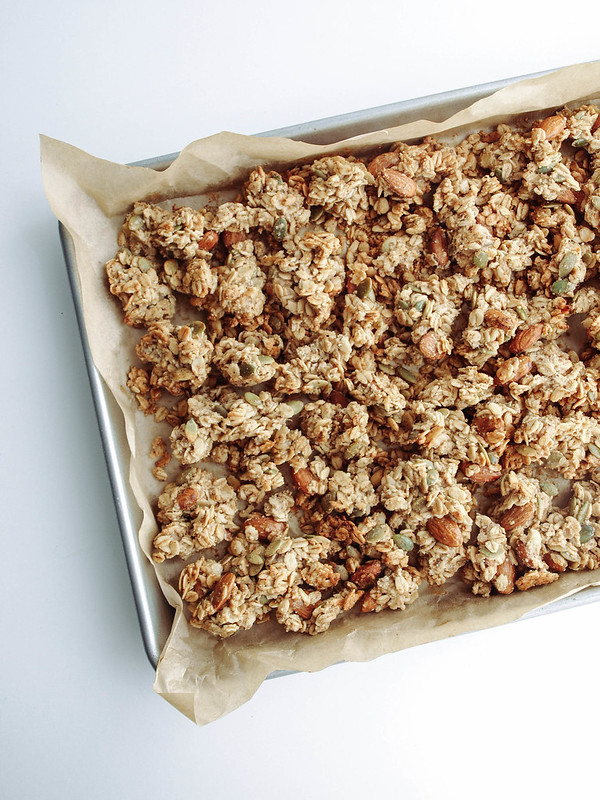
Spread on 1 extra large baking sheet or 2 smaller ones. In the picture above I spread the granola close together. I did one sheet this way and another loosely spread out (first photo). Both batches worked great but the loosely spread granola baked a little faster.

PEANUT BUTTER & BANANA GRANOLA SNACK CLUSTERS

Once cooled and broken up, you're ready to enjoy!

PEANUT BUTTER & BANANA GRANOLA SNACK CLUSTERS

PEANUT BUTTER & BANANA GRANOLA SNACK CLUSTERS

Ingredients
  • 4 cups rolled oats
  • 1 cup almonds
  • 1/2 cup pepitas (pumpkin seeds)
  • 1/2 teaspoon cinnamon
  • pinch of salt
  • 3/4 cup almond or peanut butter (I used crunchy almond butter)
  • 2 small ripe bananas, mashed (about 1 cup)
  • 2/3 cup pure maple syrup
  • 1/4 cup coconut oil, optional
  • 2 teaspoons vanilla extract

Preheat oven to 300 degrees F.

In a large bowl, mix together the oats, almonds, pepitas, cinnamon and salt.

Warm your coconut oil and maple syrup, combine with vanilla extract. Mash your bananas and measure your nut butter. Combine the wet ingredients with the oat mixture. Toss and mix to coat well.

Spread mixture evenly on a lined or lightly greased baking sheet (I used two baking sheets). You can either lightly compact the mixture or loosely spread it out a bit. If compacting, you'll want to mix the granola when rotating after 30 minutes.

Bake for 30 minutes. Turn and rotate sheet/sheets, bake an additional 25 - 30 minutes. Keep an eye towards the end so it doesn't over brown (ovens run differently). Remove from oven, granola will be somewhat soft at first. Let cool for 15 minutes, break up into chunks, especially the center part if you've compacted the mixture. Let granola cool completely to harden.

Notes:

Change up the nuts using peanuts, walnuts or pecan pieces. Use sunflower seeds in place of the pepitas.

You will most likely do just as well without any oil. If you'd like to reduce the oil, try using only 2 tablespoons. I like the flavor and addition of the coconut oil for myself.

Once cooled, if you still find your granola to not be as crunchy as you might like, bake again at 300 degrees for about 10 minutes, keep an eye so it doesn't over brown.

This granola needs to cook low and slow. My first batch I baked at 325 degrees F. for 40 minutes but it still needed extra baking time after cooling to become crunchy. I lowered the temp and added a bit more time. Be sure to watch it towards the end so it doesn't become burnt, especially if you've spread it loosely on the baking sheet.

The 1/2 teaspoon of cinnamon gives a very subtle flavor, add another 1/2 teaspoon for a more enhanced cinnamon flavor.

If you happen to have both rolled and quick oats on hand, try using 2 - 3 cups rolled oats and 1 -2 cups of quick oats (use whatever combo equals 4 cups with at least 2 cups rolled oats). This will also help to make nice clusters.

Enjoy!

    EVERYDAY NOURISH BOWL

    EVERYDAY NOURISH BOWL

    I've always been a self-taught learner, a do-it yourself kind of girl. From household fixings to health fixings, and now to minor website fixings, I've done my fair share of learning how to take care of things myself. You may have noticed the mini-facelift on the site. I've been tweaking it around here & there after much reading and fumbling around on the computer. lol I'm finally done, for now anyway! After the few minor setbacks (I had a slight learning curve), I'm so happy to be finished bringing new things and life to my little blogspot with only spending my time (for what's it's worth, if I had to start this blog over again I would use WordPress, just saying). For starters, there is a new page up top containing MY PANTRY & KITCHEN ESSENTIALS. I hope to elaborate on this page in the future. I've also added an INSPIRATION & RESOURCE page which is still in progress. Here and there you'll find a few other new bells and whistles that were done completing my mini makeover. I hope it's easy to navigate and more pleasing to the eye. This is my personal space on the web and I like to have it as fresh and clean as possible. Now enough about that and without further ado, I hope to inspire you with this everyday nourish bowl!

    EVERYDAY NOURISH BOWL 

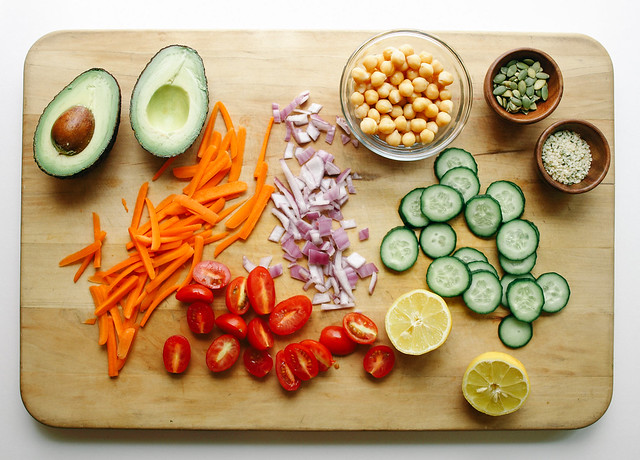
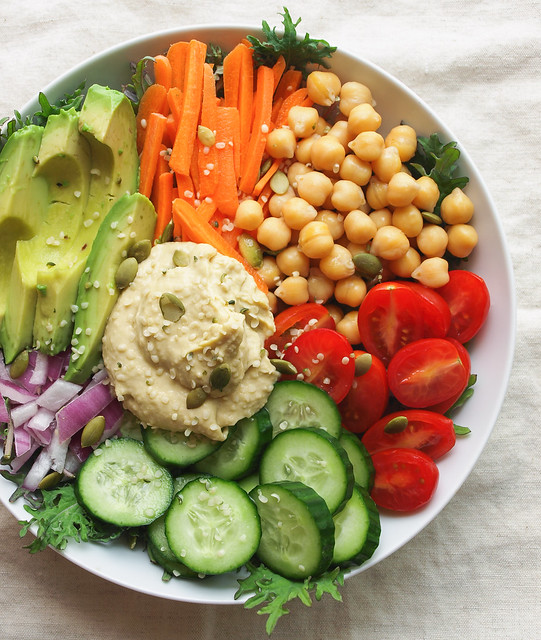
    An easy everyday nourish bowl, everyone should have one! I put this bowl together with simple, accessible ingredients in mind. All ingredients are fresh, except for the hummus and chickpeas, making it a cinch to pull together. Feel free to add in roasted vegetables if you like, especially in the cooler months. If you don't have the pumpkin or hemp seeds, sub in some sunflower or sesame seeds. For the leafy greens, I picked up some baby kale on sale so that's what I used but you can use whatever greens you like. Simply add a big fat dollop of your favorite hummus in the middle (that's the best place for it!), sprinkle your seeds, add a squeeze of lemon over top and enjoy to your hearts content! A complete meal that will nourish and revitalize you in the simplest way, everyday!

    EVERYDAY NOURISH BOWL

    EVERYDAY NOURISH BOWL

    Ingredients
    • leafy greens of choice (I used baby kale)
    • cooked chickpeas (garbanzo beans)
    • carrots, grated or sliced
    • grape or cherry tomatoes, sliced in half
    • red onion, diced or green onion, sliced
    • cucumbers, sliced
    • 1/2 avocado, sliced
    • big fat dollop of hummus
    • pepitas (pumpkin seeds), to garnish
    • hemp hearts, to garnish
    • 1 lemon, squeezed at serving

    I'll let you measure your ingredients. I used about a handful of each chickpeas, carrots, tomatoes, onion and cucumber...for the onion I used a small handful. Use however much you like depending on how big your salad is going to be.

    Place your ingredients in your serving bowl, add a big dollop of hummus to the middle, sprinkle with seeds and a big squeeze of lemon. Say out loud, or to yourself, "I am grateful for all that is", while keeping good thoughts in your mind. Then dig in and nourish yourself everyday!

    Notes:

    Add in any vegetables you prefer....broccoli florets, sliced zucchini, radishes, bell peppers, artichokes hearts, olives, etc. In the cooler months try adding in roasted vegetables like sweet potato, butternut squash, broccoli, carrots, etc. You can also add in some fresh herbs like parsley or cilantro if you have them on hand.

    Sub in sunflower seeds and/or sesame seeds for the pumpkin seeds and hemp hearts.

    For the best chickpea flavor, try making them fresh at home. It's really easy and nothing beats the freshness of homemade chickpeas! Take a look at the following link about garbanzo beans (chickpeas) and how to cook them from WHFoods: Garbanzo beans


    Enjoy and be grateful!


    I'd love to see your masterpieces!
    #thesimpleveganista


    Carrot + Zucchini Ribbons + Cilantro Pepita Pesto

    Carrot + Zucchini Ribbons + Cilantro Pepita Pesto

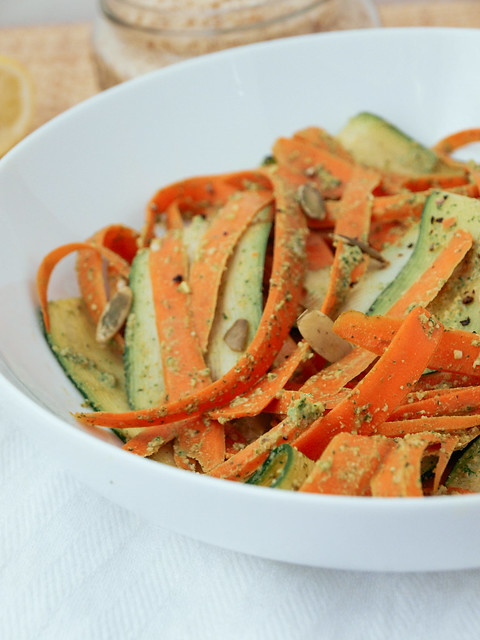
    It's about time I added a new raw dish to the collection. I have received many emails over the course of starting this blog. I was just recently inspired by a most wonderful email I received from one of my readers letting me know how much she appreciates this blog and really enjoys cooking from it. It has helped her return to eating vegan full-time again (hooray!), as she has fallen of the wagon a few times and needed this inspiration to get back on. In particular, the raw recipes were a source of inspiration at one point. She had eaten raw dishes here and there, but never for a solid period of time. She went away over the summer for two months and did a raw eating cleanse using the raw recipes as a source of inspiration. After her cleanse was over, she felt amazing and knew this is how the body is supposed to feel. Free from the toxins of the typical everyday eating, you feel alive and full of energy. It's completely healthy to eat this way for short periods like this and really puts you in tune with yourself. It gives your body a boost of natural healing energy if done right, it's an almost godliness feeling in a way. I know she is shining bright and feeling her best. I thank her so much for sharing her story with me. I love hearing from you all, as much as I may be a source of inspiration for you, you are a source for me too! Whether it's about a life changing event, a certain ingredient you used or just to say hi...all of it is wonderful to me and I thank you! I can't tell you enough how much I love all of you and want only the best for each and every one of you! So I share with you another wonderful raw dish to be eaten generously and frequently.

    Carrot + Zucchini Ribbons + Cilantro Pepita PestoCarrot + Zucchini Ribbons + Cilantro Pepita Pesto

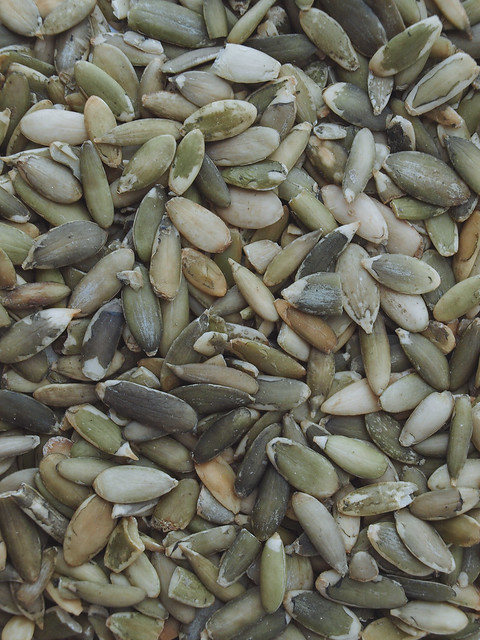
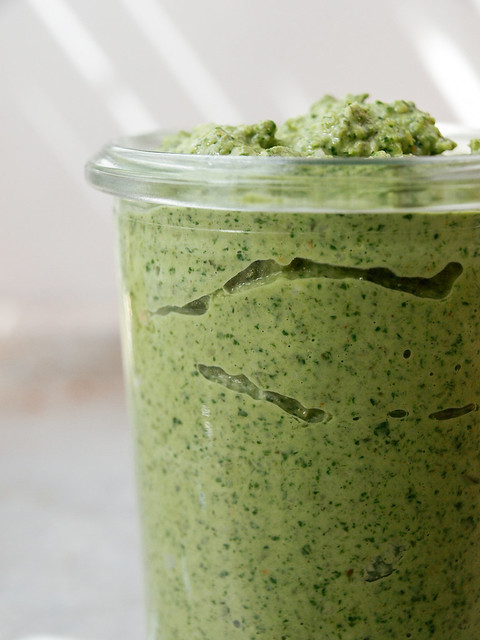
    I have a ton of pepitas (shelled pumpkin seeds) that I need to use up and thought this was a great way to use them. I also had some cilantro on hand and decided to use that. What I really love about cilantro, besides the lovely flavor, is that it's available in bunches and so easy to find. In general, it's hard to find basil in large amounts enough to make pesto, making cilantro a great alternative to the traditional basil pesto. I also added a small amount of garam masala to this pesto but feel free to omit it if you don't have it on hand or don't care for it. I have yet to use my garam masala and thought why not try it here for something unusual. So I tested it out and found that I rather liked it as it adds an interesting layer of flavor and pairs well with the fresh vegetable ribbons. I even used my left over pesto as a dip for carrot sticks...so good! But keep in mind that I'm quite strange and can eat the weirdest combinations. So If you feel like experimenting, go for it...if in doubt, leave it out. I also added in some hemp hearts as well, two tablespoons or so, if you have some on hand this is a great place to use them!

    Carrot + Zucchini Ribbons + Cilantro Pepita Pesto

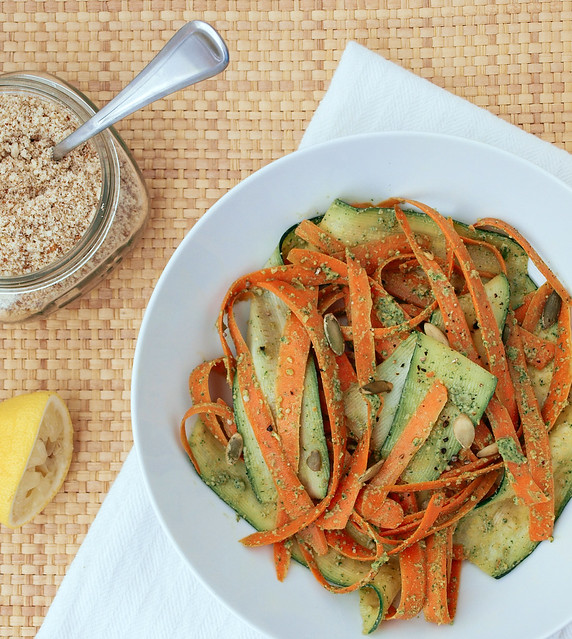
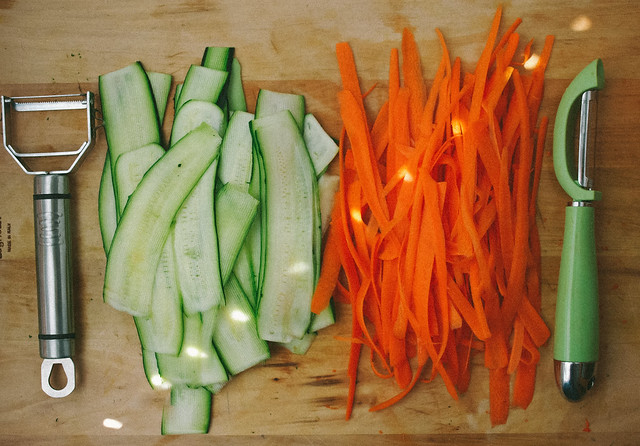
    The ribbons are easy to create. I used a mandolin to ribbon the zucchini and a peeler to do the carrots. It's best to use smaller sized zucchini so the mandolin will be wider. This will help keep the zucchini edges cleaner looking instead of scoured. But do it however you're comfortable and use whatever tools you have. If you only have a peeler you can just as easily use that to ribbon the zucchini too. You can also simply use a julienne tool for thinner ribbons or julienne everything by hand if need be.

    Carrot + Zucchini Ribbons + Cilantro Pepita PestoCarrot + Zucchini Ribbons + Cilantro Pepita Pesto
    Carrot + Zucchini Ribbons + Cilantro Pepita Pesto

    Carrot + Zucchini Ribbons + Cilantro Pepita Pesto

    Ingredients
    • 3 large carrots
    • 3 small zucchini
    • pepitas, for serving
    • mineral salt & cracked pepper to taste
    • almond parmesan, for serving

    Cilantro Pepita Pesto
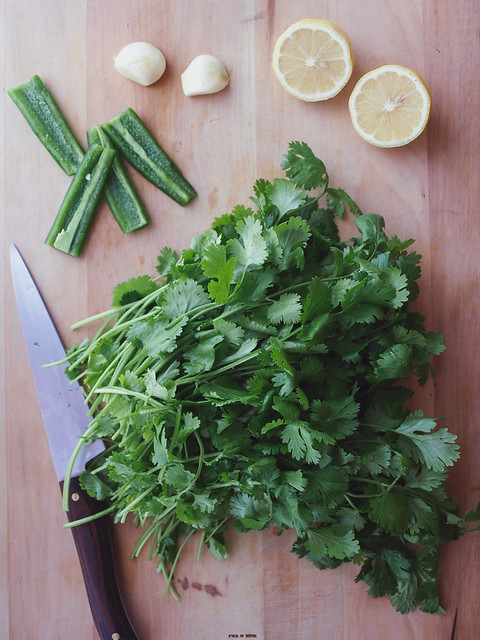
    • 1 large bunch cilantro (3 cups loosely packed), ends removed, leaves and small stems ok
    • 1/3 cup pepitas (shelled pumpkin seeds), toasted or raw
    • 2 tablespoons hemp hearts, optional
    • 2 cloves garlic
    • 1 small jalapeno, seed removed (leave a few seeds for heat if you like)
    • 3 tablespoons extra virgin olive oil
    • juice of 1 large lemon
    • 1/2 teaspoon himilayan salt
    • 1/2 teaspoon garam masala, optional

    Start with your pesto, place pepitas in your food processor and pulse a few times until seeds are broken down fairly well. Add remaining ingredients and blend until well combined and fairly smooth, stopping to scrap down the sides as needed. Add water, 1 tablespoon at a time, to thin if needed (no need to add more oil unless you want). Taste for flavor and season to taste. Set aside.

    Peel the outer layer of your carrots and discard. Using the peeler, ribbon the carrots. Wash your zucchini, cut the ends off and using a mandolin, or tool of choice, ribbon the zucchini. You can just as well julienne your carrots and zucchini with a julienne tool or by hand if you would rather have thinner strands.

    In a medium size bowl, place carrots and zucchini, add a few spoonfuls of pesto and mix to combine. You will have pesto leftover unless you really love the stuff and use it all!

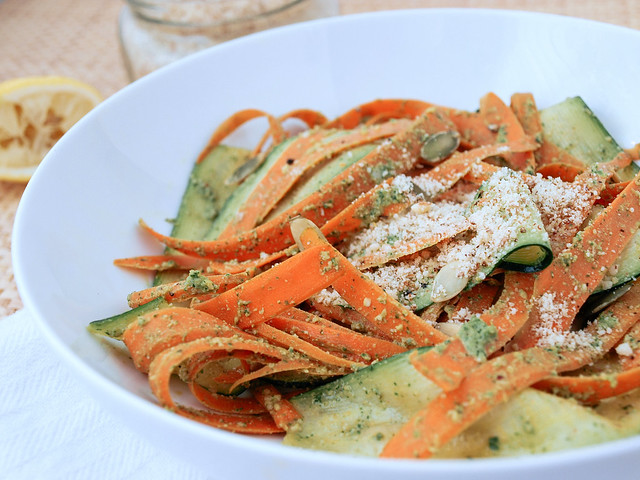
    Plate your ribbons, top with a sprinkle of pepitas and a nice dusting of almond parmesan. For a little extra color you could add some red pepper flakes to the top.

    Serves two.

    Store leftover pesto in an air tight container in the fridge for up to a week. Use the pesto for pasta, as a dip for vegetables, as a spread for sandwiches, thin it out with water or lemon juice and make a dressing for salads, etc. Lots of ways to use pesto.

    Notes: Use almonds in place of pepitas if needed. I used raw pepitas instead of toasting them.

    For the garam marsla, if pairing this with regular pasta I would leave it out. It pairs well with the freshness of the carrot & zucchini ribbons. Also, I found that it tasted fine with almond parmesan. But like I said earlier, I can eat some really unusual combinations. If you feel like experimenting, try it out...if in doubt, skip it.

    Enjoy!


    Seeds & Goji Berry Granola

    Seeds & Goji Berry Granola

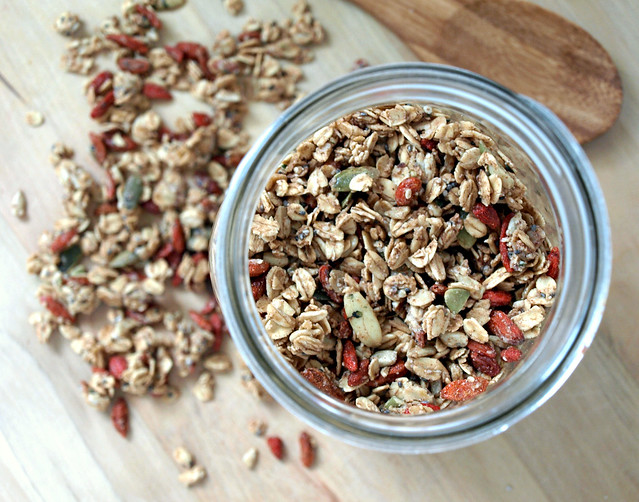
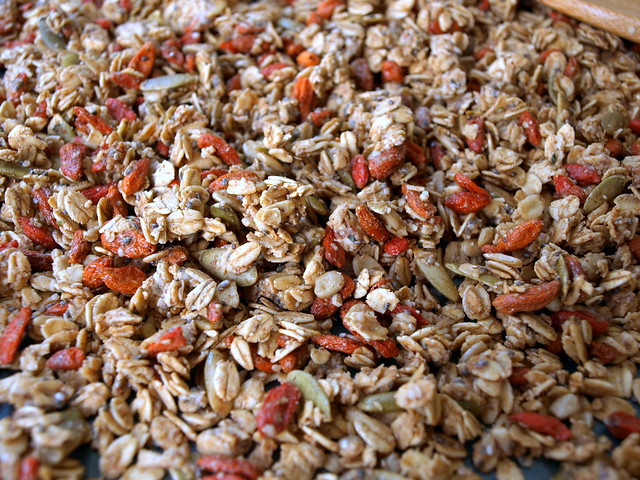
    Let's talk granola, seeds and goji berries for a second, shall we? I know there are many recipes out there and it's no wonder why... it's pretty great and handy to have around. Have it as cold cereal, top it on hot oatmeal, non-dairy yogurts or non-dairy ice creams, or simply take some to-go in a small container...it's a great snack or meal that is filling, healthy and just plain good. It's so versatile too. You can pretty much add anything to your base and come out with something wonderful. That happens to be the case here. I have a ton of goji berries in my fridge along with pumpkin (pepitas) and sunflower seeds that needed to be put to good use. A few days ago I ran across this article from Wake Up World entitled, Five Healthy Seeds, which I had posted to the Facebook page. That planted the seed so to speak for this recipe. Seeds are great; especially for those who have nut allergies...they can be a nice alternative. Some of the best seeds in whole form are hemp, sunflower, chia, sesame and pumpkin seeds. Flax seeds are great too but unless they are ground you're not going to get their full benefits as they will pass straight through the body without much notice. As for the goji berries, well I love them because they don't have any added sweeteners like most dried fruits do (I also like raisins for this reason). They are full of anti-oxidants just as other berries like blueberries, acai berries, cranberries, strawberries and cherries. Find out more about their nutritional profile from this article from Live Strong, Goji Berries Nutrition.

    Seeds & Goji Berry Granola

    Seeds & Goji Berry Granola

    Ingredients
    • 2 1/2 cups old fashioned rolled oats (I used GF)
    • 1/3 cup sunflower seeds
    • 1/3 cup pumpkin seeds (pepitas)
    • 1/3 cup goji berries
    • 2 tablespoons chia seeds
    • 2 tablespoons hemp hearts or the entire seed
    • 1 teaspoon cinnamon
    • pinch of salt
    • 1/2 - 3/4 cup pure maple syrup*
    • 1/4 cup sunflower seed butter (sunbutter), optional
    • 1 teaspoon vanilla

    Preheat oven to 250 degrees.

    Combine all your dry ingredients in a medium size bowl. Add your maple syrup, sunbutter and vanilla. Mix until well coated.

    On a greased (I used coconut oil), or ungreased, baking sheet (use two sheets if you like), add your granola, laying it flat and bake for about 30- 35 minutes, stirring the mixture every 10 minutes to ensure even cooking. If using two baking sheets, you may even like to switch their positions in the oven once after stirring. If using a smaller baking dish such as a 9x9 or 11x13, bake for up to 1 hour or so, or until golden throughout. Be sure to stir the mixture every 15 minutes or so.

    Once done, remove from oven and let cool completely before storing in an air tight container of choice. Will keep up to one month.

    * The more syrup you use the more likely you are to create larger granola chunks throughout. I only used 1/2 cup in mine and felt it was a nice texture with many clumps. It also was a perfect sweetness for my liking, not too sweet. Add additional syrup to your preferences.

    Feel free to add 1/4 cup or so unsweetened shredded coconut to the dry mixture as well.

    Enjoy!

    Bircher Muesli with Chia Seeds, Figs & Apples


    Muesli is a wonderful raw cereal and can be served with a variety of ingredients. Oats have been traditionally used along with fruits, nuts & seeds. Here is my favorite version of muesli using not only oats but other 'superfoods' like chia seeds and buckwheat grouts making this a nutritional powerhouse meal. 

    This recipe originally came about for two reasons. One, I had picked up some figs the other day not quite knowing what to do with them. And the other is due to a question I had posted on The Simple Veganista facebook page asking about vegan breakfasts, cereals in particular, so it all came together and I really love the mixture of grains, fruits, nuts, seeds and spices. So very good! It's almost like a chia pudding. 


    If you're in need of a meal that will carry you the distance, muesli is it. The added chia seeds in this version alone are an energy extender as well as the all-important omega's 3 & 6 they contain. They are one of the few plants based sources of omega 3. Chia seeds also contain a good amount of protein, fiber, iron and calcium per serving. The buckwheat can be optional in this version but I highly suggest that you get to know buckwheat, aka Kasha. Despite its name buckwheat isn't in the wheat family at all, it is considered a seed and is a great source of protein and fiber, even more than the oats per serving. In fact, you may decide to do all buckwheat and no oats sometime. It's also gluten free. The oats are a classic muesli staple and help soak up the liquids to make for a nice creamy dish while the other ingredients give texture and flavor. 

    Some history on muesli taken from wikipedia...

    'Muesli was introduced around 1900 by the Swiss physician Maximilian Bircher-Benner for patients in his hospital, where a diet rich in fresh fruit and vegetables was an essential part of therapy. It was traditionally eaten with juice and not milks.

    The original Bircher-Benner recipe is proportionately the opposite of most muesli available in today's supermarket varieties, calling for far more fruit than grains. One serving based on the original recipe consists approximately of:
    • 1 tablespoon rolled oats, soaked in 2–3 tablespoons water
    • 1 tablespoon lemon juice
    • 1 tablespoon cream
    • 200 grams apple (about one large, preferably a sour variety), finely grated and mixed with the above directly before serving
    • optionally top with 1 tablespoon ground hazelnuts or almonds
    The original recipe used sweetened condensed milk instead of cream, a compromise due to hygiene concerns regarding fresh milk products in 1900 (bovine tuberculosis etc.), before pasteurisation and refrigeration became commonly available. The original recipe also advised to soak the oats in water overnight as raw oats need a lengthy soaking to soften them before eating. This long soaking time is unnecessary with modern rolled "quick oats", which the manufacturers already soften through a steam treatment. While phytic acid is an antinutrient and strong chelator of important minerals, it is removed during the steam process, making muesli desirable, given its positive antioxidant qualities.'


    I highly believe if Bircher-Brenner was alive today, he would agree that non-dairy milk is a much better option to dairy creams...


    Let's make some 'superfood' muesli...I think Bircher would approve of this version :)

    Ingredients

    2 tablespoon rolled oats* ( I use GF)
    2 tablespoons buckwheat groats/Kasha
    1 tablespoon chia seeds
    1/2 teaspoon or so vanilla
    3/4 cup unsweetened almond milk, or non-dairy milk of choice
    cinnamon, to taste
    3 figs
    1/2 apple, I use fuji
    1-2 tablespoon raisins
    a few almonds
    a few pepitas
    a few walnuts

    In small/medium bowl combine oats, buckwheat groats, chia seeds, vanilla, milk, cinnamon, and half of the raisins. Mix well, cover and refrigerate overnight, or eat in one to two hours after it has set. Serve cold, or at room temp, topped with diced figs, apples, raisins and nuts/seeds and a sprinkle of cinnamon...add a little more milk if desired. I like to mix most of the apples in first and then top with the remaining ingredients. Serves one. Stores up to a couple days in airtight container in the refrigerator. Try drinking a glass of lemon water with this, very refreshing!

    You may also like to try 100% fruit juice in place of the milk or use any fruits you like. 

    *For 100% raw look for raw oats that have not undergone the steam process. These you will want to soak for eight hours plus.


    You can also make it to go in the morning. Combine all the ingredients in a mason jar, or other to go container, give it a good stir and take it with you. The non-dairy milk is perfectly fine without refrigeration until ready to eat. At least if it's eaten within the day it should be fine, unlike dairy products that need refrigeration (another reason non-dairy milk is so great).

    If you want to use more whole grains try this recipe below. It will fill you up for those extra long periods in between meals or can be munched on for a few hours...

    Ingredients
    1/4 cup rolled oats (I used GF)
    1/4 cup buckwheat groats
    2 tablespoons chia seeds
    1/2 - 1 teaspoon vanilla 
    1 cup unsweetened almond milk or milk of choice
    any fruit and nut/seeds of choice

    Enjoy these superfoods and eat them often !

    Raw Taco Salad + Nut Meat + Cilantro Lime 'Sour Cream'

    Raw Taco Salad with Lime Cilantro 'Sour Cream'

    I'm in love with this raw nut meat and have been wanting to try it for awhile. I ran across a recipe from Rawified for 'Raw Nut Meat' and immediately agreed with the use of mushrooms in the nut meat and knew this would be a winner. Since becoming a vegan, mushrooms were the replacement for meats in most meals because of their wonderful meatiness, and they are so earthy...I just love them. But if your not into mushrooms, don't fear because this will still work great for you as you can't taste them at all. One of the reasons I love the addition of mushrooms in the nut meat is to help make a good serving size without too much fat. Although it's good fat, too much is too much. It made perfect sense to me that they should be a key ingredient in raw nut meat. Mushrooms are full of goodness, same as the walnuts used in this recipe. This mixture is full of omega's, protein, healthy fats and trace minerals from the mushrooms such as selenium. This was just delicious, clean and simple just the way I like my foods. The nut meat is definitely a keeper for my life as a vegan as well as this colorful salad. Goodness everywhere on my plate.

    Let's begin with the nut meat as it is the true feature here...

    Raw Taco Salad with Lime Cilantro 'Sour Cream'
    Raw Taco Salad with Lime Cilantro 'Sour Cream'Raw Taco Salad with Lime Cilantro 'Sour Cream'

    Raw Nut Meat

    Ingredients
    • 1 cup walnuts
    • 1 cup mushrooms
    • 1 tablespoon nama shoyu or tamari
    • 2 teaspoons cumin
    • 1/8 teaspoon chipotle powder or cayenne

    Place ingredients in food processor and pulse until coarse and chunky, don't over blend or it will become a spread, pate like consistency.

    Serves two.


    That's it...so easy and so good! 

    I know you will love it as much as I do. Now for some added extras to top things off. It's based off a basic cashew sour cream with wonderful added flavors of lime and cilantro...a great accompaniment to this salad. 

    Raw Taco Salad + Mushroom Nut Meat + Lime Cilantro Sour Cream

    Lime Cilantro 'Sour Cream'

    Ingredients

    • 1/2 cup cashews, soaked for 2 - 3 hours 
    • 1/4 cup water, give or take
    • 1 small lime, squeezed
    • 1 teaspoon apple cider vinegar
    • 1 clove garlic
    • few sprigs cilantro
    • pinch of mineral salt

    Soak your cashews in at least 1 cup water for 2 - 3 hours. Drain well. 

    Add ingredients to blender or food processor, blend/process, scraping down the sides every now and then until smooth. Add extra water 1 tablespoon at a time if needed. For thicker cream use less water, for thinner use more. I found that I needed to add more water to get to my consistency. Add a dollop or thin enough to add a good drizzle over the whole salad.


    Now on to build our taco salad... 

    Raw Taco Salad with Lime Cilantro 'Sour Cream'

    Raw Taco Salad

    Ingredients
    • romaine lettuce, chopped
    • handful grape tomatoes, halved
    • bell peppers (any color), diced
    • scallions, thinly sliced
    • cilantro, chopped
    • pepitas, to garnish
    • lime wedges, to serve
    • sliced avocado, to serve
    • Nut meat (recipe above)
    • Lime Cilantro Sour Cream (recipe above) or Basic Cashew Sour Cream (shown)

    Use as much as you like of anything or feel free to add other ingredients like fresh corn, sliced jalapenos, etc. Serve with a few juicy limes as your dressing.

    Add a dollop of cream or a drizzle depending on how thick/thin your cream is.

    It was a fairly simple salad that will leave you feeling fresh and satisfied!

    Enjoy!


    Back to top