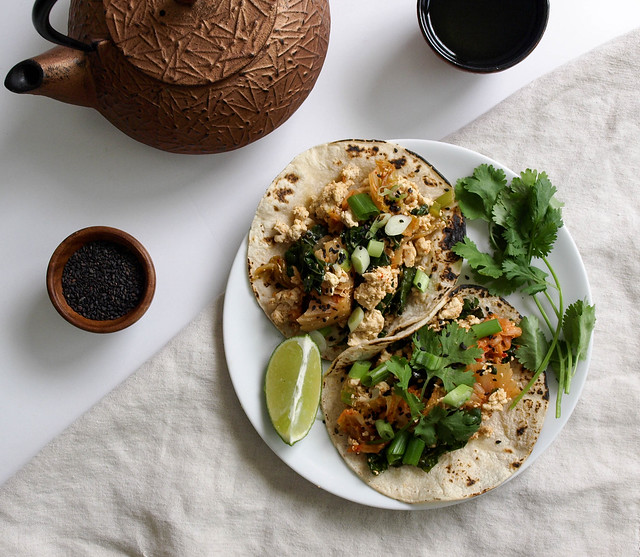
KIMCHI BREAKFAST TACOS

KIMCHI TOFU SCRAMBLE TACOS

Now that kimchi has been added to the recipe collection, it's time to experiment with this spicy, tangy mixture. What better way than to add this spiciness to a tofu scramble. Tofu at times can use a little help, kimchi is a perfect addition and will whip that tofu into shape. This is my vegan version of a recipe I saw for a kimchi scramble using eggs. My tofu interpretation came out amazing and I'm very happy with the results. If you're a kimchi lover and tofu appreciator, than I think you'll agree! I first made this recipe using spinach (which tasted great, of course!) but ultimately decided to use kale here as we try to use the most nutrient dense foods possible whenever we can. I loved the kale, it cooks down beautifully adding a nice pop of green to the scramble. I've kept the seasoning super simple, it doesn't need much as the kimchi will shine through. Best to use your most fermented batch of kimchi, the ripened flavors will work best when cooking with kimchi. These tacos can be eaten any time of day. It pairs great with green tea. If having these for lunch or dinner and you're a beer drinker, I think an Asian or Mexican beer would be great too. Beers like Kirin Ichiban, Sapporo, Corona and Dos Esquis are vegan friendly. To see if your favorite beer or alcohol is vegen, check this great guide: Barnivore. Whatever your drink of choice is, you're going to love every bite of these kimchi tacos! 
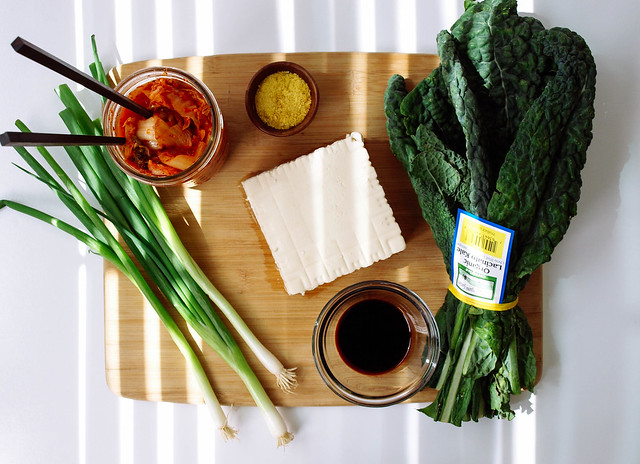
KIMCHI TOFU SCRAMBLE TACOS
KIMCHI TOFU SCRAMBLE TACOSKIMCHI TOFU SCRAMBLE TACOS
KIMCHI TOFU SCRAMBLE TACOS

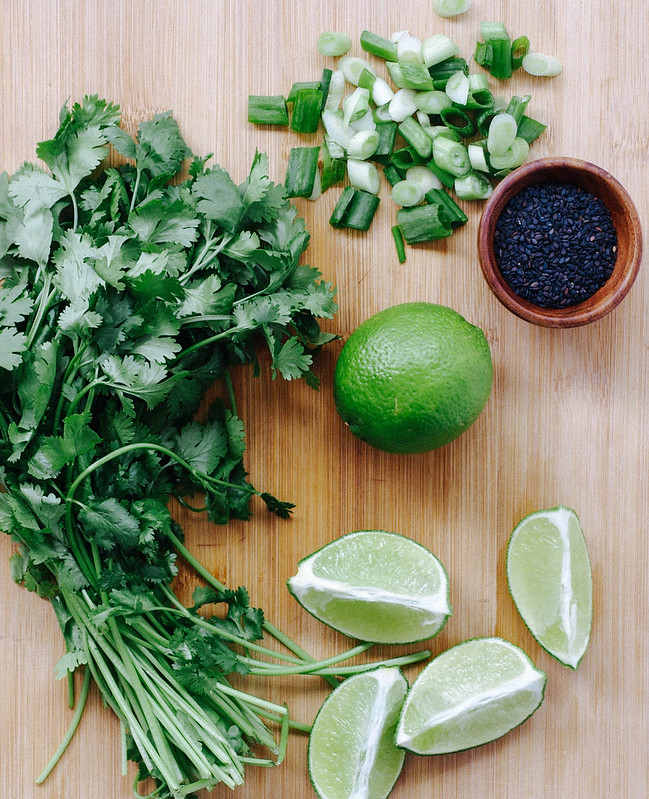
All cooked and ready to go. I could eat it just like you see it above...so good! But we're making tacos here, so fill your warmed tortillas (I used corn), you may like to use two if your mixture is very wet. Top with cilantro sprigs, scallions, sesame seeds and a squeeze of lime. Enjoy to the fullest!
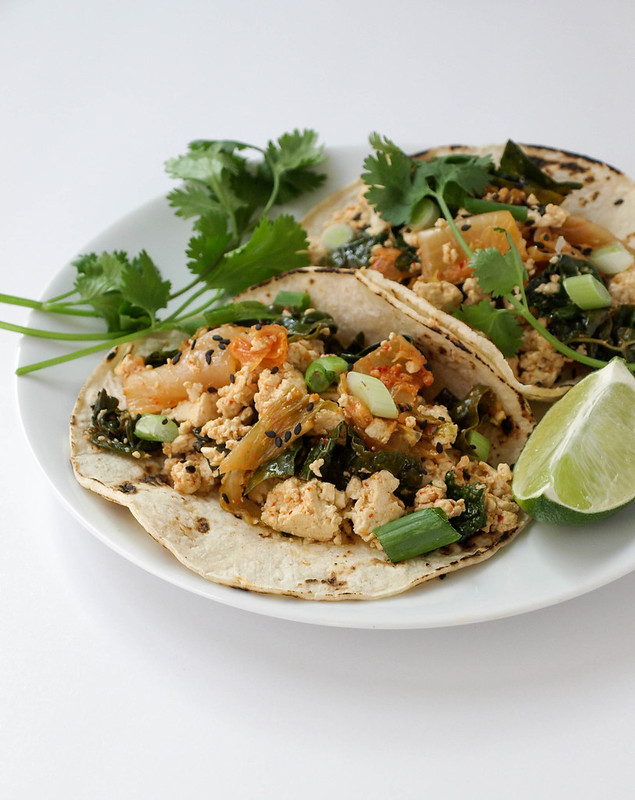
KIMCHI TOFU SCRAMBLE TACOS

KIMCHI TOFU SCRAMBLE TACOS


Ingredients
  • 1 tablespoon sesame seed oil, optional
  • 1 block (14 - 16 oz) organic tofu, firm or extra-firm
  • 4-5 large leaves of kale, center stem removed and julienned
  • 3 scallions, sliced (divided)
  • 1-2 tablespoons tamari
  • 1/2 teaspoon garlic powder
  • 1-2 tablespoons nutritional yeast, optional
  • 1 cup kimchi
  • cilantro sprigs, for garnish
  • sesame seeds (toasted, black or white), for garnish
  • lime wedges, to serve
  • 6 corn or flour tortillas, to serve

Measure out 1 cup kimchi and let come to room temp.

Open and drain tofu. You may like to give it a quick press to remove moisture if not using a vacuum packed brand. 

In a large wok/skillet, heat oil over medium high heat. Add tofu, crumbling between your fingers, cook, stirring occasionally, for about 2 -3 minutes. Turn heat to medium, carefully add tamari and garlic powder, give a good stir. Add kale and 2/3 - 3/4 of the scallions, cook, stirring occasionally until kale becomes soft and wilts, cover partially to help with the process, about 5 - 7 minutes. Lastly, add the nutritional yeast and kimchi, mix and cook just until kimchi has warmed through, about 1 minute or so. We don't want to overcook the kimchi or it will destroy some of the health benefits of the probiotics. 

Heat your tortillas. I like to heat mine carefully over a gas burner until lightly charred in spots. Use your preferred method.

Layer your tortillas with the scramble mixture, add a few sprigs of cilantro, some of the reserved scallions, a sprinkle of sesame seeds and a squeeze of lime. 

Serves 3

Notes: 

Use spinach in place of kale.

Use ripened kimchi, the flavors will be more pronounced. You may prefer fresher kimchi, in which case use your favorite.

You may like to chop your kimchi a bit before adding it to the tofu. I kept it as it was but it's an optiona.

Try adding a drizzle of this Garlic Miso Cashew Sauce, or for extra heat try the Dynamite Sauce or Sriracha Cashew Cream. You can control the heat when adding the spice to each of these condiments. 
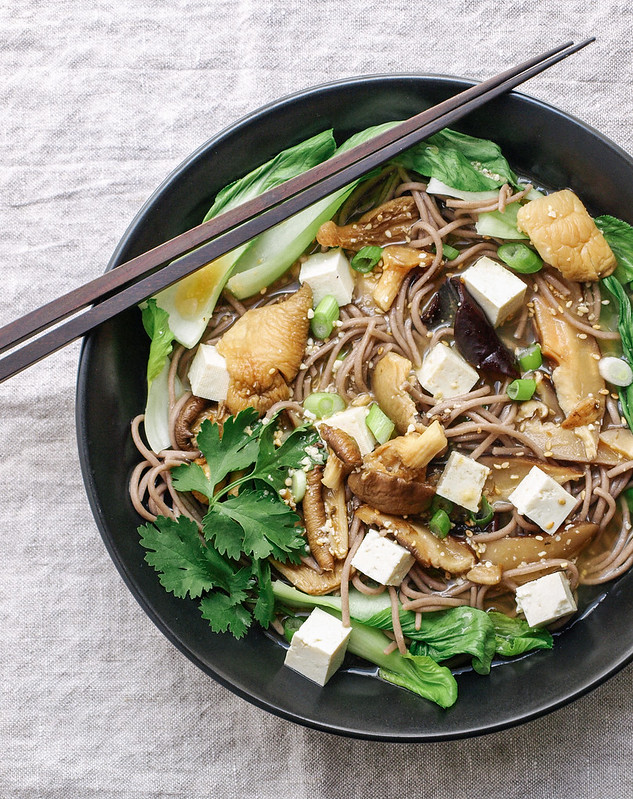

BOK CHOY & WILD MUSHROOM MISO SOBA NOODLE BOWL

BOK CHOY & WILD MUSHROOM MISO SOBA BOWL

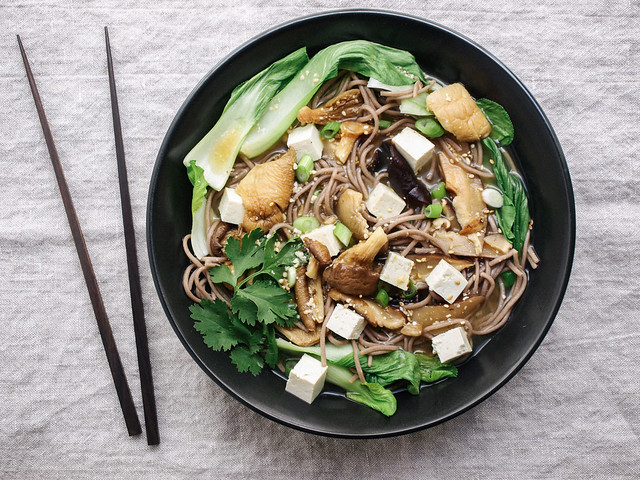
I've had my eye on this recipe from A House In The Hills since February of this year. I love her blog and taste in foods! I finally got around to putting my own version together and it's nothing short of delicious! I love every ingredient here and the pure simplicity of it all. It does take more than one pot to cook it all in but it's well worth the few extra dishes. I'm sure you can find a way to streamline my instructions even further to suit your needs and/or make it go a bit quicker if need be. I love this kind of cooking, minimal ingredients that come together creating a satisfying nutrient dense meal. Plus, anything called a 'bowl' and I'm all in! I hope you'll enjoy my version and check out the original too, it's a bit different as it doesn't have the miso soup. Either way you like it....cheers and enjoy your soba bowl!

Recently updated, in case you're a soup lover, is this Pasta and Bean with Kale Soup. It's super delicious and enough to serve six generously. You'll most likely have leftovers and you'll be glad you did!

BOK CHOY & WILD MUSHROOM MISO SOBA BOWLBOK CHOY & WILD MUSHROOM MISO SOBA BOWL

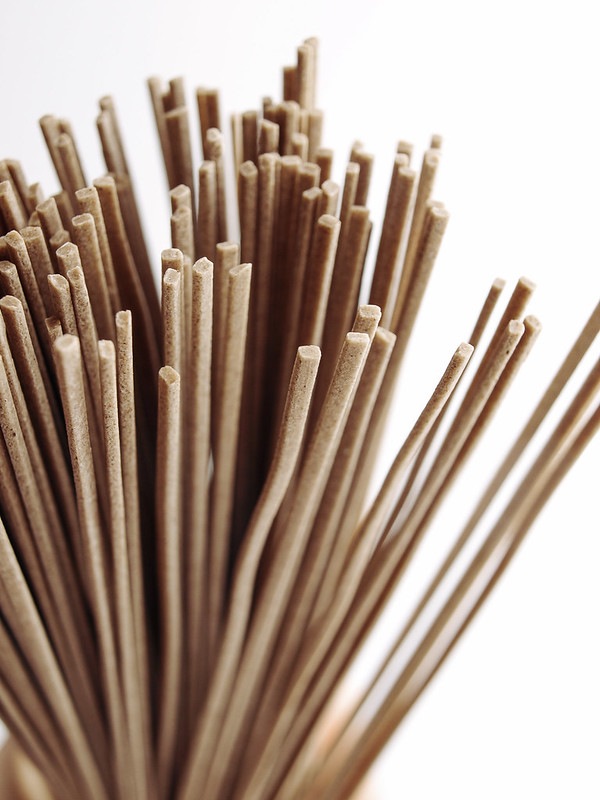
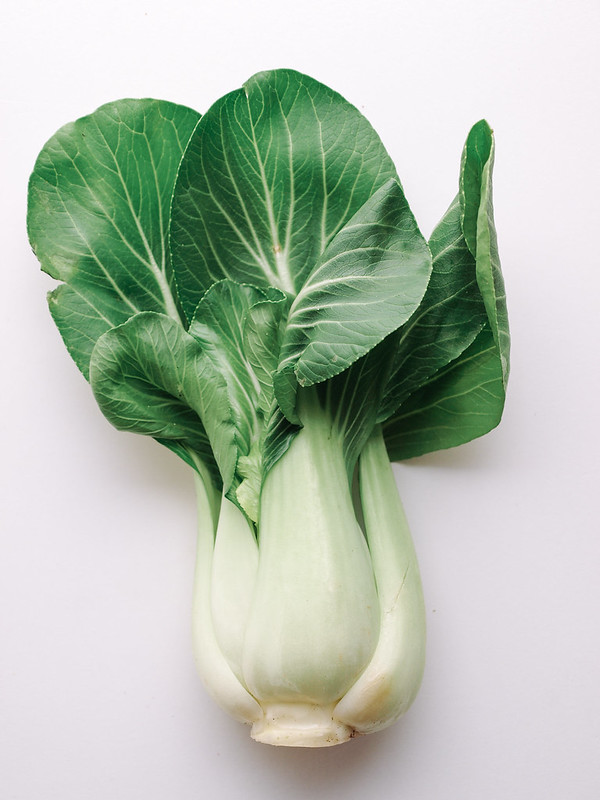
I used 100% soba noodles but you can use the mixed flour soba noodles if you like. You can even use ramen or udon noodles if you prefer, just know they are not gluten free if you're following that kind of diet. I don't have to follow a gluten free diet but I love soba noodles and do try to limit foods containing gluten. I started using them for their nutritional aspect and came to love their flavor and versatility. The noodles contain 6 grams of protein per serving. I call for 2 servings of soba noodles per person giving you 12 grams. The tofu is optional and will add extra protein, about 9 grams per serving, giving this dish almost half of the the average persons protein requirements. If you decide to not use the tofu, have a protein shake for dessert or somewhere in your day if you feel you haven't met your needs elsewhere. The bok choy is a must here and has such a mellow flavor but I'm sure you can adjust using something else if needed.

BOK CHOY & WILD MUSHROOM MISO SOBA BOWLBOK CHOY & WILD MUSHROOM MISO SOBA BOWLBOK CHOY & WILD MUSHROOM MISO SOBA BOWL

I used dried mushrooms here since I have somehow collected three bags of them and decided it was time to put one package to good use. Feel free to use fresh mushrooms of choice, about 8 oz should be good.

BOK CHOY & WILD MUSHROOM MISO SOBA BOWL

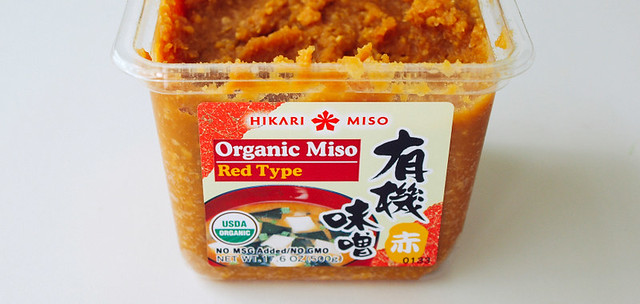
Red miso is what I had on hand for this recipe, but you can use your favorite or whatever you have available. If you don't have miso on hand, sub in some low-sodium veggie broth. But I recommend having miso handy at all times, it's makes for great broths and soup bases! FYI, it will last up to one year in the refrigerator...a great incentive to add this to your refrigerator staples.

BOK CHOY & WILD MUSHROOM MISO SOBA BOWLBOK CHOY & WILD MUSHROOM MISO SOBA BOWL
BOK CHOY & WILD MUSHROOM MISO SOBA BOWL

BOK CHOY & WILD MUSHROOM MISO SOBA BOWL


Ingredients (serves 2)
  • 1 package (9oz) soba noodles (I use Eden)
  • 1 package dried wild mushrooms or 8 oz shitake, oyster or mushrooms of choice
  • 3 small bok choy
  • 2 - 3 tablespoons miso (use your favorite)
  • 4 cups water
  • 2 - 4 oz. cubed tofu, optional
Garnish
  • 2 scallions, sliced
  • fresh cilantro sprigs
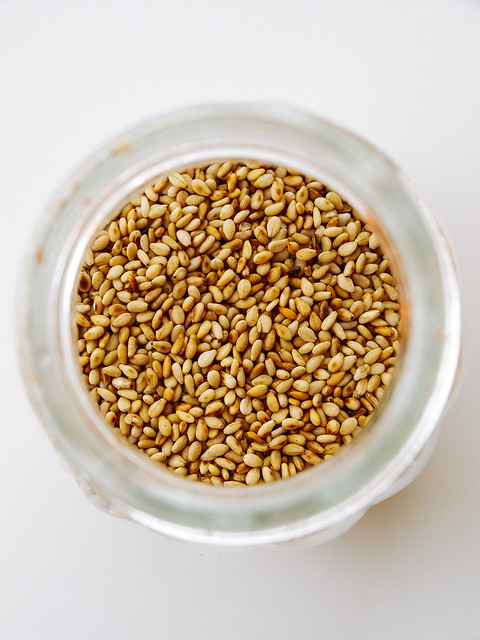
  • sesame seeds 
  • red pepper flakes (optional)

Cook your soba noodles according to package, rinse under cool water, set aside. 

Meanwhile, in a small saucepan, warm 4 cups of water over medium heat (do not boil), add dried mushrooms, lower heat and let simmer, uncovered for 10 - 15 minutes. Add miso, stir to remove any clumps and continue to keep the soup warm over low heat.

If using fresh mushrooms, slice into strips, saute them in a bit of sesame oil and splash of tamari for about 5 minutes over medium high heat, add mushrooms to the broth while simmering.

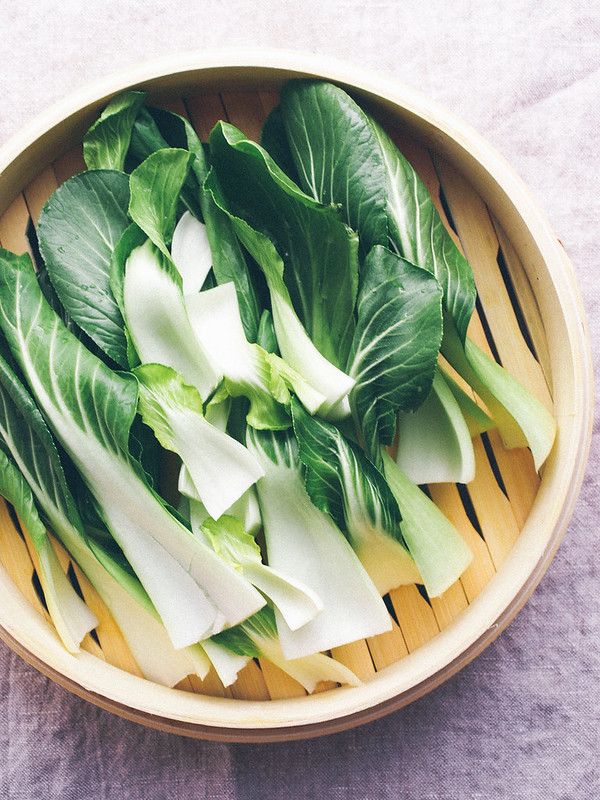
Steam your bok choy. I used a bamboo steamer with the pot I cooked the noodles in.

Tofu can be steamed with the bok choy or added to the soup to warm.

Build your bowl by adding half the bok choy and soba noodles to your serving bowl, ladle 1/2 of the miso broth and mushrooms over top. Top with cubed tofu, scallions, cilantro sprigs and sesame seeds.

Notes: 

If you don't have miso on hand, sub in some low-sodium veggie broth. But I recommend having miso on hand, it's makes for great broths and soup bases! FYI, it will last up to one year in the refrigerator...a great incentive to add this to your refrigerator staples.

A note on the Eden 100% Buckwheat Noodles and their price. It is a bit more expensive than most noodles but from my perspective, I eat basic, cheap foods most of the time so I consider these noodles to be my 'meat' if you will. You can always hunt the internet for cheaper prices and buy in bulk. 100% soba noodles are well worth the price considering I don't spend money on many other food items like cheese, meat, fish and poultry...all of which can cost just as much, if not more. I hope to encourage you to rethink food items and their cost when adapting to new foods...there is a trade off and I much rather spend my money on 100% soba noodles. Feel free to use other noodles as mentioned above.

Enjoy!


RED HOT MISO NOODLE BOWL

Red Hot Miso Noodle Bowl

Lately, I've been completely loving steamed vegetables with chili paste as my sole seasoning. Usually I'll add some sort of noodle and tofu to really make it hearty. I wanted to do something a little different and decided to add a spicy miso broth to the mix. Well, the result was super! I love a good miso broth and a spicy one is even better for me, but of course the spice can be an option for you. I know not everyone is as fond of spicy as I am but if you love some added heat you'll find this miso noodle bowl to be right up your alley. It's fairly quick to pull together and should be ready for your dinner table, couch or wherever you eat within 30 minutes. It's a versatile recipe allowing you to use items you may have on hand or can find fairly easily. The miso and chili paste may be the only ingredient that some, in certain parts, may have trouble with. Alas, there is the internet to fill that gap. You'll be able to use these items in more recipes than just here, so I encourage you to source them and start enjoying their flavors and benefits.

Red Hot Miso Noodle Bowl

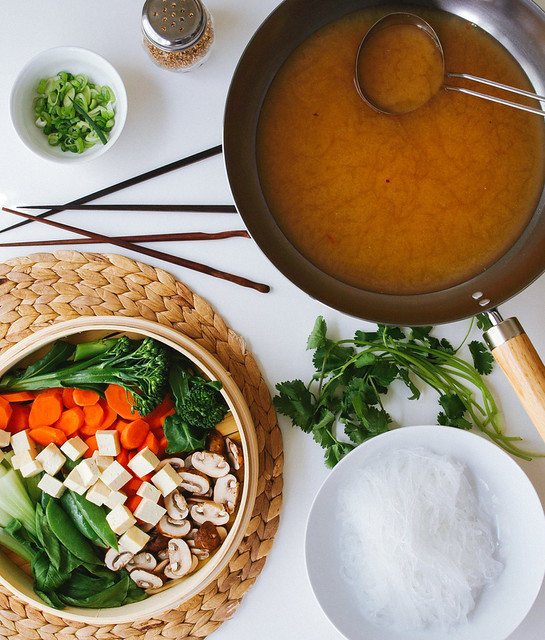
I used mung bean threads here, aka glass or cellophane noodles. They come in these cute little nest bundles. This is my first time experimenting with mung bean noodles. I love the thinness and light texture they have once softened. They're easy to prepare, needing only to be soaked in warm water for about 15 - 20 minutes. I started these after prepping my vegetables and they were ready when everything was done.  Feel free to use any noodle you prefer or is available to you. Soba, rice, ramen and udon noodles would all be great here. If you're gluten intolerant, stick with the bean thread, 100% soba and rice noodles. You can find out about more gluten free noodles in this article from The Kitchn: 11 Gluten Free Asian Noodles. Most of these noodles can be found in the Asian section of your grocery store, and all can be found in your local Asian grocery store or purchased online. 

Red Hot Miso Noodle Bowl

I used a red miso, but you can use your favorite miso. Even a combination of two different miso's would be great...ie, red and white miso. The red miso is a bit more robust in flavor and slightly saltier than the mellow white miso I generally use. I enjoyed the stronger flavor here, especially with the addition of the chili paste which is pronounced as well. The miso soup is fantanstic on it's own, maybe adding some cubed tofu, sliced scallions and wakame for simplicity. I usually use Miso Master but found this brand at the Asian store while buying the bean threads and thought I'd give it a try. I was pleased all around. Find out more about the different types of Miso in this article from Bon Appetit: Know your Miso

Red Hot Miso Noodle Bowl

For the heat in this recipe I've used this chili paste from Huy Fong. It's on my favorites list right now. You can also sub in sriracha if you prefer. If you're not a fan of too much spice, start with a smaller amount than listed and work your way up at serving time. You can also use 1 - 2 teaspoons red pepper flakes in place of the chili paste.

Red Hot Miso Noodle Bowl

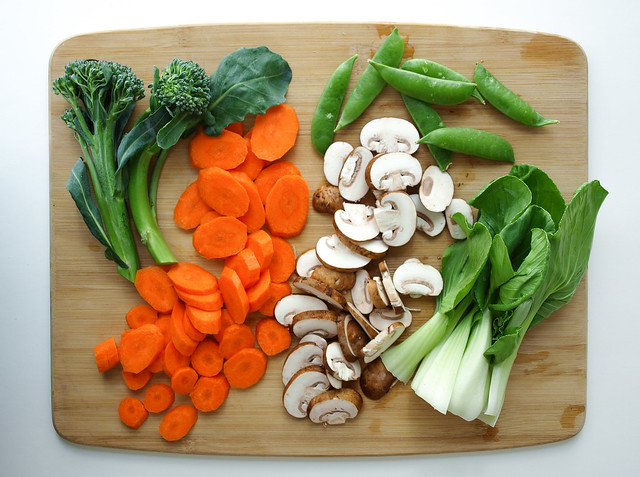
Your vegetable choices can be anything you like. I happen to have all of this on hand and threw in a little of everything. My favorite was the sugar snap peas. They gave a perfect sweet contrast to the spicy! I would highly recommend adding those in if you have them available. Play around with different vegetables using asparagus, baby corn, wild mushrooms, bell peppers, bamboo shoots, etc...any combination that suits your taste.

Red Hot Miso Noodle Bowl

RED HOT MISO NOODLE BOWL

Ingredients (serves 2)
  • bean thread noodles, 2 nests or 4 oz. (or noodles of choice)
  • 1 - 2 bok choy
  • 2 carrots, peeled and sliced thin
  • 6 mushrooms, sliced
  • 1/2 cup broccoli
  • handful sugar snap peas
  • 4 oz. cubed organic firm tofu
  • 4 cups water, vegan dashi or vegetable broth
  • 3 - 4  tablespoons miso
  • 1 tablespoon chili paste or sriracha
  • 1 teaspoon grated ginger, optional
  • 1 - 2 scallions, sliced thin, to garnish
  • small bunch cilantro, to garnish
  • toasted sesame seeds, to garnish

Prepare your vegetables, set aside.

If using bean threads. In small saucepan, heat enough water to cover bean threads, remove from heat, let sit 15 - 20 minutes, or until nicely softened. In hind site: You could heat water, place one nest of bean threads in your serving bowl, pour enough water to almost cover the bean threads and let set for 15 - 20 minutes. Gently tilt to drain dish of the water before adding vegetables and broth. If using other noodles, cook according to package directions, drain and set aside.

Next, steam your vegetables and tofu. I used a bamboo steamer here along with the wok but you can use any pot you like. Fill wok/pot 1/3 of the way with water. Heat water over high heat, place bamboo steamer over top, add steamer lid and steam until al dente, about 4 - 5 minutes. Remove steamer, keep lid on and set aside. Empty wok/pot of water.

In same wok/pot, place 4 cups water and heat over high heat until nicely warmed (do not boil). Turn heat to low, add miso, chili paste and ginger, mix well dissolving any clumps of miso. Remove from heat.

In each serving dish, place one nest of noodles, half of the vegetables & tofu and fill with spicy miso broth. Top with cilantro sprigs, scallions and toasted sesame seeds. Add more chili paste or sriracha to taste.

Notes:

Use a vegan dashi or light vegetable broth in place of water for more flavor. Or use part water and part dashi/vegetable broth.

Use your favorite miso paste.

Change up the vegetables. Try using asparagus, baby corn, spinach, bell peppers, bamboo shoots, wild mushrooms, etc...mixing and matching to suit your taste.

Change up the noodles using ramen, soba, rice or udon. For gluten free, use 100% soba, rice or bean thread noodles.

Use 1 - 2 teaspoons or red pepper flakes in place of chili paste if needed.


Enjoy!

Hot Pepper Tofu

Hot Pepper Tofu

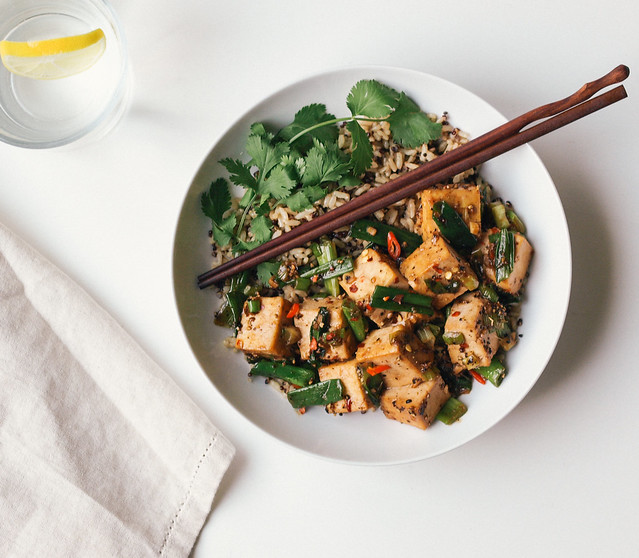
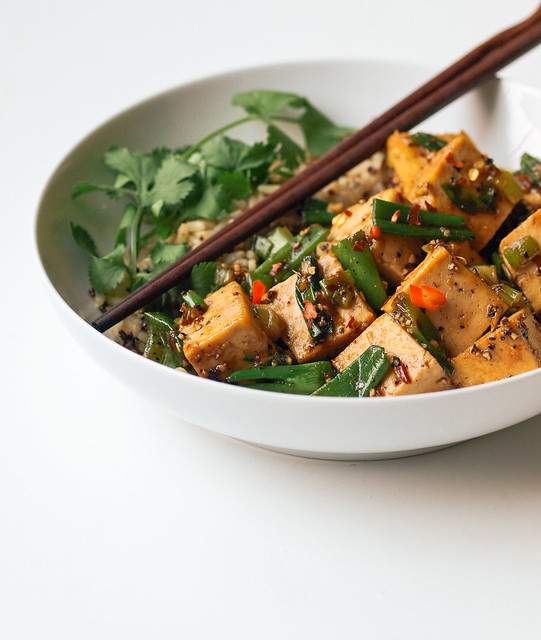
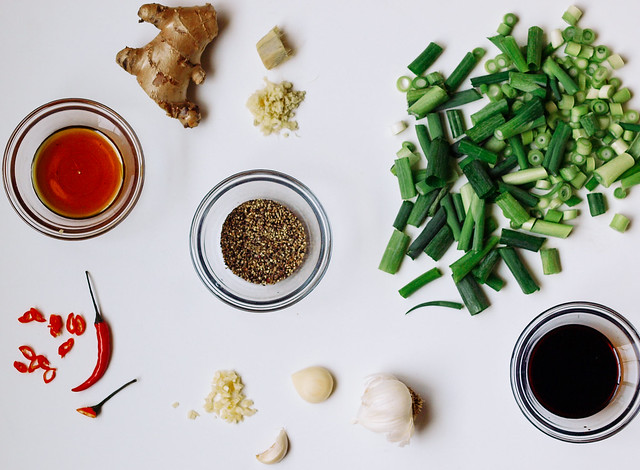
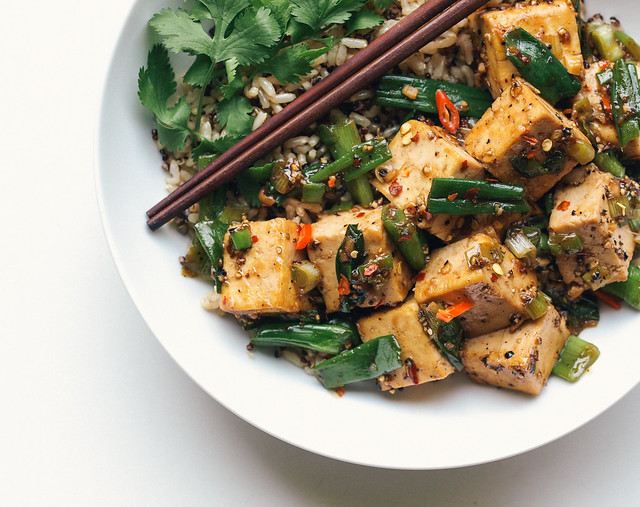
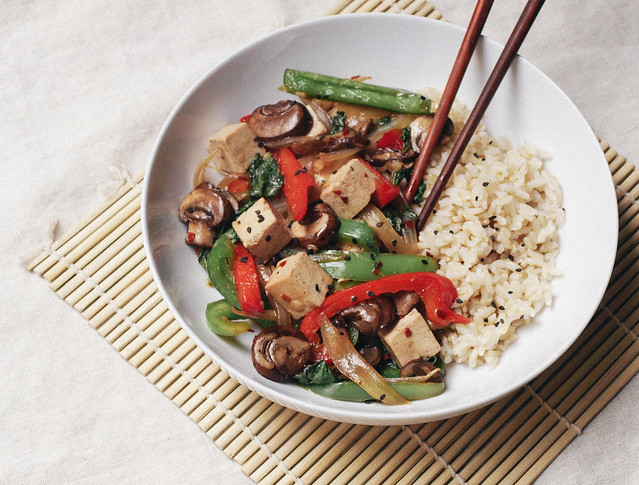
For those of you who follow this blog, you know how much I love spicy food. And if you’re a lover of spiciness, this hot pepper tofu will work well for you too. I've simplified the traditional black pepper tofu which calls for 1 stick of butter and 3 types of soy sauce, these items are just not in my kitchen essentials. I can't even imagine eating/using a whole stick of butter these days, vegan or not! It's simply not an option for me anymore and I would be so sick to my stomach if I did. Lol But not to worry my pepper lovers, this simple and healthy version is so flavorful that you won't miss a thing. Feel free to change up any of the ingredients using some of the suggestions in the notes or making it your own using whatever ingredients you have on hand (like I did). I've really tried taking into account all the different levels of eating habits creating a version for almost everyone. You'll find various things on most of the ingredient lines reflecting this, and in the notes too. The thing I love about this recipe is that it's pretty much fool proof. The only thing you may end up doing is adding too much pepper/heat for your taste, those of you who are more sensitive should stick to using the lesser amounts called for and go up from there. 

Hot Pepper Tofu
Hot Pepper Tofu
Hot Pepper Tofu
Hot Pepper Tofu
Hot Pepper Tofu

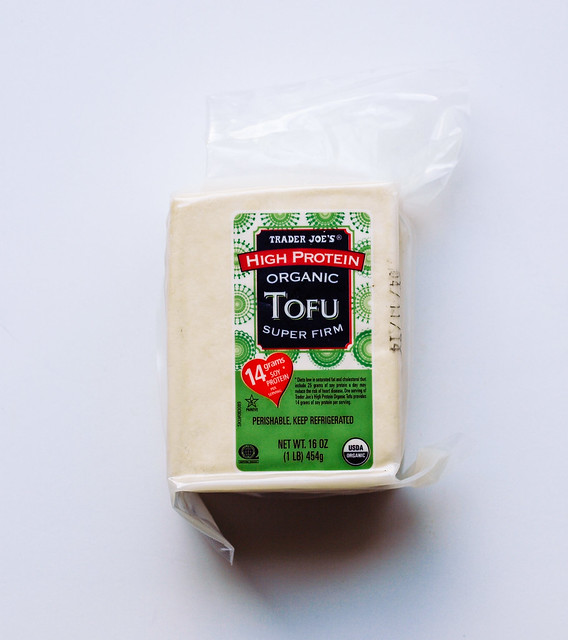
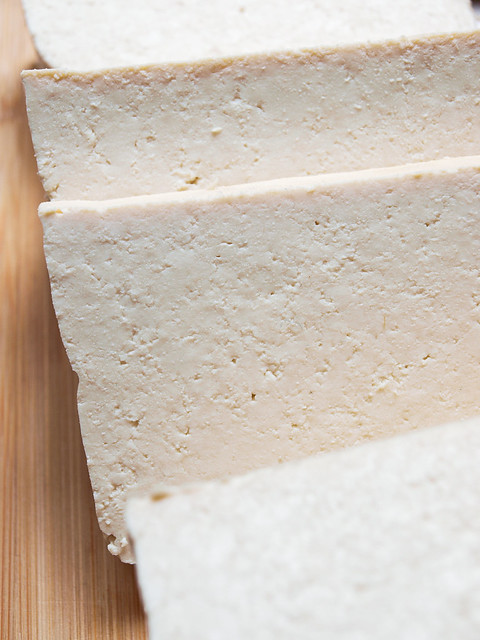
I love using this high protein tofu. It holds up really well. Another benefit from using this is that it doesn't need to be pressed. It's so dense that not much water is absorbed making it one less step in preparing your tofu recipes. I've used this one from Trader Joe's pictured above and a few various ones from Wildwood that also do not need to be pressed. Both tofu brands, firm and extra firm, are very versatile and can go from being used in salads to skewered for grilling. And remember, TOFU is one of those foods that should be eaten in moderation, it has many health benefits but is not for everyone. Just a note about the soy beans that whole foods recommends are whole soybeans or fermented ones like tempeh, soy sauce, tamari, miso & tofu. Soy milk (in most cases), soybean oil and soy protein isolates are highly processed and should be avoided. Read more here.

Hot Pepper Tofu
Hot Pepper Tofu

Hot Pepper Tofu

Ingredients
  • 1 block (14-16oz.) organic tofu (firm or extra firm), cubed
  • 1 tablespoon toasted sesame, sesame or grapeseed oil
  • 1/4 cup tamari, soy sauce or coconut amino's
  • 1/4 cup water or veggie broth
  • 3 tablespoons maple syrup or liquid sweetener of choice
  • 2 teaspoons arrowroot or tapioca flour (cornstarch is fine too)
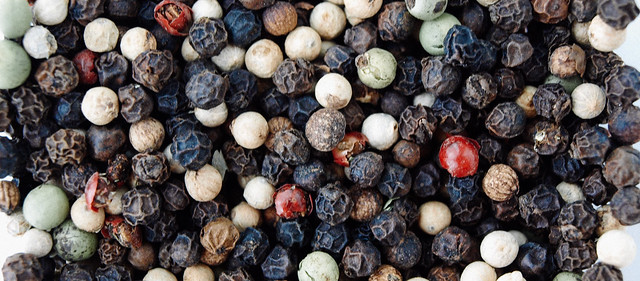
  • 1 - 2 tablespoons fresh cracked pepper
  • 3 - 4 cloves garlic, minced or 1 teaspoon garlic powder
  • 1 1/2 inch knob ginger, minced
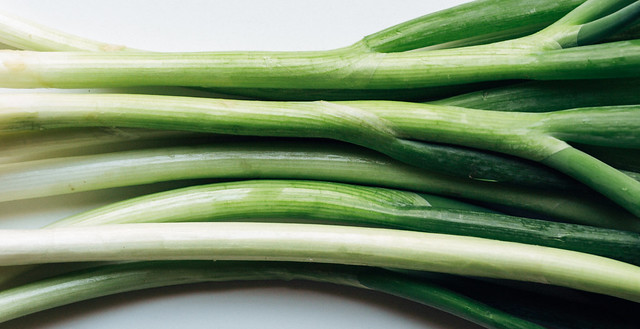
  • 1 bunch scallions, chopped
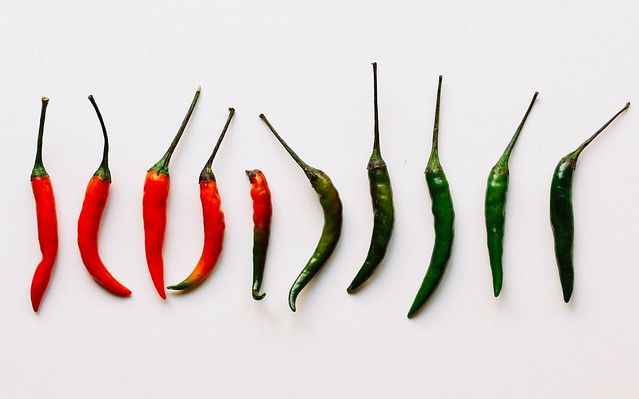
  • 1 - 2 chili's peppers, sliced and seeds removed or 1 teaspoon red pepper flakes
  • 1 bunch cilantro, roughly chopped, to serve

If not using one of the tofu's mentioned above, you'll want to drain and press your tofu to remove excess water. Simply cut tofu into slabs and place between paper towels or a clean dish cloth. With wrapped tofu laying on a flat surface, place a heavy book/object on top for about 15 minutes or so. Here's a great tutorial from Olives for Dinner: How to press tofu perfectly in six steps

In a small/medium bowl, combine the tamari, water, sweetener and flour. This will be your slurry, ensuring your tofu will be coated nicely.

Heat oil in a large wok or skillet over medium high. Add tofu and cook, stirring occasionally for about 5 minutes. Your tofu will slightly brown (we're not going to worry about it getting super brown and crispy here but if you want it browner and crispier, cook another 5 minutes or so stirring occasionally).

Add in your slurry mixture, ground pepper, garlic and ginger. It will sizzle at first when adding the liquids. Stir fry another 3 minutes or so, add in hot peppers and scallions. Liquids should start to thicken a bit, cook another 5 minutes or until the scallions are just softened.

Serve with brown rice, brown rice/quinoa mix, basmati or jasmine rice. Soba noodles would be great too. Add a large handful of chopped cilantro on the side, it will add to the flavors while giving a nice dose of freshness to the pepperiness. If you love cilantro, you will truly appreciate it here!

Serves three.

Notes:

Add more or less of any ingredient to suit your taste. You can also sub in mild chili peppers or sliced jalapeno peppers with the seeds removed.

For the scallions, you'll notice that I cut the darker green parts into 1 inch sections while slicing the white and light green parts into 1/4 inch pieces. Just a thought if you'd like to do the same.

Feel free to use 2 tablespoons pure cane sugar, raw sugar or coconut sugar in place of the liquid sweetener.

Enjoy!


MUSHROOM, BELL PEPPER & BASIL STIR FRY

Mushroom, Pepper & Basil Stir Fry

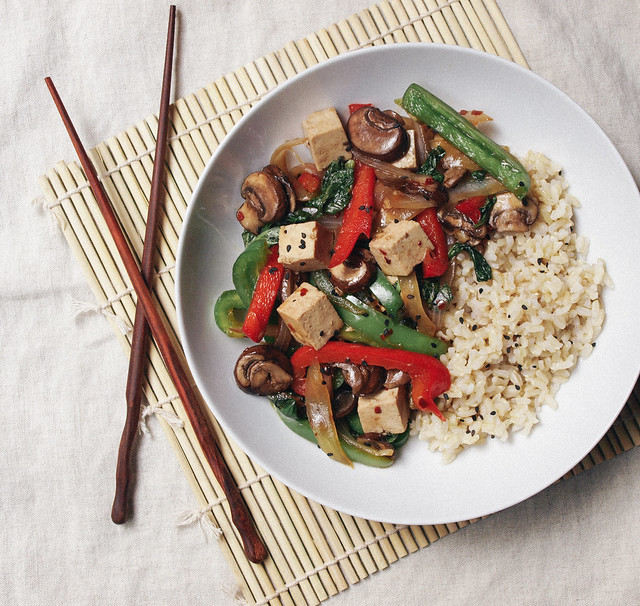
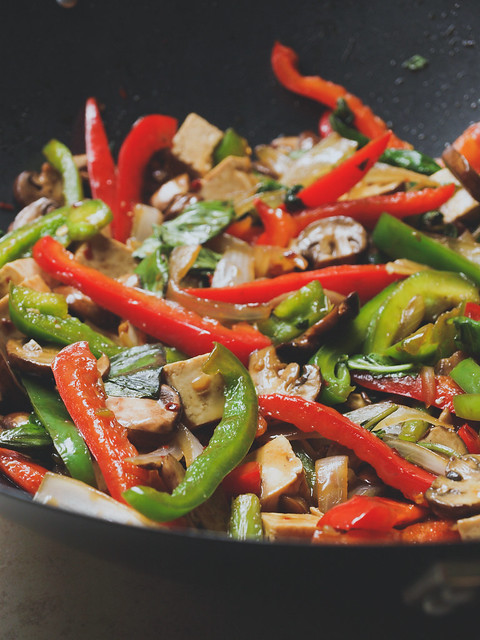
This recipe is one of those on a whim recipes that just came about from cleaning out the fridge. I had all the ingredients in my kitchen, put them together and even shared my dish on Facebook and Instagram last week. It went well and I decided to put it into the recipe collection. I originally made this without any oil, using water to stir fry my vegetables. I simply forget that you can do that with great tasting results and will do it more often from now on. You could also use veggie broth for extra flavor if you like. In this recipe you'll have the option to either use oil or the water as you like. Since then I've been buying the ingredients to make this because it's just that good. I love basil and this stir fry is really all about the basil! I'm lucky enough to live in So Cal and have access to fresh basil year round. I use two cups in this recipe but feel free to add more if you like! I hope you're able to find it readily available too. As for the other vegetables, you can mix them up using whatever you like. That's what I love about stir-fry's is that they are so versatile. Try using different colored bell peppers, zucchini, bean sprouts, broccoli or carrots adding or replacing anything you don't care for...pretty much anything will work here. 

Mushroom, Pepper & Basil Stir FryMushroom, Pepper & Basil Stir Fry

Lately, I've been buying tofu labeled either 'Sproutofu' from Wildwood or 'High Protein' from Trader Joe's. Both are high protein and extra firm. I find these do not need to be pressed making them a bit easier to work with in that you can skip the pressing process. They are so dense that there is no room for water to collect. Simply open your package, cut as desired and cook. It takes on the flavors surrounding it very well and has a nice tender texture. If you can find these in your local store, I highly recommend giving them a try. If you can't find these then you will still want to press your tofu for this recipe to release as much water as possible. 

Mushroom, Pepper & Basil Stir Fry

So simple to assemble and serve!

Mushroom, Pepper & Basil Stir Fry

MUSHROOM, BELL PEPPER & BASIL STIR FRY

Ingredients
  • 8 oz. mushrooms, sliced
  • 1 red & green bell pepper, julienned
  • 1 large onion, sliced
  • 3 cloves garlic, chopped
  • 2 cups basil, lightly packed
  • 1/4 cup tamari, coconut aminos or soy sauce
  • 1 tablespoon maple syrup
  • 1 tablespoon corn starch
  • red pepper flakes, to taste (I used 2 teaspoons)
  • 1 - 2 tablespoons sesame, coconut, olive or grapeseed oil OR water stir fry (see notes)
  • 10 oz. extra firm tofu, cubed (high protein pref), cut into 3/4 inch cubes
  • cooked grain of choice to serve (brown, basmati or jasmine rice...quinoa or soba noodles would be great too)
  • black or white sesame seeds, for garnish

If using non-high protein tofu, start by pressing your tofu (if using high protein tofu as mentioned above there is no need to press). Place your block of tofu either between a few sheets/or folded paper towel OR between a clean folded dish cloth. Place a heavy book, or pot, on top and let sit for about 20 minutes. Remove weight and cube your tofu. 

Prepare your vegetables. In a small bowl, combine the tamari, maple syrup, corn starch and red pepper flakes. Set aside.

In large skillet/wok, heat oil/water over medium high, add onions, garlic, bell peppers and mushrooms. Stir fry for 5 minutes. Add in the wet mixture and toss to coat. Add in basil and tofu, mix well and cook another 5 minutes, or until vegetables are just softened, tofu is warmed and sauce has thickened. Add more tamari and pepper flakes to taste.

Serve over grain of choice (I used a sprouted brown rice here) with a sprinkle of sesame seeds on top.

Notes:

Feel free to use a larger block of tofu if you like. No need to buy a larger block and not use it all. It will just make your meal more protein packed. Feel free to omit the tofu all together if you like!

Try doing a water or vegetable broth stir fry in place of using oil. Use 1/4 cup water/broth in place of the 1-2 tablespoon oil.

Bon Appetit!


TOFU SCRAMBLE STUFFED POBLANO PEPPERS

Tofu Scramble Stuffed Poblano Peppers

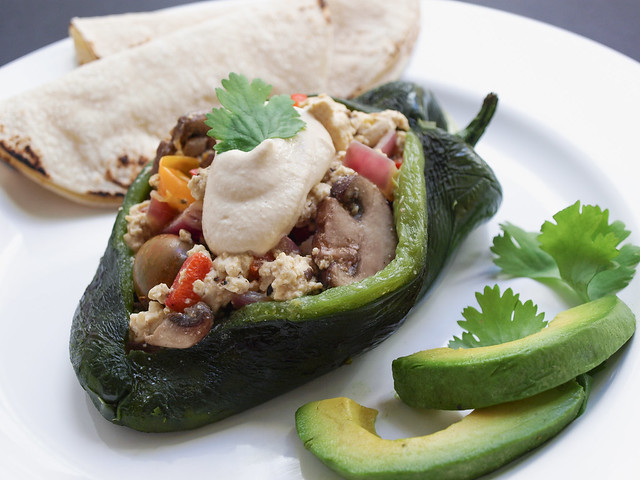
What to do with those poblano peppers? I bought a couple of them a few days ago, not quite knowing what I was going to do with them, and decided to try stuffing them with a breakfast tofu scramble. It worked great! Let's not keep these just for breakfast and brunch though, these can be eaten any time of day. They happen to be my lunch and dinner the day I cooked these up. This was fairly simple to prepare and absolutely delicious! The peppers were soft and tender, not too hot and the combination of everything filled me up perfectly. Feel free to sub in whatever veggies you prefer or have available in the fridge. I love tofu scrambles because they are so versatile, you can add pretty much whatever you like as the tofu will take on the flavors of all the other ingredients and pairs well with most vegetables. I kept the seasoning very minimal, using only nutritional yeast, garlic powder, salt and pepper. It really didn't need much and I was happy with the simplicity, letting the poblano come through, just be sure to season it well with the ingredients listed. Topping this with a bit of sriracha cashew cream or other cashew based cheese sauce lends another level of wonderfulness. Or simply top with salsa or any hot sauce you like. I also paired mine with some warmed corn tortillas and sliced avocado. Keep it simple or go all out!

Tofu Scramble Stuffed Poblano Peppers

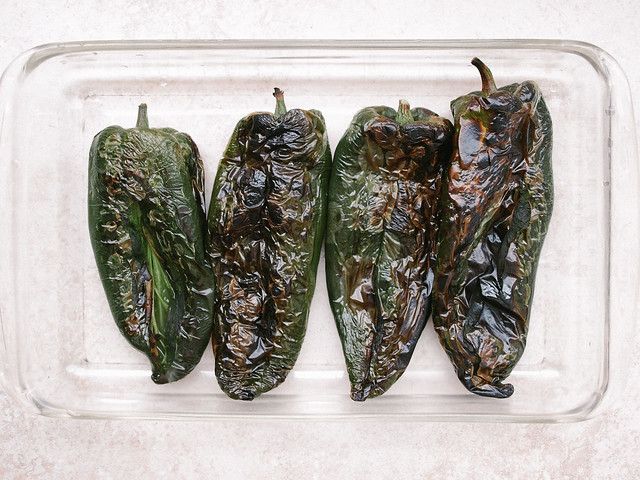
A look at after roasting the peppers, before peeling the skin off. I roasted my peppers under the broiler. These happen to be really nice sized peppers. The glass dish on the right is a 9x13, giving you the idea of just how big they were. If you only have smaller ones, use 6 to 8 depending on the size. The scramble filled up all four of these with a few bites left over.

Tofu Scramble Stuffed Poblano Peppers

Change up the vegetables to suit your personal taste. Sub in zucchini, yellow squash, spinach, green onions, softened sun-dried tomatoes to name a few. You can never have enough vegetables in my opinion. Use as much as you like of everything!

Tofu Scramble Stuffed Poblano Peppers

 TOFU SCRAMBLE STUFFED POBLANO PEPPERS

Ingredients
  • 4 large poblano peppers or 6 small
  • 1 block (15 oz) firm or extra firm organic tofu, drained and pressed
  • 1 tablespoon olive oil
  • 1 small onion, diced (use any color you prefer or have on hand)
  • 8 oz mushrooms, sliced (I used baby bella)
  • 1 small bell pepper, diced (any color)
  • handful grape tomatoes, sliced in half
  • 1 teaspoon garlic powder
  • 1/4 cup nutritional yeast
  • mineral salt & cracked pepper, to taste
  • sriracha cashew cream, to serve
  • avocado slices, to serve

Roast your poblano peppers one of two ways.
  1. Roast in pre-heated oven at 450 degrees for 20 minutes or so on a cookie sheet, turning half way in between to flip peppers over.
  2. Roast your peppers in the broiler on low for 7 - 10 minutes on each side. Or until the skin of the peppers are lightly charred and bubbly. Ovens may very so keep watch and adjust times to suit your needs. (This was my preferred method of roasting as shown in the photo above.)

Once done, remove from oven. Let cool a few minutes in a baking dish covered with saran wrap. Remove any loose skin off the peppers. Gently slice each poblano pepper, making a slit down the center of one side, without cutting into the other side. Remove seeds, leave a few for heat if you like. Careful not to touch the seeds with your hands, use rubber gloves if you can. (The capsaicin will linger on your fingers and may burn, do not touch your eyes. Rub fingers in olive oil for one minute and rinse to help remove the capsaicin). Let peppers sit covered tightly until ready to stuff.

While peppers are roasting, drain and press your tofu. To press tofu, place block of tofu in a clean kitchen towel that is folded at least doubled, place on hard surface and top with a heavy pot/book for about 15 minutes.

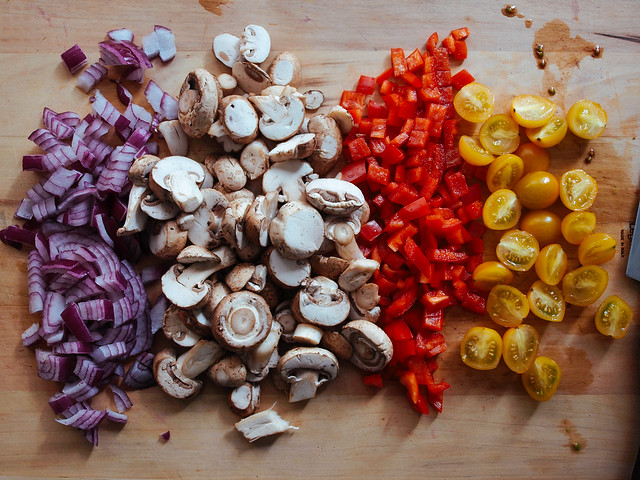
In a large skillet/wok, heat oil over medium heat. Add onions, cook for 4-5 minutes, add in mushrooms, bell pepper, tomatoes and garlic powder, cook for another 4 minutes or so. Add tofu while crumbling with your fingers. Add in the nutritional yeast, salt and pepper. Be sure to taste and add plenty more garlic powder, nutritional yeast, salt and pepper to taste. Gently toss and cook another 3 - 4 minutes until tofu is heated through.

Scoop tofu mixture into peppers. If the peppers need to be heated, using the same baking dish you cooled the peppers in, place under broiler on low for a minute or two, watching closely so nothing burns.

Serve with a drizzle or dollop of cashew cream and avocado slices. Salsa would also be great. I also loved having some warmed corn tortillas on the side as well. Might I also suggest pairing it with some Perfect Hash Browns from Olives For Dinner. Lot's of ways to make it great...

Enjoy! 

Detox Salad + Ginger Lime Cardamom Dressing

Detox Salad 1
Detox Salad Mix
Detox Salad

It's detox time! After a weekend of trials with the last recipe Pizza Pie + Balsamic Tomato Sauce + Roasted Vegetables, it was time for some fresh, detoxifying foods. This lovely salad is inspired by the energizing detox salad from Mildreds. I was able to put this together rather simply using most of the ingredients listed while adding my own flair with a few ingredients like cardamom. I've had cardamom on hand and have wanted to use it for a while now. It can be an optional ingredient in the dressing if you don't have it but it is a wonderful addition that I think you'll love if you have it on hand. This salad came out truly wonderful and I'm so pleased to share it with you. I can literally make a large batch of this salad and eat it all day long, for a few days on end to boot. It's what's for dinner, and lunch tomorrow! The flavors pair and mingle well for my taste, and I think those of you who love detox salads will definitely find this combination pleasing on many levels. It has a bit of sweetness from the raisins, carrots and apple, a little earthiness from the beets, a slight sour from the lime juice, and some zest from the ginger and cardamom. Add to that how colorful it is, healthy, nutritious, easy to make and so fresh...it's a detox keeper!

Detox Salad BeetsDetox Salad Beet Leaves

I love being able to incorporate beets into my diet. They are one of those foods that I don't eat often enough but this salad is a perfect place to use up this highly beneficial vegetable. Here we can use the beets and the greens...a win all around! If you can't find the beets with their greens, use chopped spinach, dandelion greens, even lacinato kale (aka: dinosaur or Tuscan kale) would be great. As for the beets, feel free to use golden beets instead. Red beets can be a bit messy. For this reason I decided to chop my beets instead of grating them, which tends to really leave a red wet mess. But of course, feel free to grate your beets if you rather. It will give extra moisture to your salad if you do. Even grating the apple will release a lot of moisture adding extra juices as well (at least for Fuji apples). Do what feels best to you!

Detox Salad EatDetox Salad Tofu

After I started eating, I remembered that the inspired recipe had an option for tofu and thought I'd give it a try. Let me say that it did not disappoint! Believe it or not the tofu was a great addition. I used an extra firm organic tofu and the texture blended right in and added a good dose of protein. Those who are familiar with tofu know that tofu it is a blank slate in terms of flavor and will take on whatever flavors it comes into contact with. Once mixed in it was great. Am I strange to love this? Oh well...I do! :) Tofu is optional but for those who are looking to make a complete meal I recommend adding a serving.

Detox Salad 2

Detox Salad + Ginger Lime Cardamom Dressing

Ingredients
  • 1 large beet with greens, beet julienned or grated and greens julienned
  • 1 large apple, cored and diced
  • 2 medium carrots, grated
  • 1/2 cup cilantro, roughly chopped
  • 1/2 cup organic raisins or golden raisins
  • a few tablespoons hemp hearts or sesame seeds, to serve 
  • organic tofu, cubed (optional)

Ginger Lime Dressing
  • 3 - 4 tablespoons lime juice (lemon is fine too)
  • 1 inch knob of ginger, finely grated (i used a microplane)
  • 1/8 teaspoon ground cardamom, or to taste
  • 1/2 - 1 teaspoon pure maple syrup or coconut nectar, optional

In a small bowl, mix together the dressing ingredients. Set aside to let the flavors mellow and come together. Check dressing for flavor before serving. 

Prepare your salad ingredients and use 3 to 4 large beet leaves (about 1 cup lightly packed) and place all ingredients in a large bowl. Pour dressing over the salad ingredients, toss to coat. (You can also make this ahead of time and keep refrigerated until ready to serve.)

Serve topped with a good sprinkle of hemp hearts or sesame seeds, and some extra raisins if you like as they add a nice sweetness.  

Serves 2 large portions or 4 -6 small portions. 

Notes:

If you don't find beets with the greens, use spinach, dandelion greens or lacinato kale instead. Use golden beets in place of red beets to keep the color mess to a minimum. 

The cardamom can be optional. If you don't use it often, there is no need to buy this just for the salad dressing although it is delicious and you may find other uses for it either here soon, or elsewhere. If you don't have it, you will still have a great dressing.

This salad tastes better the longer your able to let it set and let the flavors mingle. This is a great salad to make in advance and store in the fridge until ready to serve.

Detox away! 

Enjoy...


Summer Rolls + Two Dipping Sauces

Summer Rolls + Two Dipping Sauces

Well hello again, I have missed you terribly! A lot has happened in the last couple weeks. After my last post Soba Noodles with Tofu, Broccoli & Carrots, I left for vacation to the beautiful Kings Canyon. The area we visited is located in the eastern sierra's located between Mammoth and Bishop just off the 395 called Rock Creek Lake. It's gorgeous up there with clean air, nice temperatures and nature all around. How does it get any better than that? You can see many of my pictures here. In that time, the 4th of July also came and went. I extreme cleaned the house, you know the unclutter, going behind closed doors and rearranging the furniture kind...feels good to be done with that! I did all those things I have put off doing while focusing my energy on this blog the last year. Speaking of which, The Simple Veganista also turned 1 on July 1st. I can't believe it's been a year already. I really wanted to do a special post for this occasion but it just didn't happen so it was a quiet celebration. When I first started this blog I had no idea where things would go but thanks to everyone who has a love for clean vegan food...this blog has done remarkably well in that short amount of time and I thank you all for following along with my passion. I intend to keep it going as long as it stays fun for me. I love all the aspects of being here...from testing and preparing the food, taking pictures, editing, writing (a few of these I'd like to improve on), sharing, getting feedback from everyone. It's truly fun for me and I'm so happy to be a part of your lives and hope you get lots of inspiration for clean, healthy eating habits along the way. And remember, that's all it is...creating NEW habits and making them healthy habits! Cheers to another year of creating those healthy habits that stick... 

So without further ado...let's eat!

Summer Rolls + Two Dipping Sauces

Summer, spring or salad rolls, known as Goi Cuon in Vietnamese, are fresh, versatile and so easy to put together. You can use all kinds of vegetables to suit your taste...make them simple with just a few ingredients like the first picture or add more for a variation and rainbow effect like the picture above. I love these rolls and you can be sure that this is the first of many I will like to try out and share. The recipe today is a very basic, all around summer roll. Nothing complicated, everything should be readily available and easy to find. For a great tutorial on rolling a closed end roll like the image just above (they were cut in half) go here: How to Roll Fresh Vietnamese Spring Rolls – A Photo Tutorial

Summer Rolls + Two Dipping SaucesSummer Rolls + Two Dipping Sauces

You can find rice paper in the Asian section of your grocery store. There are different shapes and sizes so if you're new to this be sure to experiment with a few to see what works best for you. 

I have included two different dipping sauces because some of you may be allergic to nuts. One will be a peanut or almond butter based dipping sauce and the other will be rice vinegar based. A sauce for everyone here. Both are excellent. I love my peanut sauce but was very pleased with the vinegar based sauce I adapted from Martha Stewart. Even though I'm not much of a vinegar lover...it was delicious! 

Summer Rolls + Two Dipping Sauces

Summer rolls are commonly filled with a few herbs like mint, cilantro and/or Thai basil. Feel free to use one or a combination. I find in these rolls that they all taste great together. If you can't find Thai basil, regular basil will be just as good! I especially love the basil with the peanut dipping sauce...the flavors pair so well.

Summer Rolls + Two Dipping Sauces

Next you can choose from a variety of greens to add to your rolls. Use one or a combination if you like. Depending on what style roll I'm making, I may use two types of greens.

Summer Rolls + Two Dipping Sauces

Lastly, choose your veggies and cut them into thin strips by hand or using a julienne tool. These are just a few of the veggies you can use. Try adding avocado, green onions, bean sprouts, etc. Many recipes for these rolls also use rice noodles, and you can too, but I prefer a roll full of veggies instead having one or two extra if needed. I can eat two or three of these and be completely satisfied for a few hours. 

Adding in some sliced tofu is an option. I do like to add it to my rolls when not using the peanut sauce as it adds some protein to the meal. 

Summer Rolls + Two Dipping Sauces

Summer Rolls + Two Dipping Sauces 

Ingredients (2 - 3 servings)
  • 6 rice papers (preferably the circular sheets)
  • 2-3 medium carrots, cut into match sticks or 1/4 inch sticks
  • 1/2 cucumber, cut into match sticks or 1/4 inch sticks
  • 1/2 bell pepper (yellow, red and/or orange), thinly sliced
  • 1/4 red cabbage, thinly sliced
  • greens of choice: leafy lettuce, pea shoots, spring salad mix or micro greens
  • radishes, thinly sliced (optional)
  • organic tofu (firm or extra firm), sliced (optional)
  • mint, small handful of leaves
  • cilantro, small bunch of sprigs
  • basil, small handful leaves

Sweet Chili Sauce (2 servings)
  • 1/4 cup unseasoned rice vinegar
  • 2 tablespoons tamari or soy sauce
  • 2 tablespoons warm water
  • 2 tablespoon maple syrup
  • 1 clove garlic, minced or grated
  • 1 teaspoon red pepper flakes, or to taste
  • juice of 1 lime

Peanut Sauce (2 servings)
  • 3 heaping tablespoons peanut or almond butter
  • 1 tablespoon tamari or soy sauce
  • 2 tablespoon maple syrup
  • 2 tablespoon warm water
  • 1 - 2 tablespoon rice vinegar, optional
  • juice of 1 lime
  • 1 teaspoon red pepper flakes, optional

Mix your dipping sauce together first, let set so the flavors can mingle. It will taste much different after a few minutes. Taste for flavor before serving.

This summer roll direction will be for the open end roll as shown above. For the closed end roll please see the tutorial here. 

Fill a large shallow bowl 1/2 way with warm water...a large pie dish works great for the circular rice sheets which is what this recipe will use. Making one roll at a time, dip the rice sheet into the water making sure to get both sides and all edges, no need to let it soak until completely soft. Lay on a flat surface and fold in half, the rounded side will be the top and the flat side the bottom. The paper will still seem a bit stiff but will keep absorbing the water and soften as you layer your veggies. In the center, layer your ingredients...greens, herbs, tofu and veggies. Fold the end corner over the layer of veggies, give a nice tuck and roll. 

Serve with choice of dipping sauce. 

Enjoy!


    Back to top